
 Save
Save
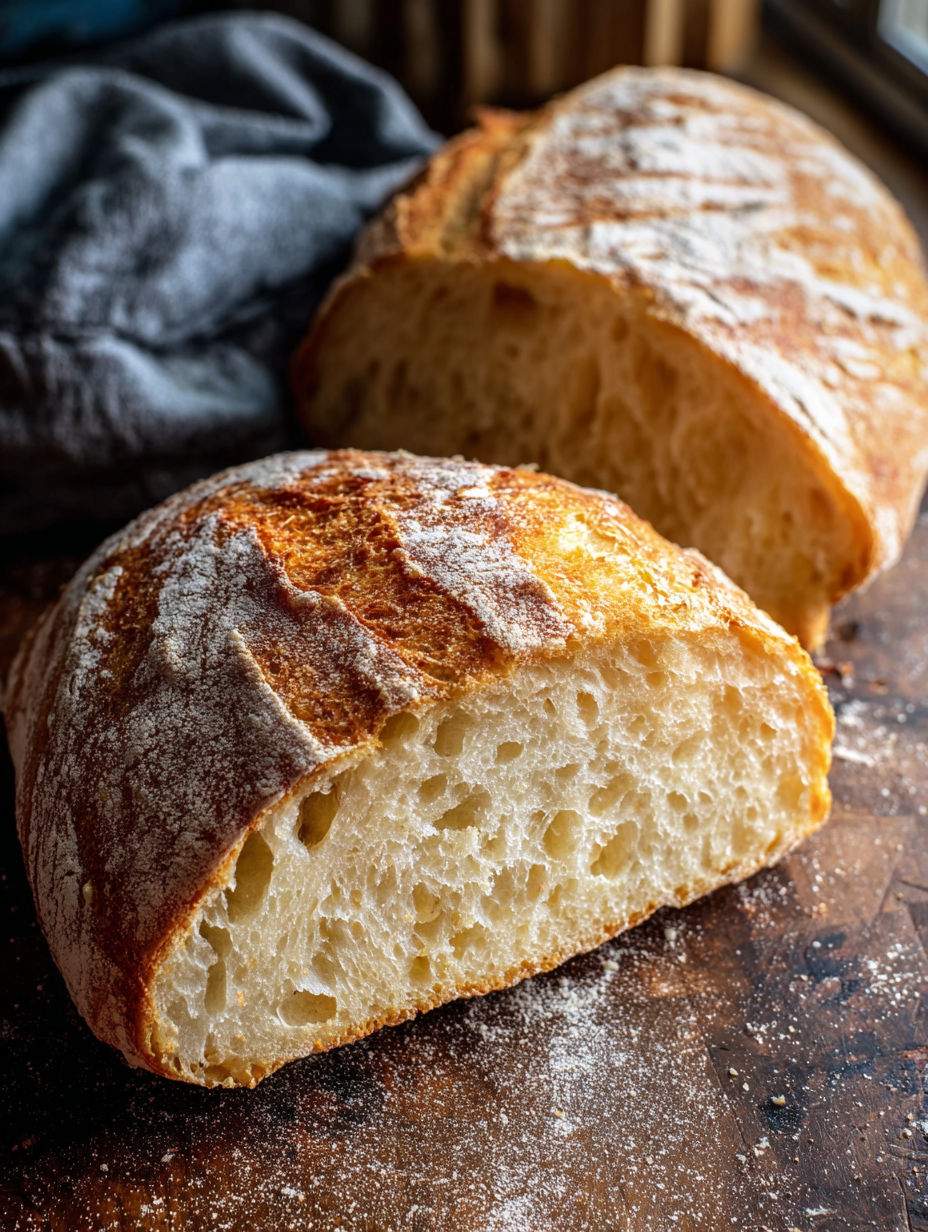
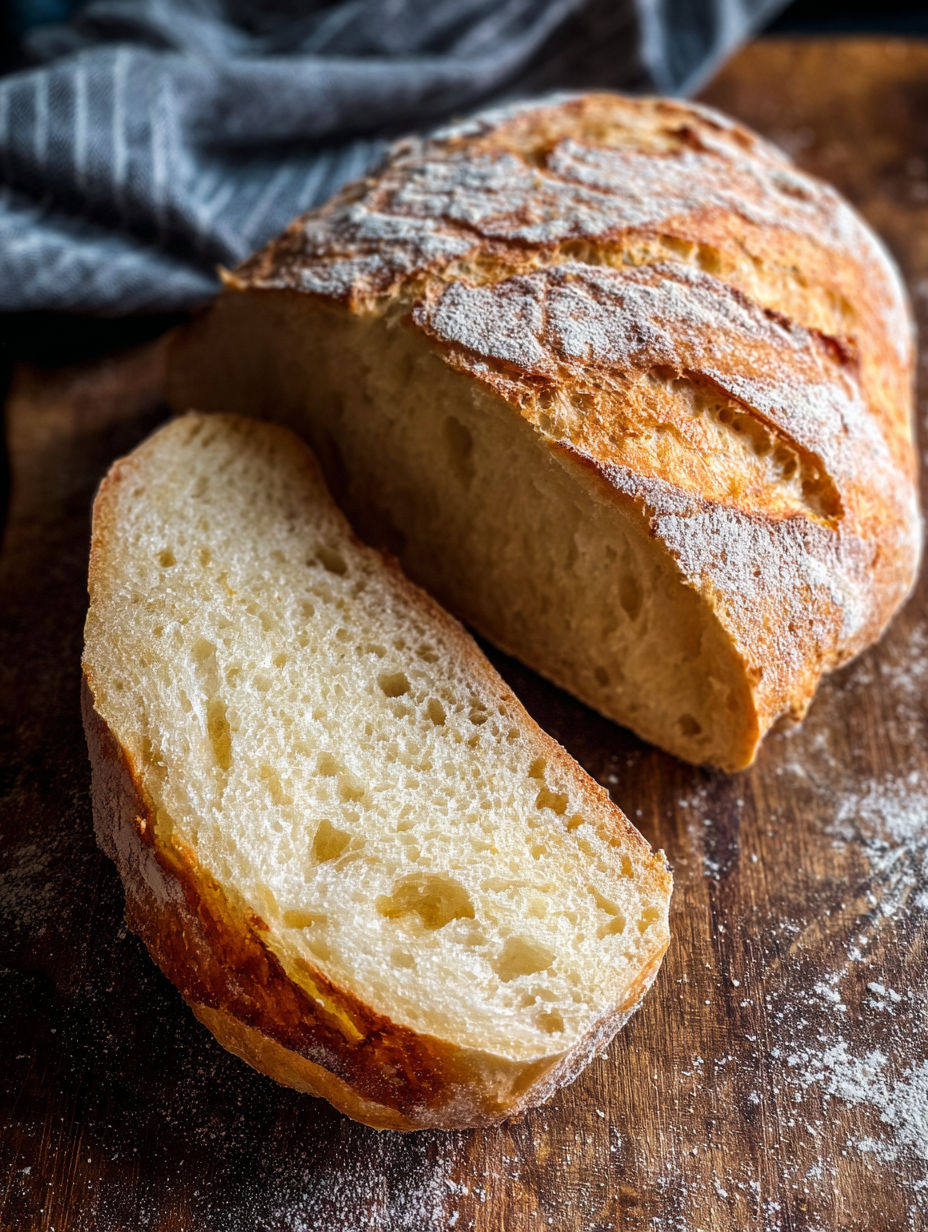
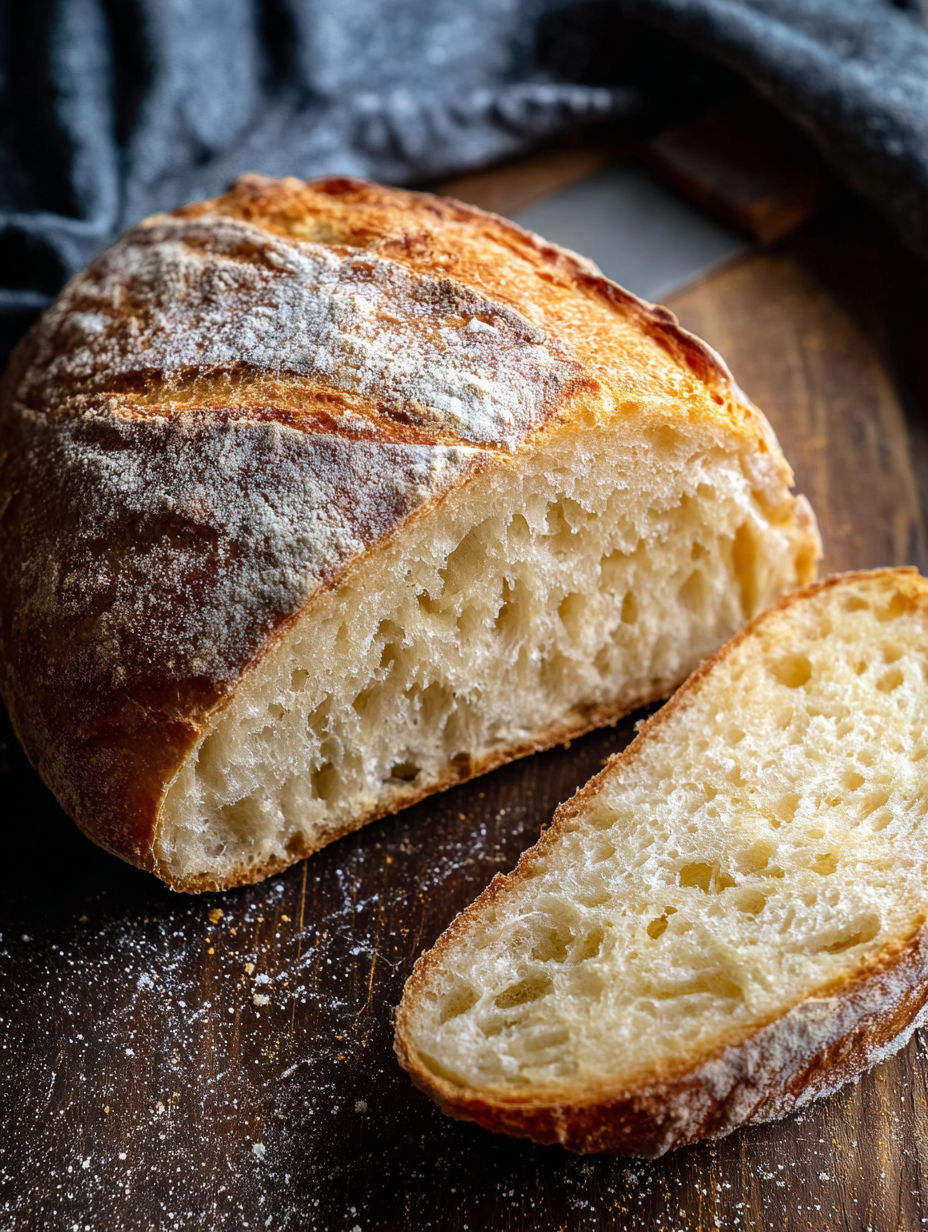
This rustic French bread recipe is perfect for anyone craving a homemade loaf with a crispy crust and a soft, airy inside. It turns simple ingredients into a comforting classic that feels special enough for guests but easy enough for weeknight baking.
I threw this together one afternoon when I wanted fresh bread without a lot of fuss. The long rise really brings out the flavor and the crust crunch is unbeatable.
Ingredients
- 3 1/4 cups all-purpose flour: provides structure choosing high-quality flour will improve texture and rise
- 1 teaspoon sugar: feeds the yeast helping it activate and rise properly
- 1 teaspoon salt: balances flavor and strengthens the gluten network
- 1 1/2 teaspoons active dry yeast: creates the rise and the light airy crumb make sure the yeast is fresh for best results
- 1 1/4 cups warm water: between 105 and 115 degrees activates the yeast too hot water can kill it too cool will slow the process
Instructions
- Combine Yeast And Water:
- Mix the yeast sugar and warm water in the bowl of a stand mixer and allow to sit for five minutes until the surface is frothy. This step ensures the yeast is alive and ready to work.
- Knead The Dough:
- Add half the flour and the salt to the yeast mixture. Attach a dough hook and knead on medium-low speed while gradually adding the remaining flour. Keep kneading until the dough just comes together and becomes sticky. This sticky texture is necessary for a soft crumb inside the bread.
- First Rise:
- Lightly flour a large bowl and transfer the dough inside. Cover it with a clean towel to trap moisture and warmth. Let it rise undisturbed for two hours until doubled in size. This slow fermentation develops flavor and texture.
- Shape The Loaf And Second Rise:
- Turn the dough out onto a floured surface or parchment paper. Gently shape into a smooth round ball sprinkling some flour on top. Cover it with a large bowl to keep it warm and moist then let it rest for an additional 30 minutes.
- Preheat Oven And Dutch Oven:
- Heat your oven to 425 degrees and place a Dutch oven with its lid inside to preheat for 20 minutes. The hot Dutch oven will trap steam to create a crusty exterior. If you do not have a Dutch oven skip this step and bake on a baking sheet.
- Score And Bake:
- Using a very sharp knife make shallow slashes on the top of the dough. These cuts help the bread expand without cracking during baking. Carefully transfer the dough with parchment paper to the hot Dutch oven. Bake for 30 minutes with the lid on then remove the lid and bake for another 10 minutes to brown the crust. If using a baking sheet bake for 35 minutes total.
- Cool And Serve:
- Remove the bread from the oven and place it on a cooling rack. Let it cool completely before slicing. This prevents the crumb from becoming gummy. Store any leftovers in a storage bag on the counter for up to 3 to 5 days.
My favorite thing about this bread is how the crust crackles when you cut into it. It reminds me of family breakfasts in France when I first tasted fresh baguette straight from the bakery.
Storage tips
Store bread at room temperature loosely wrapped in a paper bag or bread box to keep the crust crisp. Avoid plastic bags unless you prefer a softer crust. For longer storage slice and freeze wrapped tightly in foil or freezer bags. Toast slices straight from the freezer for best results.
Ingredient swaps
You can substitute bread flour for all-purpose flour for an even chewier texture. For a quicker rise use instant yeast by mixing it directly with the flour. Adding a tablespoon of olive oil will give the crust a softer finish.
Serving ideas
This bread pairs wonderfully with butter jam and strong cheeses. It also works great for hearty sandwiches or simply dipped in olive oil and balsamic vinegar. Toast it lightly for breakfast then pile on eggs and avocado for a simple meal.
This bread combines a timeless recipe with practical tips to bring a slice of France to your kitchen.
Frequently Asked Recipe Questions
- → Why is the dough sticky after kneading?
The dough remains sticky due to hydration levels and gluten development. Proper rising and handling will result in a soft but structured loaf.
- → What is the benefit of using a dutch oven for baking?
A dutch oven traps steam, which helps create a crispy crust while keeping the interior moist and tender.
- → How can I tell when the bread is fully baked?
Checking the internal temperature with a thermometer; it should read about 210°F when fully baked.
- → Why is scoring the bread important?
Scoring allows the bread to expand during baking, preventing random cracks and enhancing its appearance.
- → Can I bake the bread without a dutch oven?
Yes, use a baking sheet and bake a bit longer, but the crust may not be as crisp without the steam created by a dutch oven.