
 Save
Save
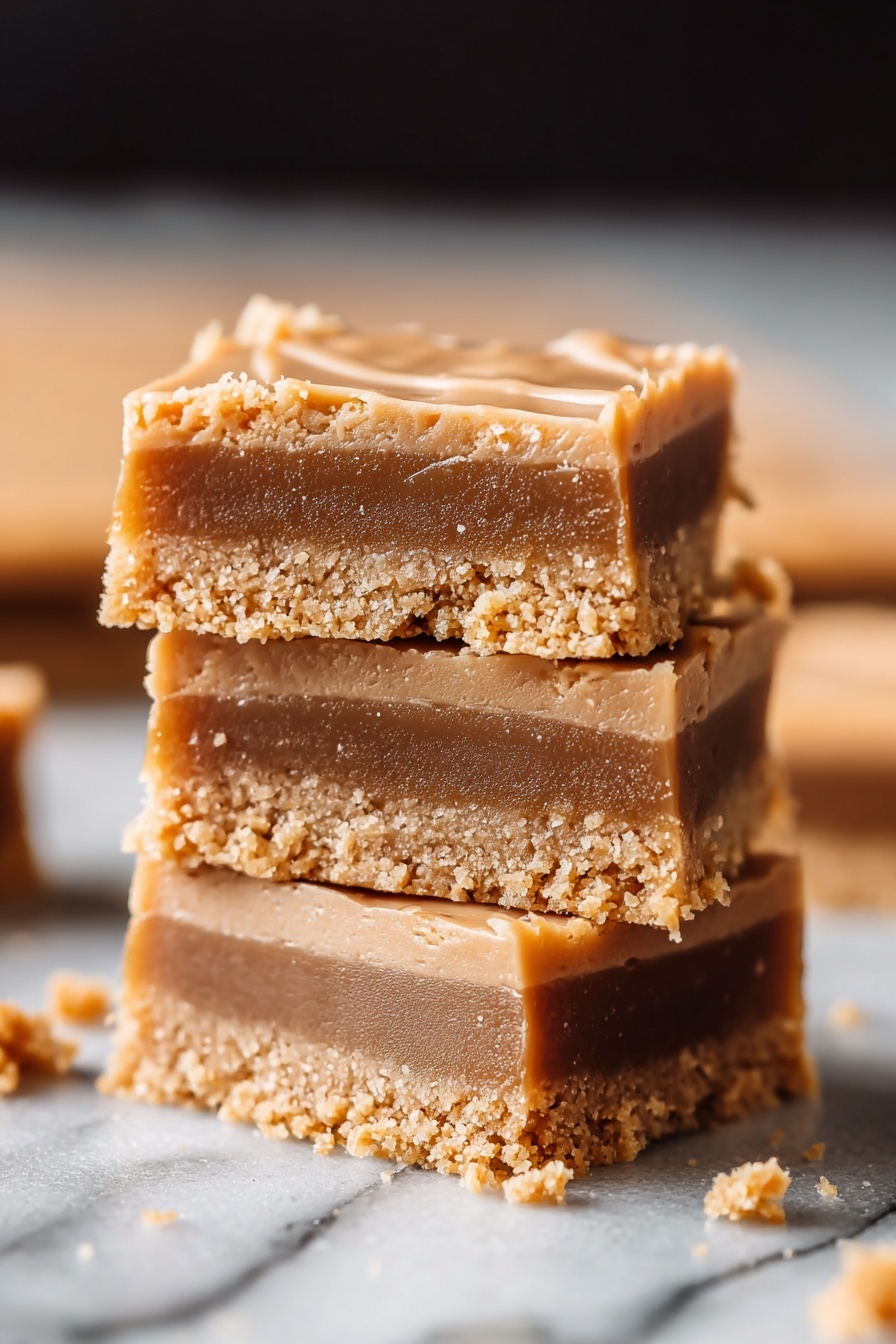
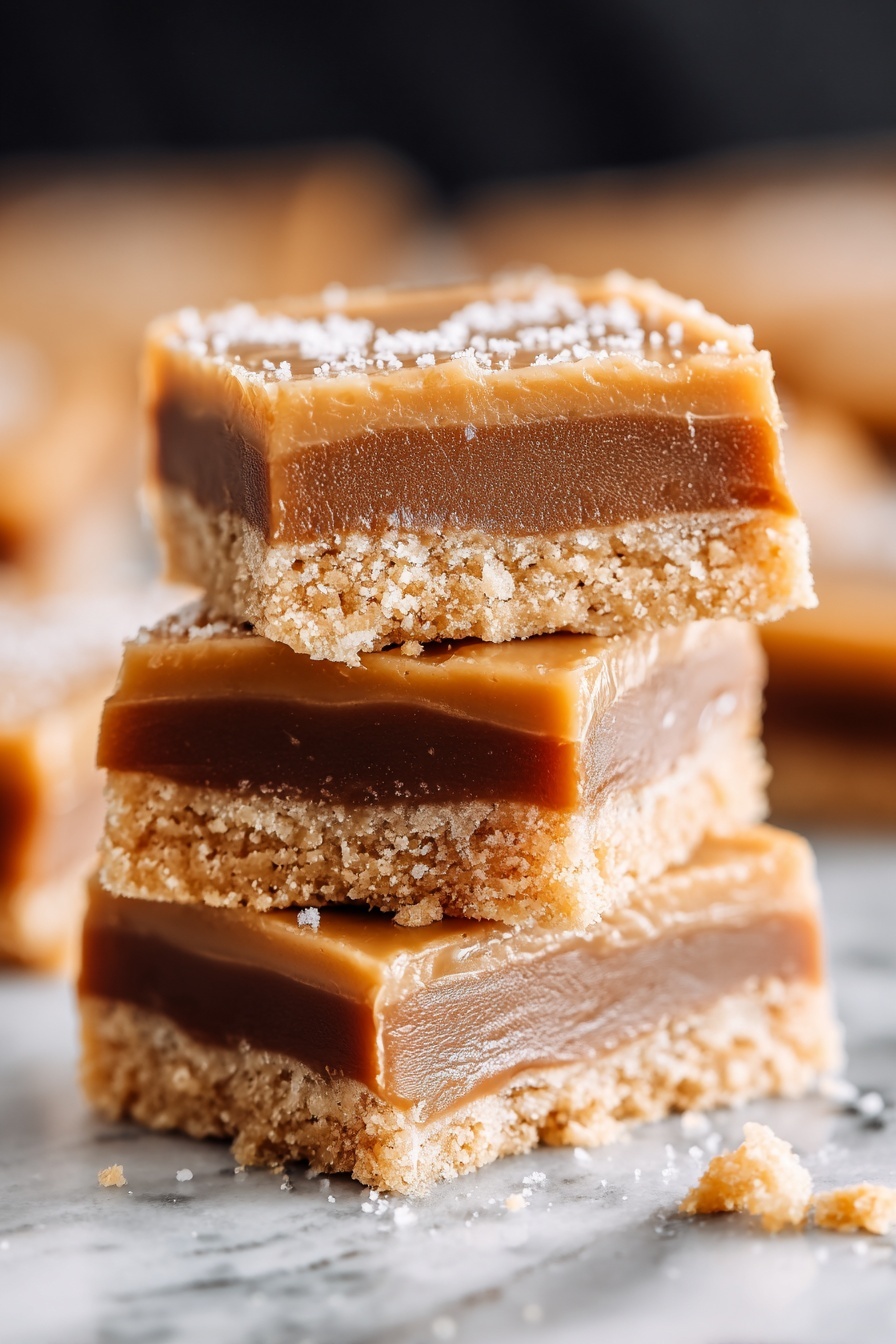
These peanut butter bars are the perfect no-bake treat when you want something sweet, rich, and quick to whip up. They come together with just a few pantry staples and offer a satisfying texture that’s perfect for snacking or sharing with friends. If you are short on time but want a homemade dessert, this is a solid go-to that never disappoints.
I first made these bars when I needed a quick dessert for a family gathering. They were such a hit that they quickly became a staple for casual get-togethers and after-school snacks.
Ingredients
- Creamy or chunky peanut butter: adds richness and flavor. Choose a fresh jar for best taste and avoid oils that have separated.
- Powdered sugar: binds everything together with sweetness and smooth texture. Look for finely sifted to avoid lumps.
- Unsalted butter: brings creaminess and helps the bars firm up in the fridge. Use softened butter for easy mixing.
- Vanilla extract: enhances overall flavor warmth. Use pure vanilla if you can.
- Optional chocolate chips: provide melty bites of sweetness and texture contrast.
- Chopped nuts: add crunch and a nutty depth. Freshly roasted nuts maximize flavor.
- Toasted oats or crispy rice cereal: contribute light crispiness and a fun texture.
- Protein powder: is a great swap for added nutrition and a subtle boost, pick an unflavored or vanilla type for best results.
Instructions
- Prepare the Peanut Butter Mixture:
- Start by softening the butter in a mixing bowl until it’s spreadable and almost creamy. Add the peanut butter next along with the vanilla extract. Stir these ingredients together vigorously until smooth and fully combined. This creamy base ensures a rich, cohesive bar texture.
- Incorporate the Powdered Sugar:
- Gradually sprinkle in the powdered sugar while folding the mixture with a spatula or wooden spoon. Press and mix firmly to create a thick dough-like consistency. You want this to hold together without being crumbly but still pliable enough to press into the pan.
- Add Optional Mix-ins:
- If you like, fold in chocolate chips, nuts, toasted oats, crispy cereal, or protein powder now. This step adds exciting texture and flavor variation. Be careful to gently combine so the mixture stays uniform but includes the extra goodies throughout.
- Press Into a Pan:
- Line a square baking dish with parchment paper or lightly grease the surface. Transfer the peanut butter dough into the pan then press down evenly with your hands or a spatula. Make the surface flat and compact to help the bars set properly and cut neatly later.
- Chill Until Set:
- Place the pan in your refrigerator for at least one hour. This chilling firms up the bars so they hold their shape and are easy to handle. Resist the urge to cut too soon or the bars can crumble.
- Cut and Serve:
- Once chilled, remove the bars from the pan by lifting out the parchment paper or gently loosening edges. Use a sharp knife to cut into bars or squares. Serve immediately or store in the fridge until ready to eat.
One of my favorite things about this recipe is how the peanut butter flavor shines through without overwhelming sweetness. It reminds me of childhood weekend afternoons, grabbing a bar whenever I needed a quick energy boost between activities. Simple and satisfying every time.
Storage Tips
Keeping these bars fresh is easy just store them in an airtight container in the refrigerator. They will keep for up to a week and maintain their texture best chilled. If you want to keep them longer, you can freeze the bars by wrapping portions individually and then placing them in a freezer-safe container. Thaw in the fridge overnight before serving.
Ingredient Swaps
Feel free to swap peanut butter for almond or cashew butter for a different nutty taste. Coconut sugar or powdered coconut sugar can replace regular powdered sugar for a slightly caramel note. Butter can be replaced with coconut oil for a dairy-free version but texture may be slightly softer.
Serving Ideas
Pair these bars with a cold glass of milk for a classic combo or add a dollop of Greek yogurt for a tangy contrast. Cutting into bite-sized pieces makes them perfect party finger food. Sprinkle a little flaky sea salt on top before chilling to add a delightful sweet-salty pop.

These peanut butter bars are quick, customizable, and always a crowd-pleaser making them a must-try no-bake dessert.
Frequently Asked Recipe Questions
- → What type of peanut butter works best?
Both creamy and chunky peanut butter work well; creamy gives a smoother texture while chunky adds crunch.
- → Can I add mix-ins to these bars?
Yes, chocolate chips, nuts, or crunchy cereals can be folded in to enhance flavor and texture.
- → How do I make sure the bars hold their shape?
Press the mixture firmly into the pan and chill for at least one hour to allow the bars to set properly.
- → Is it necessary to bake these bars?
No baking is required; chilling the mixture is sufficient to achieve firm bars.
- → Can the bars be stored after slicing?
Yes, keep them refrigerated in an airtight container to maintain freshness and texture.