
 Save
Save
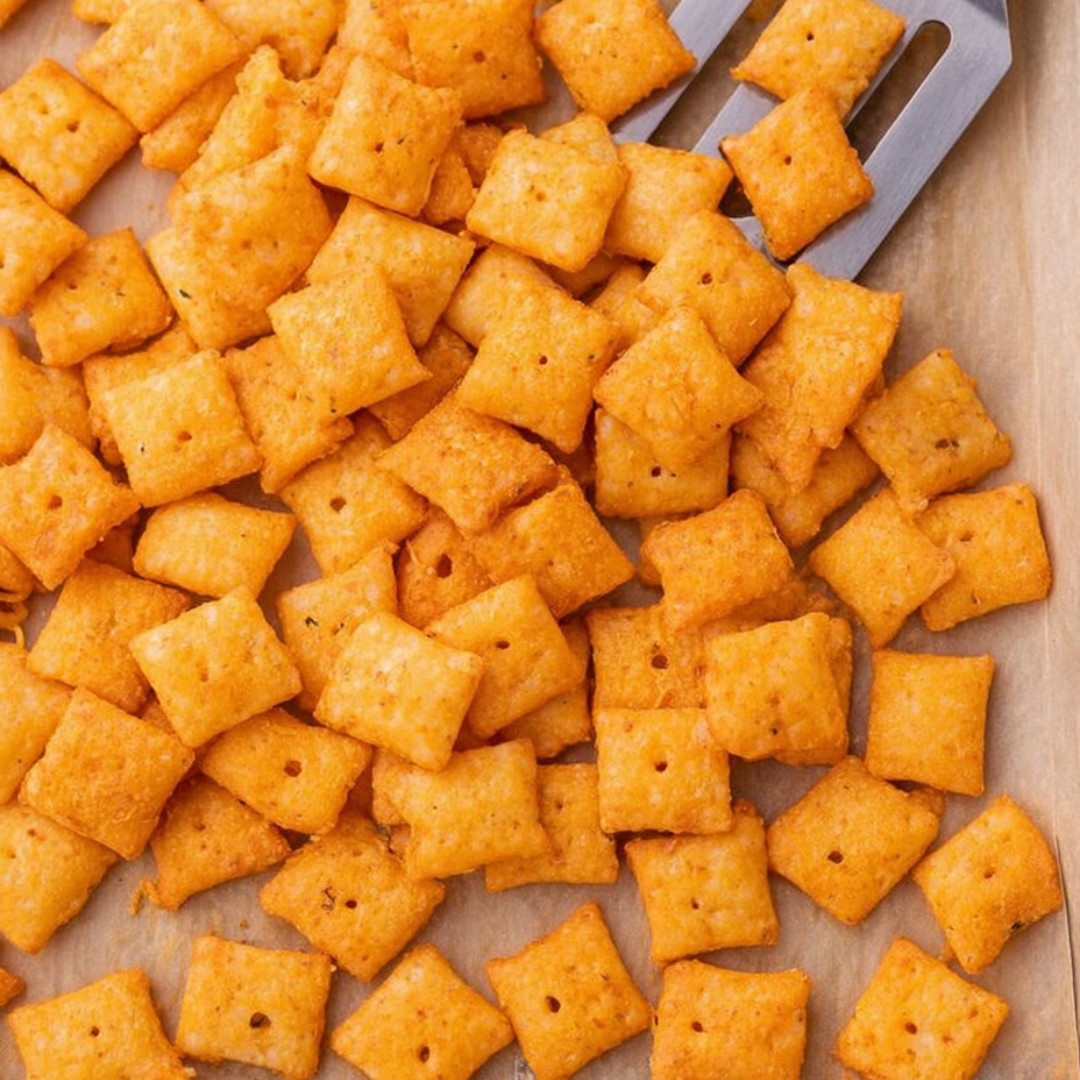
The kitchen table was scattered with school papers and half-finished math homework when I first tried to recreate those fluorescent orange Cheeze-Its from scratch. My kids, suspicious of anything homemade, hovered hopefully. That quiet afternoon, with cheese shreds stuck to my knuckles and buttery dough sticking to the rolling pin, started a family ritual: warm, crisp crackers fresh from the oven, disappearing faster than I could stack them on the cooling rack.
My first real eureka moment came when I ditched pre-shredded cheese for block cheddar and grated it myself. The texture of the dough changed completely, and the flavor became so much deeper—one of those small pivots that made all the difference.
Essential Ingredients
- Sharp cheddar cheese: The soul of these crackers; grate from a block for best melt and taste. Look for vivid orange color and a sharp aroma.
- Salted butter: Adds richness and that classic tender bite; be sure it's softened for even blending.
- Seasoning salt: Infuses a savory backbone; use a trusted blend or your favorite seasoned salt brand.
- Garlic powder: Gives a little punch; buy fresh, aromatic powder (not years-old).
- All-purpose flour (or alternative): Holds everything together; use cup-for-cup gluten free or fine blanched almond flour for keto.
- Ice water: Makes the dough come together without overworking the gluten (or causing gumminess in GF dough).
Cooking Process
- Mixing Magic:
- Pulse cheese, butter, and seasonings until crumbly. This first blend marries fat and flavor, ensuring every bite is bold, not bland.
- Dough Formation:
- Blend in flour, then slowly drizzle in ice water. The cold water keeps the dough tender and flaky by preventing melted butter before baking.
- Chilling the Dough:
- Wrap into a disc and refrigerate. This step sets the shape, keeps the butter firm, and makes rolling thin crackers much easier.
- Rolling & Cutting:
- Roll to 1/8–1/4-inch thickness for that signature snap. Use a sharp pizza cutter or pastry wheel for clean edges and even baking.
- Baking for the Crisp:
- Oven at 350°F, watch for golden edges—baking just long enough is key for crunch that lasts (not chewy or overhard).
- Finishing Touch:
- Let crackers cool completely on the warm sheet. Residual heat crisps up the base and locks in maximum crunch.
Recipe Highlights
- Just 18 calories per cracker—snack without guilt.
- Naturally vegetarian, and easily gluten-free or keto with simple swaps.
- Kid-friendly, adult-approved, and way fresher than boxed crackers.
I once swapped in smoked Gouda for half the cheddar, and what came out of the oven was gone in the time it took to mix up a quick ranch dip. On another day, I forgot to chill the dough—result: greasy, flat crackers that tasted fine but stuck in your teeth. Lesson learned: cold dough equals snappy crackers!
Supplementary Sections
Make-ahead Strategies
Wrap the dough tightly and refrigerate for up to three days—slice and bake when cravings hit. The baked crackers keep, sealed air-tight, for a week but rarely last more than a day in my house.
Flavor Variations
Try swapping half the cheddar for pepper jack, stirring in a pinch of cayenne, or dusting crackers with smoked paprika before baking. Last fall, I stirred in a spoonful of dried chives and crumbled bacon for an “adult-only” batch at game night.
Seasonal Adaptations
In summer, use fresh cracked pepper and herbs from the garden—think rosemary or thyme. For holidays, a sprinkle of everything bagel seasoning is festive and savory.
Kitchen Tool Recommendations
A food processor handles mixing in seconds—worth borrowing if you don’t own one. A pastry wheel or pizza cutter makes those classic “zig-zag” edges. And parchment paper keeps cleanup fast and crackers crisp.
Cooking Secrets
- Always grate cheese fresh—pre-shredded has anti-caking agents that make the dough gummy.
- Chill the dough for at least an hour; if you rush, the crackers won’t bake up snappy.
- Roll the dough thin and even—thicker edges will bake up soft while thin ones get too brown. Aim for uniformity, even if it means a few imperfect squares.
After years of tweaking, I’ve learned there’s room for imperfection—these crackers welcome a lopsided edge and a little extra golden brown. That’s when you know they’re truly homemade.
Frequently Asked Recipe Questions
- → How do I ensure my crackers turn out crispy?
Roll the dough as thinly and evenly as possible, aiming for 1/8 to 1/4 inch thickness. Bake until crackers are golden on the edges for the perfect crunch.
- → Can I use gluten-free or keto flour?
Yes, substitute your preferred gluten-free or keto-friendly flour for the all-purpose flour. Adjust the water as needed to form the dough.
- → How should I store the finished crackers?
Once completely cooled, keep the crackers in an airtight container at room temperature for up to a week, so they stay crisp.
- → Can I add different seasonings or cheeses?
Feel free to swap in smoked paprika, dried herbs, or grated Parmesan for customized flavor variations to suit your taste.
- → Why chill the dough before baking?
Chilling allows the butter to firm up, making the dough easier to roll and helping the crackers puff and crisp properly in the oven.