
 Save
Save
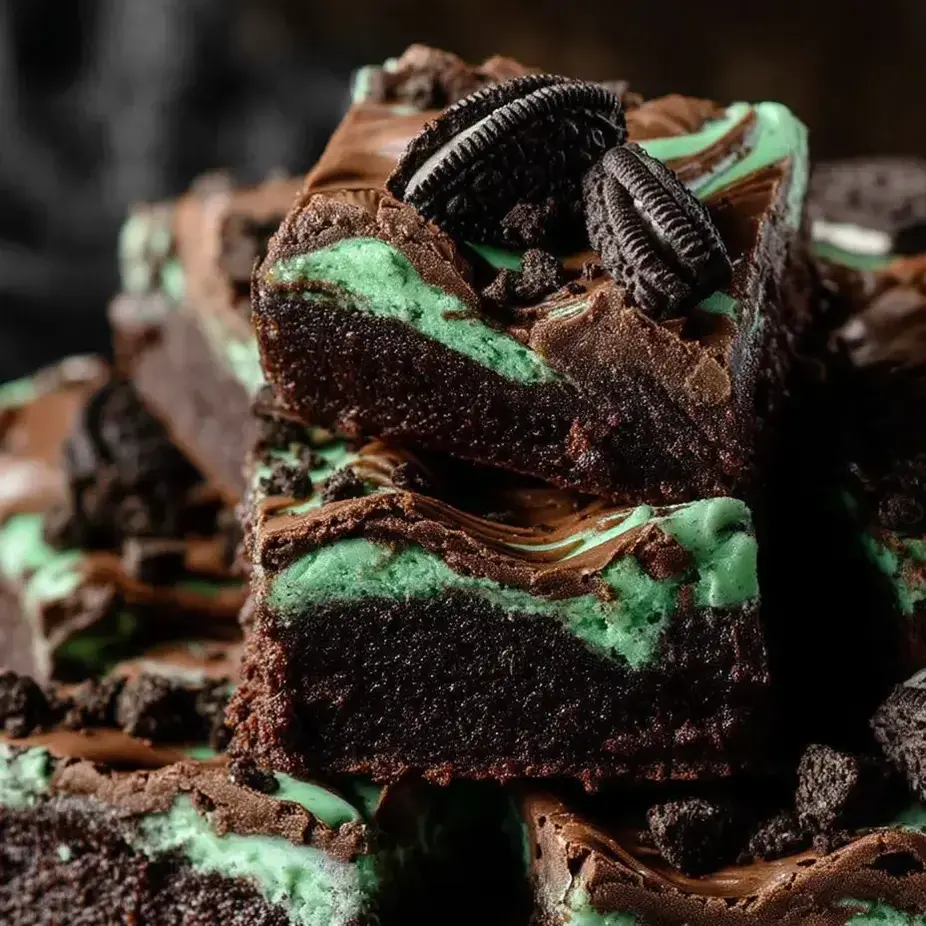
This elevated mint brownie creation turns basic boxed mix into an amazing treat that'll hit the spot for anyone craving that chocolate-mint combo. The mix of gooey brownies, crunchy Mint Oreos, and velvety Andes mints gives you different textures and flavors that work so well together—they're always the first thing to vanish from my dessert spread.
I whipped up these layered mint treats for my boy's birthday when he asked for something with chocolate and mint. They were such a success that we now bring them to every family gathering and potluck as our signature dessert.
Ingredients
- Brownie mix with required ingredients: Forms the rich chocolate foundation for our minty additions
- Mint Oreos: Work as both the bottom layer and pretty garnish on top
- Andes mints: Create that smooth, minty middle layer that makes these treats stand out
- Butter for the pan: Helps your brownies come out cleanly every time
Step-by-Step Instructions
- Get Your Pan Ready:
- Rub butter all over your 9 inch square baking dish, making sure to coat the sides too. Line up whole Mint Oreos across the bottom in one layer. This makes a tasty cookie base that adds wonderful crunch and flavor to your finished treats. Take a moment to arrange them neatly so they fit together well.
- Mix Up Your Brownies:
- Follow the box directions to make your brownie batter until it's nice and smooth. Pour it carefully over your Oreo layer, making sure all cookies get covered. The batter should reach all edges of the pan so everything bakes evenly.
- Bake Them Just Right:
- Stick the pan in your preheated oven and cook according to the box timing, typically around 25-30 minutes. You'll know they're done when a toothpick comes out with just a few sticky crumbs attached. Don't leave them in too long or they'll turn out dry—keep an eye on them near the end.
- Create the Minty Middle:
- As soon as they come out, arrange unwrapped Andes mints all over the hot brownies to form a complete layer. Put the pan back in the warm (but turned off) oven for just 2 minutes to soften the candies. Take it out and use a knife to spread the soft mints into a smooth layer that covers everything.
- Add the Final Touch:
- While that mint layer is still soft, sprinkle chopped Mint Oreos all over the top. Push them down just slightly so they stick but don't sink in completely. Let everything cool on your counter for at least an hour until the mint layer firms up.

Using store-bought items in this way is my trick for making wow-worthy desserts without spending forever in the kitchen. My daughter normally hates anything mint-flavored but always asks for these brownies on special days, which shows how good they are—even picky eaters love them!
Slicing Like a Pro
For really neat brownie squares, use a sharp knife and wipe it clean between cuts. For extra tidy results, chill the brownies in the fridge for 30 minutes before cutting—this makes the mint layer firm and prevents smudges. Weirdly enough, I've found that using a plastic knife works amazingly well since the mint doesn't stick to it as much.

Storage Information
These mint treats stay fresh for about a week when kept in a sealed container at room temp. If you want to save them longer, wrap each piece in plastic and pop them in the freezer for up to three months. The mix of crunchy Oreo bottom and soft brownie actually gets better after day one as everything blends together, so they're great to make in advance.
Customization Options
Though the recipe calls for Mint Oreos, regular ones work great if you want a milder mint taste. You can also try other Oreo flavors like peanut butter or birthday cake for totally different taste combos. For an extra fancy version, pour some melted chocolate over the cooled brownies before serving to add more richness and make them look even more impressive.
Frequently Asked Recipe Questions
- → Can I make these with scratch brownie mix?
Absolutely! Feel free to use your own brownie recipe. Just watch your baking time as it might change.
- → What's the best way to keep these fresh?
Pop them in a sealed container at room temp for about a week. Putting them in the fridge might make them last longer.
- → What if I don't have Andes mints?
No problem! Try other mint chocolates or even regular chocolate bars with a drop of mint extract.
- → Which pan should I grab?
Go for a 9-inch square pan for the best results. Don't forget to grease it or use parchment so they come out easily.
- → How long do I wait before cutting them?
Give them about an hour to cool down. They'll firm up nicely and won't fall apart when you slice them.