
 Save
Save
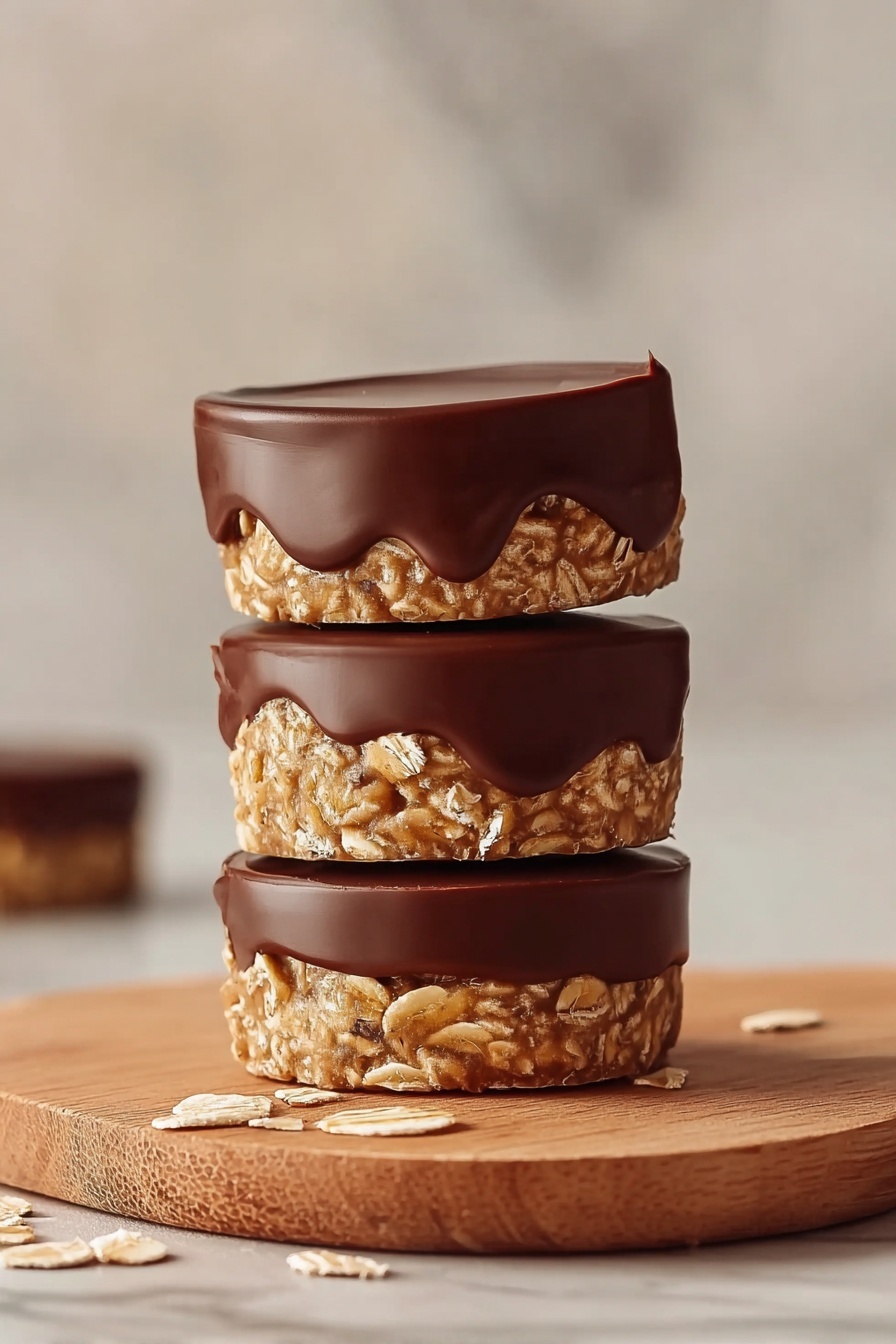
These peanut butter oat cups are my favorite quick treat when I want something sweet but wholesome. They come together fast and satisfy that nutty chocolate craving without feeling too heavy.
I first made these cups on a lazy Sunday afternoon and now they are a staple snack whenever I need an energy boost or a kid-friendly dessert.
Ingredients
- Unsalted creamy peanut butter: brings smooth richness and sticks everything together pick a good quality brand for the best flavor and texture
- Maple syrup: adds natural sweetness and moisture opt for pure maple syrup for authenticity and depth
- Rolled oats: provide a chewy, wholesome base look for certified gluten-free oats if needed to avoid cross-contamination
- Vegan semi-sweet chocolate chips: offer a melting topping layer choose good quality chocolate for a more indulgent finish
Instructions
- Build The Base:
- Line a muffin tin with 10 to 12 paper liners or lightly grease your pan to prevent sticking. In a mixing bowl combine peanut butter and maple syrup and stir until completely smooth. Add rolled oats and mix thoroughly so every oat is coated and the mixture feels sticky and holds together well.
- Pack Into Cups:
- Scoop approximately 2 tablespoons of the oat mixture into each muffin liner and press down firmly to create a compact base. This step ensures the cups hold their shape once set.
- Chill To Set:
- Place the muffin tin in the fridge and chill for 15 to 20 minutes. This firming up is important to prevent crumbling when adding the chocolate topping.
- Prepare The Topping:
- Melt vegan chocolate chips and peanut butter in 30-second intervals stirring well until glossy and smooth. This blend gives the topping a creamy, nutty chocolate flavor.
- Top And Freeze:
- Spoon 1 to 2 teaspoons of the melted chocolate mixture onto each chilled oat base and spread gently to cover evenly. Put the tray in the freezer for 20 to 30 minutes until the chocolate sets hard.
- Serve:
- Carefully peel the paper liners off or pop out the cups and let them sit for five minutes before enjoying to bring them to an ideal eating texture.
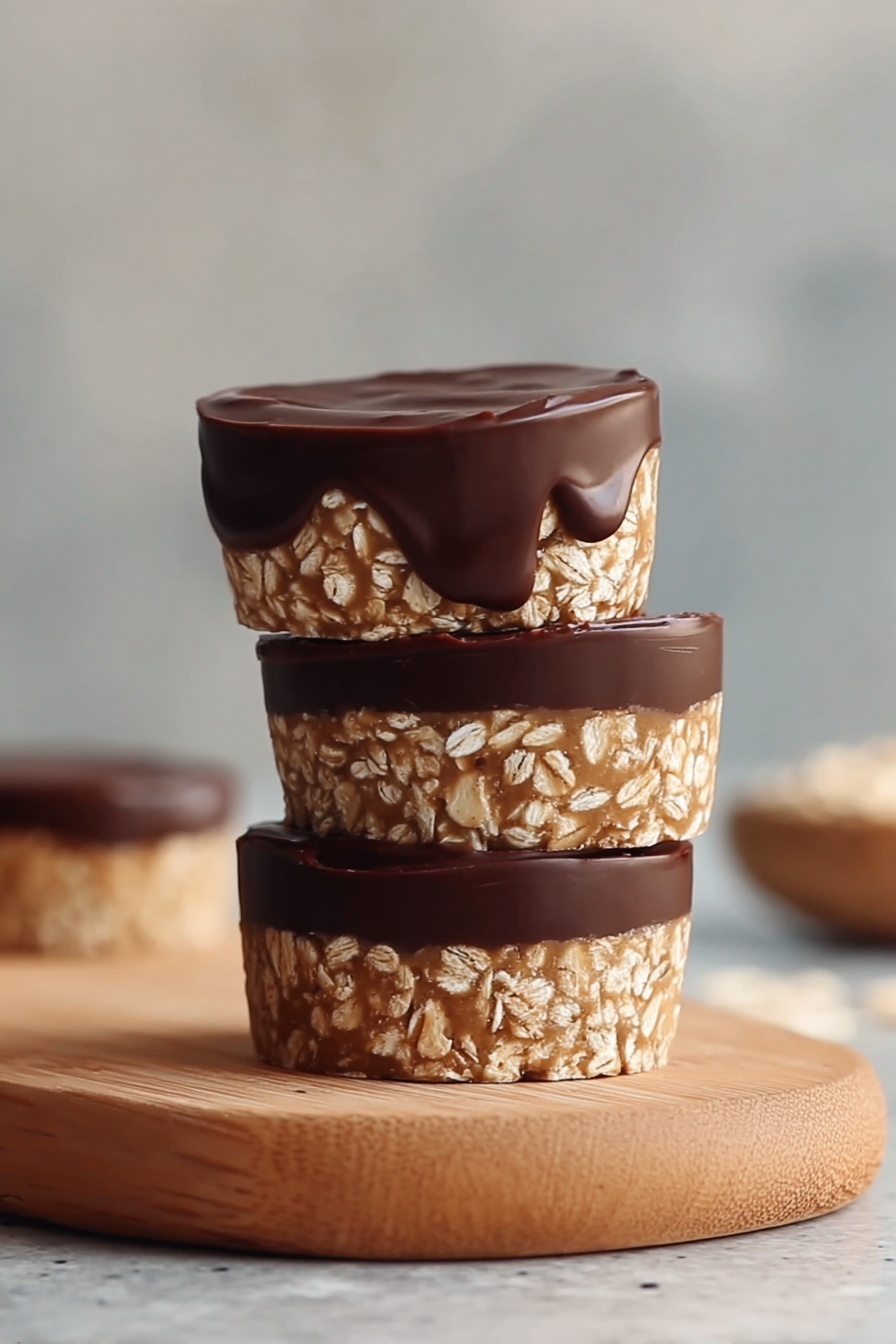
Peanut butter is the star here giving these cups their signature flavor and a protein boost. I have fond memories making these with my kids on weekend afternoons and always loved how the chocolate topping looks against the oats like a homemade candy treat.
Storage tips
Keep these cups stored in an airtight container in the fridge to enjoy within a week. For longer storage freeze them in a single layer to prevent sticking and thaw a few minutes before eating for the perfect bite.
Ingredient swaps
You can substitute almond butter or sunflower seed butter for a nut-free version. Adjust maple syrup to taste if you prefer less sweetness. Dark chocolate chips work well as an alternative to vegan semi-sweet.
Serving ideas
Enjoy these cups as a quick breakfast on the go paired with fruit or as an after-school snack. They also make a lovely addition to lunchboxes or a small dessert alongside a scoop of dairy-free ice cream.

I learned the hard way not to skip chilling the oat base fully before adding the chocolate topping it helps keep the layers distinct and the cups together.
Frequently Asked Recipe Questions
- → What type of oats works best for these cups?
Rolled oats provide the ideal texture, offering chewiness and structure. Using certified gluten-free oats ensures suitability for gluten-sensitive diets.
- → Can I substitute peanut butter in the base?
Yes, almond butter or other nut-free butters can replace peanut butter for varied flavors or allergy considerations.
- → How can I reduce the sweetness in these cups?
Adjust the maple syrup amount from 6 tablespoons down to 4 tablespoons for a subtler sweetness without compromising texture.
- → What is the best way to melt the chocolate topping?
Melting the vegan chocolate chips with a bit of peanut butter in short intervals helps achieve a smooth, spreadable consistency without burning.
- → How long should the cups be chilled or frozen?
Chilling the oat base for 15–20 minutes firms it up, while freezing for 20–30 minutes after adding the topping ensures a clean set for easy removal.