
 Save
Save
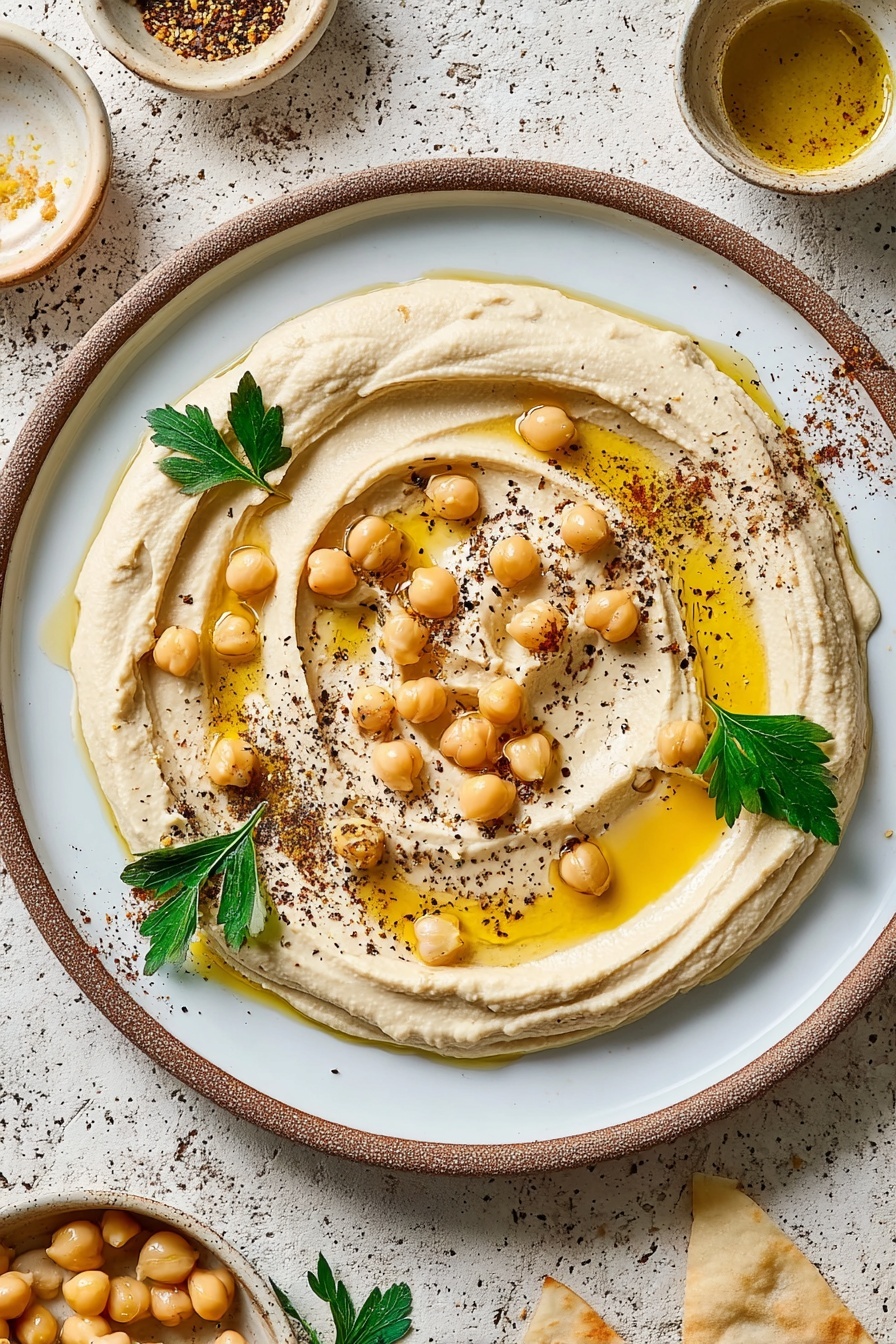
This creamy homemade hummus is my favorite go-to snack and side dish that elevates any meal with simple ingredients straight from the pantry. It is smooth, flavorful, and perfectly balanced making it ideal for everything from weeknight dinners to casual gatherings.
I started making this recipe when a purchased hummus jar was always disappointing and now it is a household staple that never fails to impress guests.
Ingredients
- 1 (15-ounce) can of chickpeas: choose a good quality brand for fresh flavor and firm texture
- 6 tablespoons tahini: select a creamy, well-stirred tahini for rich nuttiness
- Juice of 1 large lemon: about 2 tablespoons fresh squeezed for bright acidity
- 2 garlic cloves: fresh garlic gives a sharp pungent kick important for authentic taste
- 1/2 teaspoon salt: adjust to your preference to balance flavors
- 2 tablespoons extra virgin olive oil: pick a fruity and peppery oil to enhance richness
- Ice cubes: about six one per minute of processing to keep the hummus cold and silky
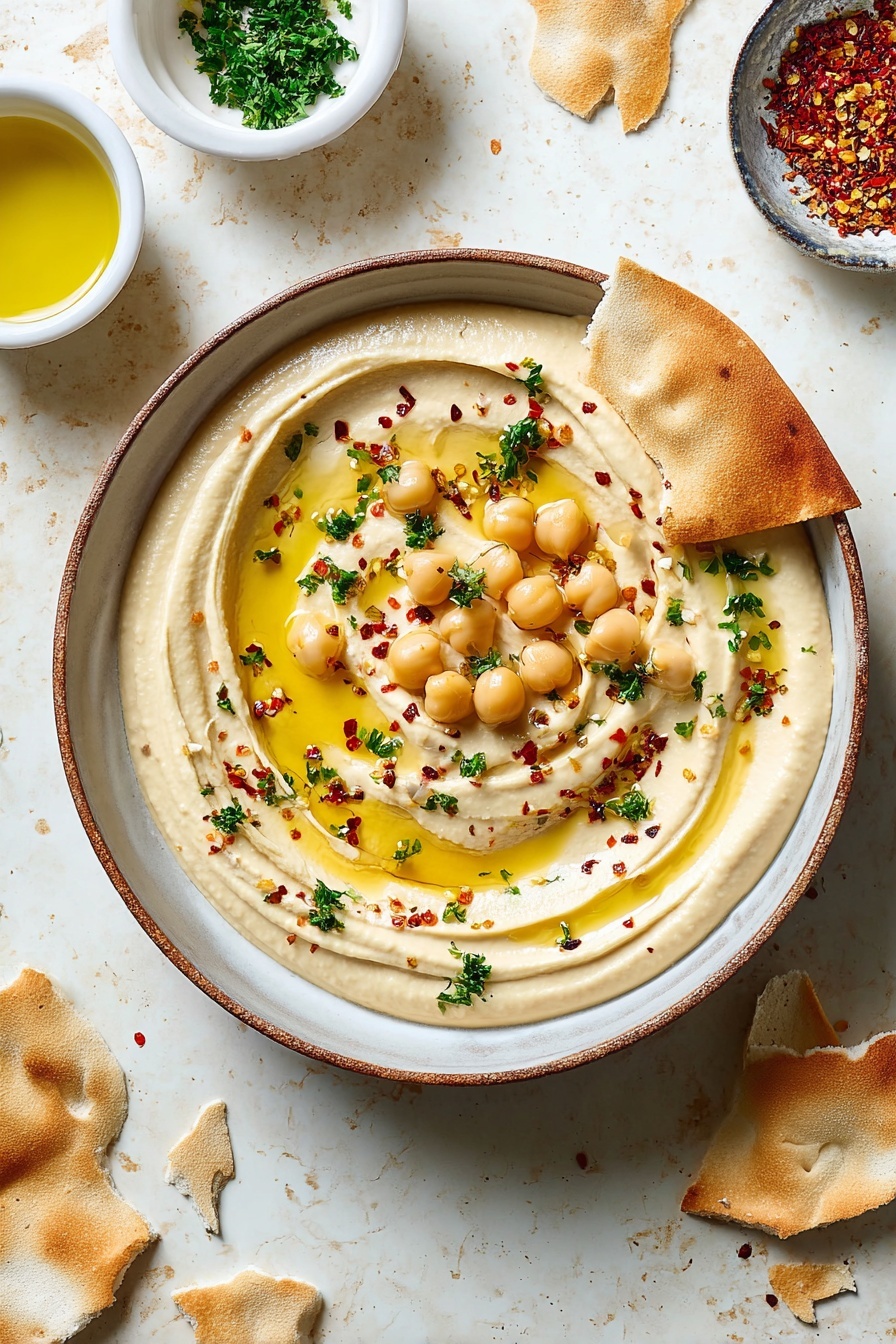
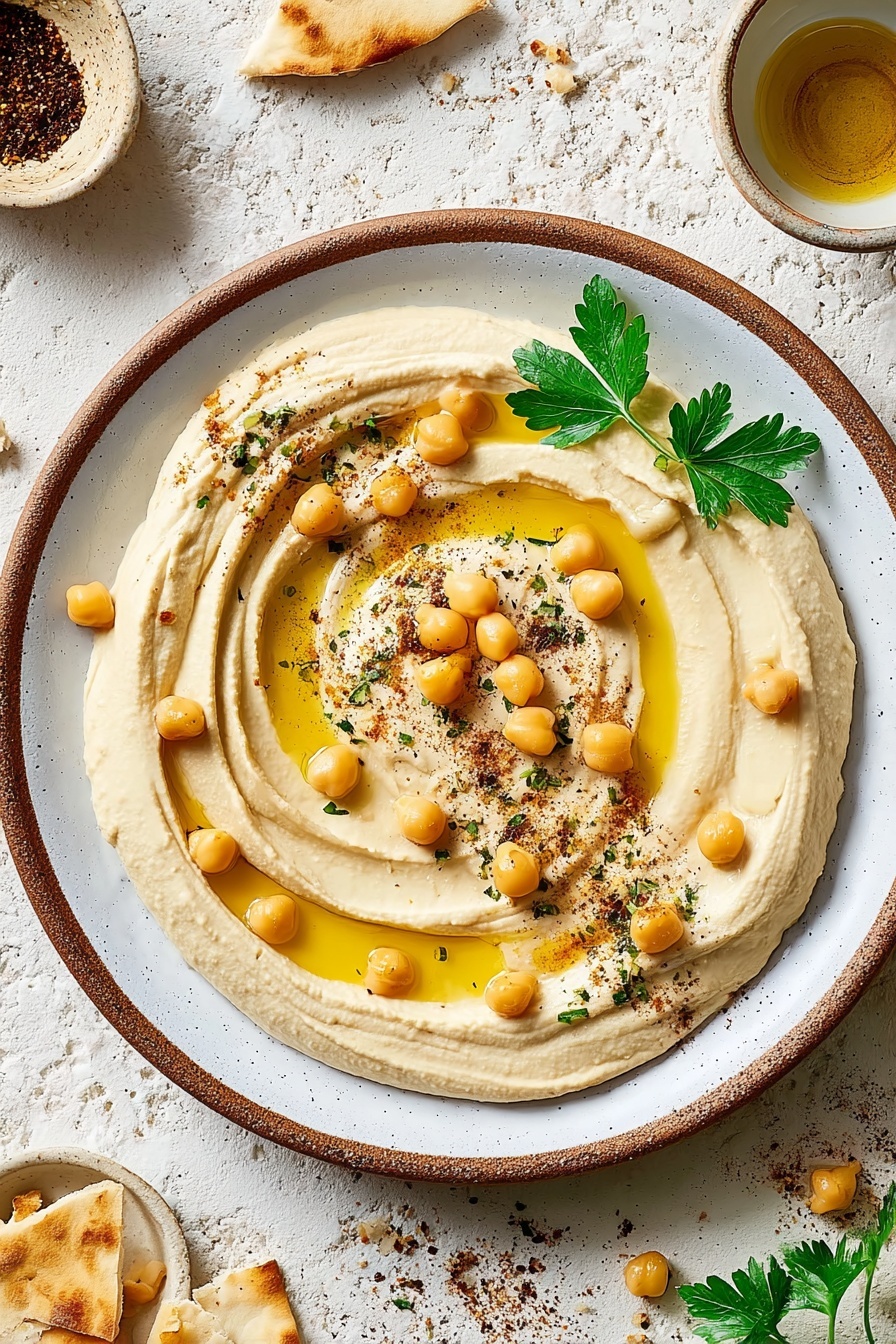
- Optional garnishes: pick 2 or 3 like good quality extra virgin olive oil, whole chickpeas, ground cumin, paprika, chopped parsley, ground sumac, or toasted pine nuts to add texture and visual appeal
Instructions
- Build The Base:
- Drain the chickpeas and rinse them under cold water. Place the chickpeas in a bowl and cover with cold water by about two inches. Rub the chickpeas gently between your fingers to loosen the skins which will float to the surface. Remove the skins as you drain the water and repeat once to ensure most skins are peeled. Peeling is key for that silky consistency.
- Combine Ingredients:
- Place the peeled chickpeas, tahini, fresh lemon juice, garlic cloves, salt, and olive oil into the bowl of a food processor. Blend everything on medium speed for about 40 seconds until roughly combined.
- Smooth and Cool:
- Scrape down the sides and bottom of the food processor bowl with a spatula to gather everything back into the blade. Turn the processor on high and blend for about 3 minutes. Every 50 to 60 seconds add one ice cube to the mixture. This keeps the mixture cold and prevents the hummus from overheating which can alter the texture.
- Taste and Adjust:
- Check the hummus and add additional tahini, lemon juice, or salt as needed to balance the flavors. Blend again briefly if you add anything.
- Rest for Flavor:
- Transfer the hummus to a bowl and cover it tightly with plastic wrap pressing the wrap directly onto the surface to stop a skin from forming. Refrigerate for 30 minutes up to 4 hours so all the flavors meld beautifully.
- Serve and Garnish:
- Before serving, create a small well in the center of the hummus with the back of a spoon. Drizzle with a little extra virgin olive oil and scatter your chosen garnishes. Serve with warm pita bread, pita chips, or fresh veggies for dipping.
My favorite ingredient is tahini because its creamy texture and nutty flavor bind everything together making it rich yet light. This recipe reminds me of family gatherings where hummus was always the first to disappear and brought everyone together around the table.
Storage Tips
Store homemade hummus in an airtight container in the refrigerator for up to 4 days. Always cover the surface with a thin layer of olive oil or plastic wrap to prevent drying out. If the hummus thickens too much after chilling, stir in a small amount of water or olive oil to loosen it before serving.
Ingredient Swaps
Use canned white beans like cannellini instead of chickpeas for a milder taste and creamier texture. You can replace garlic with roasted garlic for a sweeter, mellower flavor. Tahini can be swapped with sunflower seed butter in case of sesame allergies but expect a slightly different flavor.
Serving Ideas
This hummus shines as a dip with pita chips, toasted flatbread, or fresh vegetable sticks like cucumbers, carrots, and bell peppers. It also makes a fantastic spread for sandwiches, wraps, or as a creamy addition dolloped over grilled meats or roasted vegetables.
This hummus is an easy, delicious addition to any meal that is sure to impress your guests.
Frequently Asked Recipe Questions
- → Why should the chickpeas be peeled before blending?
Removing the skins results in a smoother, creamier texture and a more refined taste in the final dip.
- → What role do ice cubes play when processing the ingredients?
Adding ice cubes while blending helps keep the mixture cool, maintaining a fresh, light texture and preventing overheating.
- → Can I adjust the tanginess in this blend?
Yes, you can increase or reduce the amount of lemon juice to suit your preference for a more or less tangy flavor.
- → Which garnishes enhance the flavor best?
Options like ground cumin, paprika, chopped parsley, toasted pine nuts, or a drizzle of quality olive oil add aroma and depth.
- → What serving ideas complement this creamy chickpea spread?
This spread pairs wonderfully with warm pita bread, crispy chips, or fresh vegetables for a balanced snack or starter.