
 Save
Save
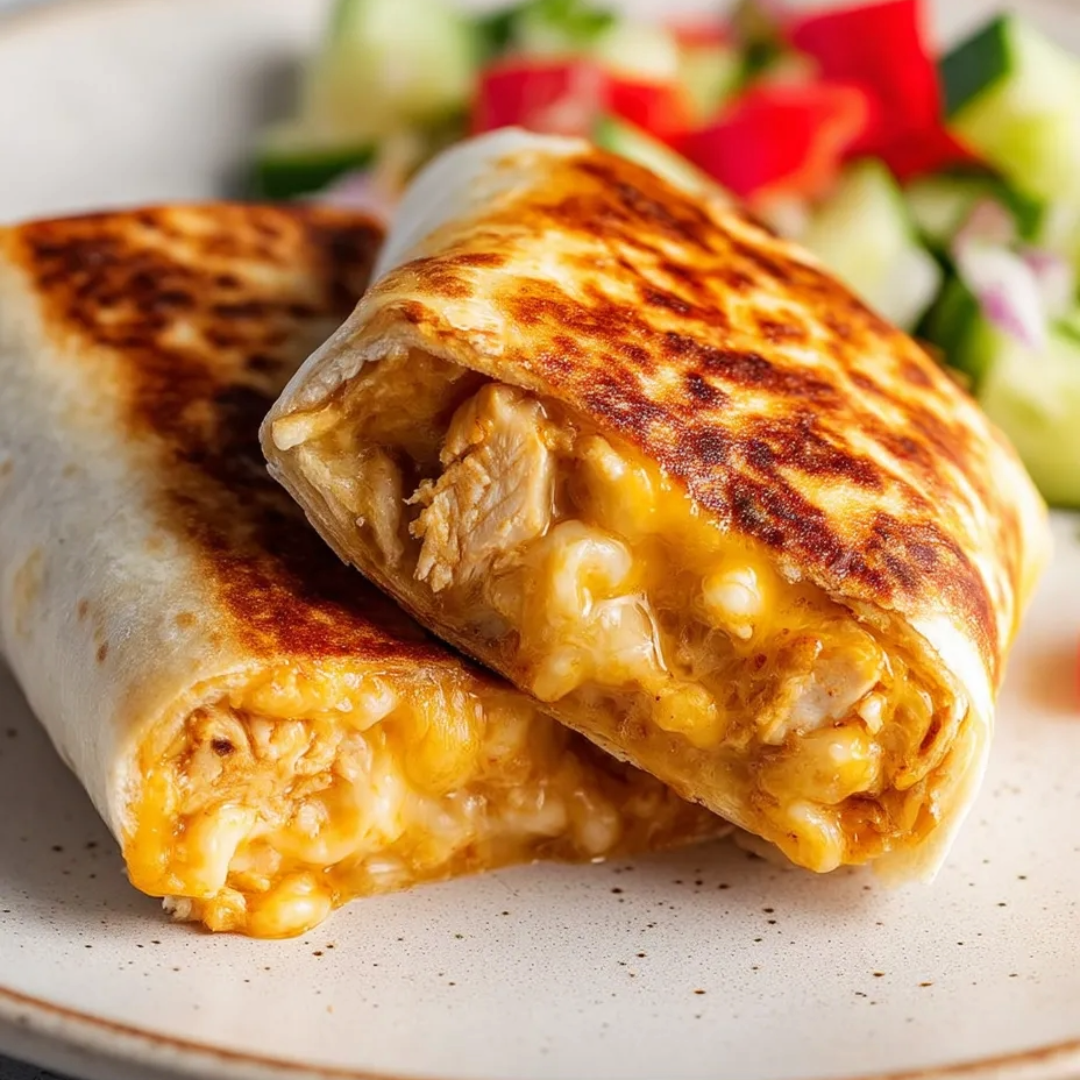
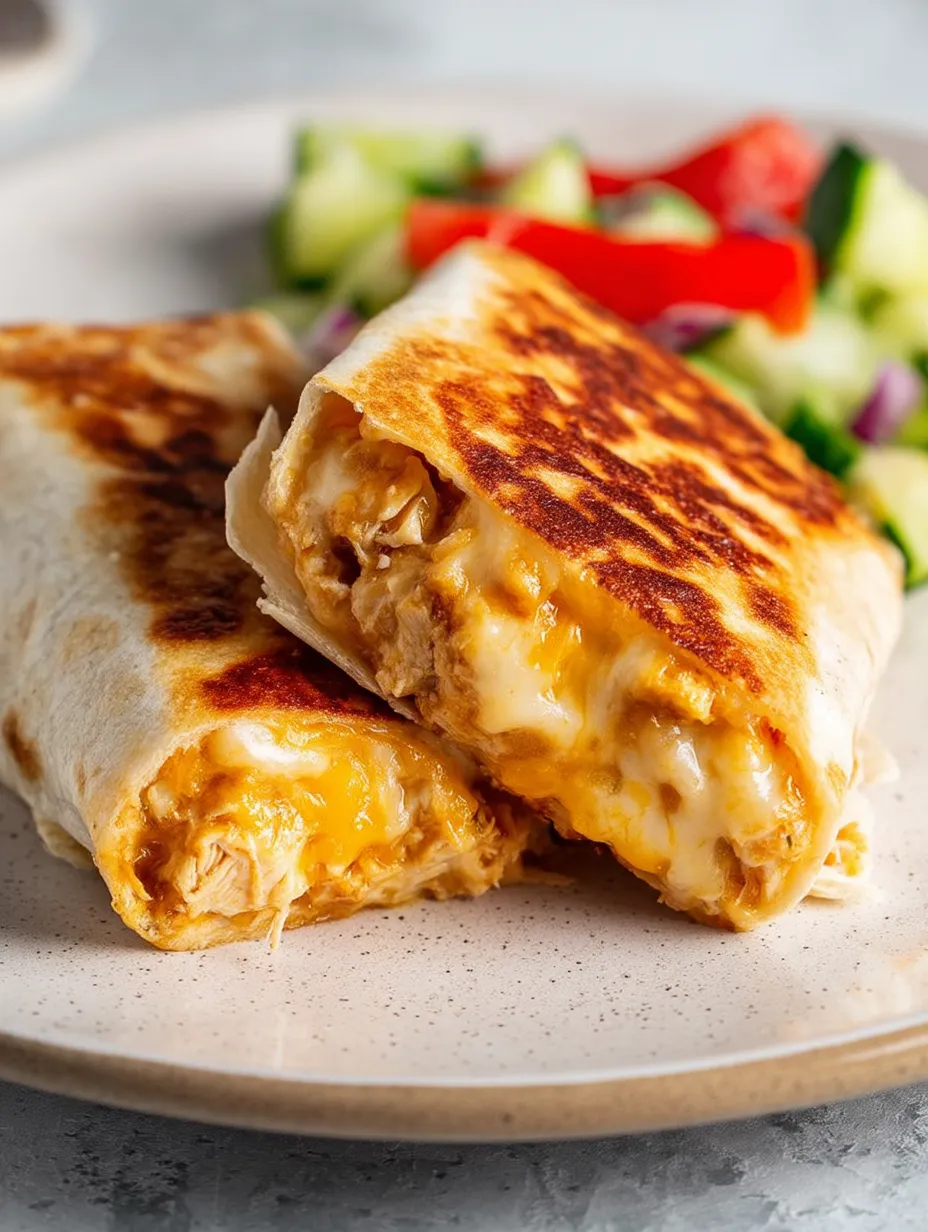
Cheesy garlic chicken wraps hit all my weeknight cravings—think crunchy tortilla outsides, gooey cheese bubbling inside, and juicy garlicky chicken stuffed right in the middle. The inside is crazy simple but somehow feels fun enough to shake up lunch or dinner. I keep coming back when I need protein, fast, that feels cozy but won’t leave me with a sink full of stuff to wash.
I tossed these together one night with leftover grilled chicken and almost-empty tortillas. After that first cheesy, garlicky taste, everyone at home begged for more. Now they're a go-to when it feels like life’s too busy to cook or when we want something easy and good on Friday night.
Irresistible Ingredients
- Olive oil spray: Just a little spritz keeps the tortilla crisp without sticking. Use extra-virgin if you can for the nicest hint of flavor.
- Green onion: Ends everything with a fresh taste and a light crunch. Pick for bright color and skip the sad, floppy ones.
- Grated cheese: Gets super gooey in the middle. Sharp cheddar is awesome, but add what you like for a good melty pull.
- Salt: Just a pinch ties it all together and brings out every flavor.
- Hot sauce: Brings the zing! Add more or less so it’s as spicy as you like.
- Light Greek yogurt: Helps everything stick together and adds tang. Go for plain, thick yogurt for best results.
- Light mayonnaise: Makes the inside creamy and gives a silky texture. Choose your fave brand.
- Fresh garlic: Can’t have that signature flavor without it. Chop or grate garlic for tons of punch—avoid any with green centers.
- Cooked chicken: Roasted leftovers or a shortcut with rotisserie, both give you juicy pieces and save time.
- Large tortillas: Go flour for classic wraps or swap in a protein tortilla if you want. Just be sure they’re sturdy so they won’t rip.
Simple How-To Steps
- Slice and Enjoy:
- Take wraps off the heat and cut them in half. The cheesy goodness is best while it’s hot and stretchy, so dig in right away.
- Pan-Crisp Time:
- Get your nonstick skillet hot over medium-high. Add a bit of olive oil spray. Put the wraps seam-side down and cook for 3 to 4 minutes without moving them so a golden crust forms. Flip and do the same for the other side. For super gooey cheese, pop a lid on for the last minute.
- Wrap Things Up:
- Once the filling’s on the tortilla, fold the sides over it. Roll up from the bottom tight, just like a burrito. Make sure those ends are snug so nothing leaks out when you cook.
- Stuff the Tortillas:
- Spread tortillas out flat. Sprinkle on a good amount of cheese along the bottom third. Plop about 2/3 cup of the chicken mix right on top, then add a little more cheese and a pinch of green onion.
- Mix Up the Inside:
- Toss the chicken, garlic, mayo, yogurt, hot sauce, and salt in a big bowl. Stir until every bite looks creamy with garlic specks. Taste and add more salt or hot sauce if you want more flavor.
I absolutely love a punchy, sharp cheddar for this. It melts into that perfect cheesy stretch when you slice. My favorite way is outside with my kids—everyone’s got salsa for dipping and there’s never anything left over.
Storage Wisdom
Let the wraps cool off completely before popping them in a sealed box in your fridge—they’re fine for up to two days. Reheat using a pan or air fryer so they come out crispy again. I wouldn’t freeze the built wraps, but the filling itself holds up well in the freezer for about a month. Just let it thaw overnight and you’re good to go.
Easy Swaps
No problem swapping mayo for a vegan version if you want to skip the egg. Greek yogurt can easily be swapped for thick plain yogurt or even sour cream if that’s what’s in your fridge. Rotisserie chicken is my favorite quick shortcut, but poached or grilled chicken works too. Cheese is a choose-your-own-adventure: mozzarella for mellow, or pepper jack to turn up the heat.
Serving Ideas
I often just eat one solo, but they’re next-level next to some crunchy coleslaw or a pile of roasted veggies. For chill hangs, throw out some salsa, a few pickles, and chips. Got a party? Slice these thick for an easy snack that’ll disappear fast.

Backstory
Wraps soared into the spotlight in the US during the '90s as a fresher, more fun spin on the old-school sandwich. They pull inspiration from tasty classics like burritos and flatbread wraps from all around the globe. Garlic and cheese pile on that cozy, familiar taste—reminds me a bit of hot garlic bread, so it’s easy to see why we all love them.
Frequently Asked Recipe Questions
- → Can I substitute the cheese type?
Go for it! If it melts, it works. Mozzarella, Monterey Jack, or even a hot pepper jack all taste great. Mixing cheeses is a win too.
- → Is it possible to make these ahead?
You sure can. The chicken mix keeps in the fridge for two or three days. Just build and toast your wraps when you’re ready to eat so they don’t get soggy.
- → Are there alternatives to pan-frying?
Yep! You can pop them in the oven at 400°F (200°C) for about 10–12 minutes, or use the air fryer at 375°F (190°C) for 6–8 minutes. Pan-frying gets the crunchiest shell, but all three turn out tasty.
- → What can I serve with these wraps?
Toss a salad on the side, add roasted veggies, or scoop them up with salsa. They also go well with pickles or a handful of chips.
- → How do I reheat leftovers?
Warm the wraps on a pan or in the air fryer if you want that crunch back. Microwaves tend to make them limp. The filling is fine to freeze for later, though.