
 Save
Save
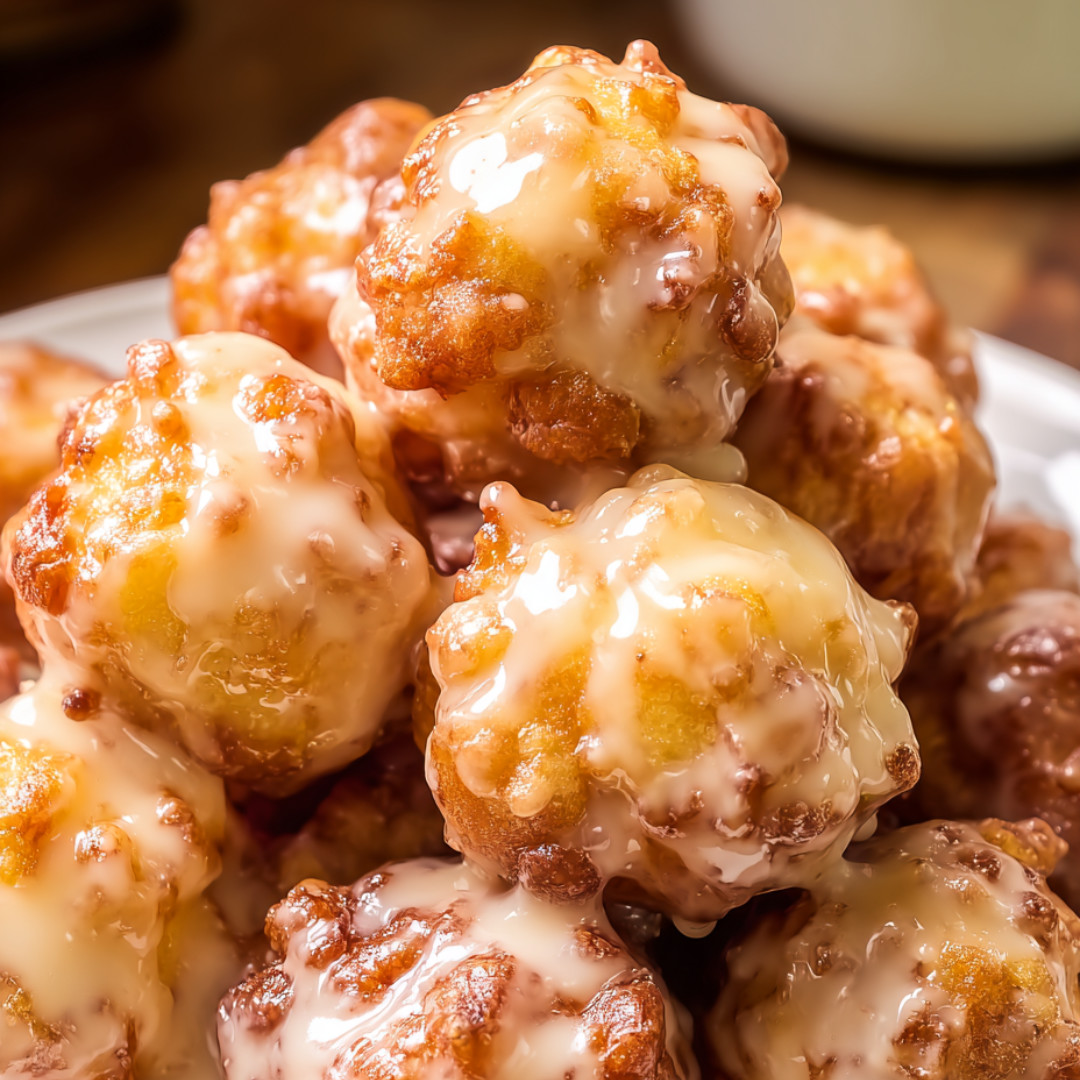
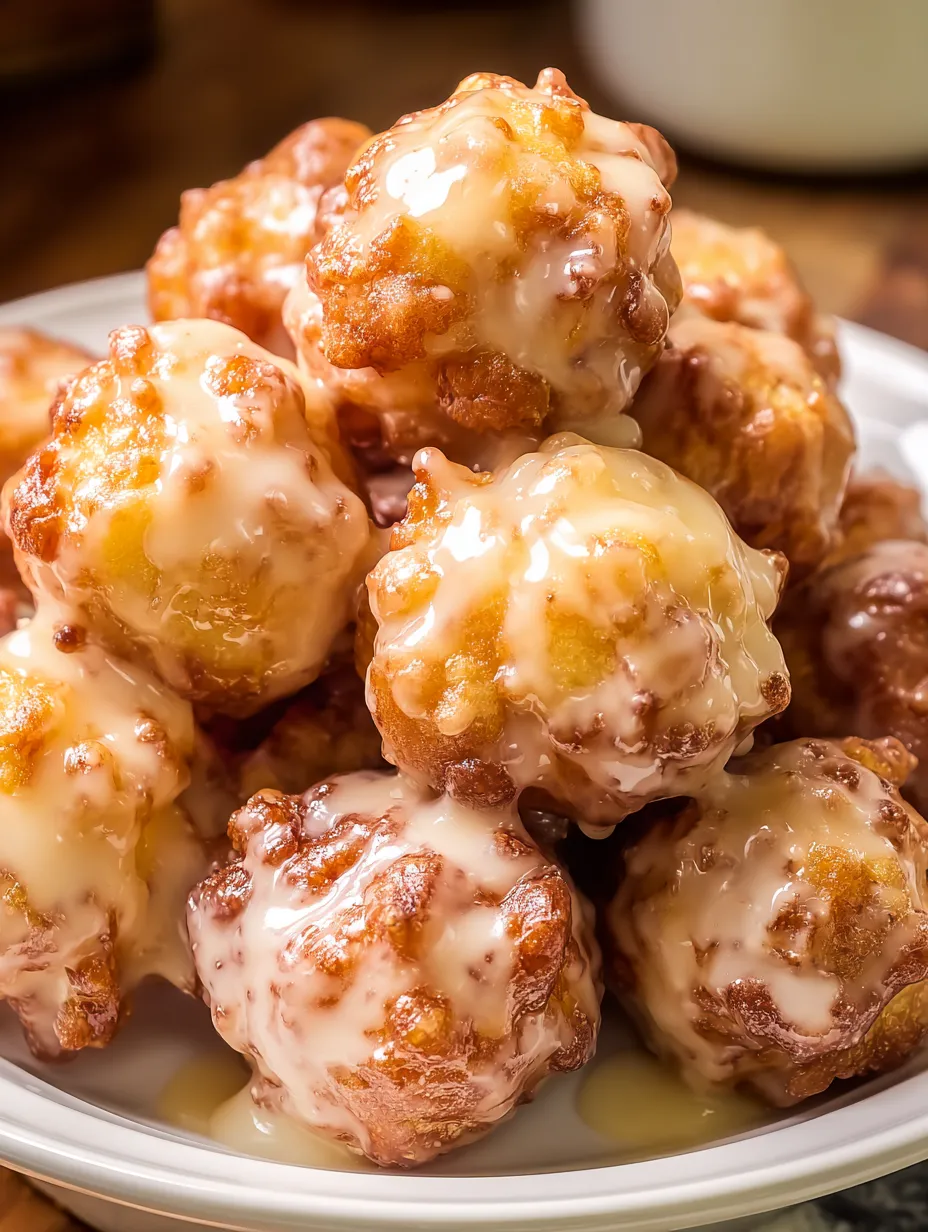
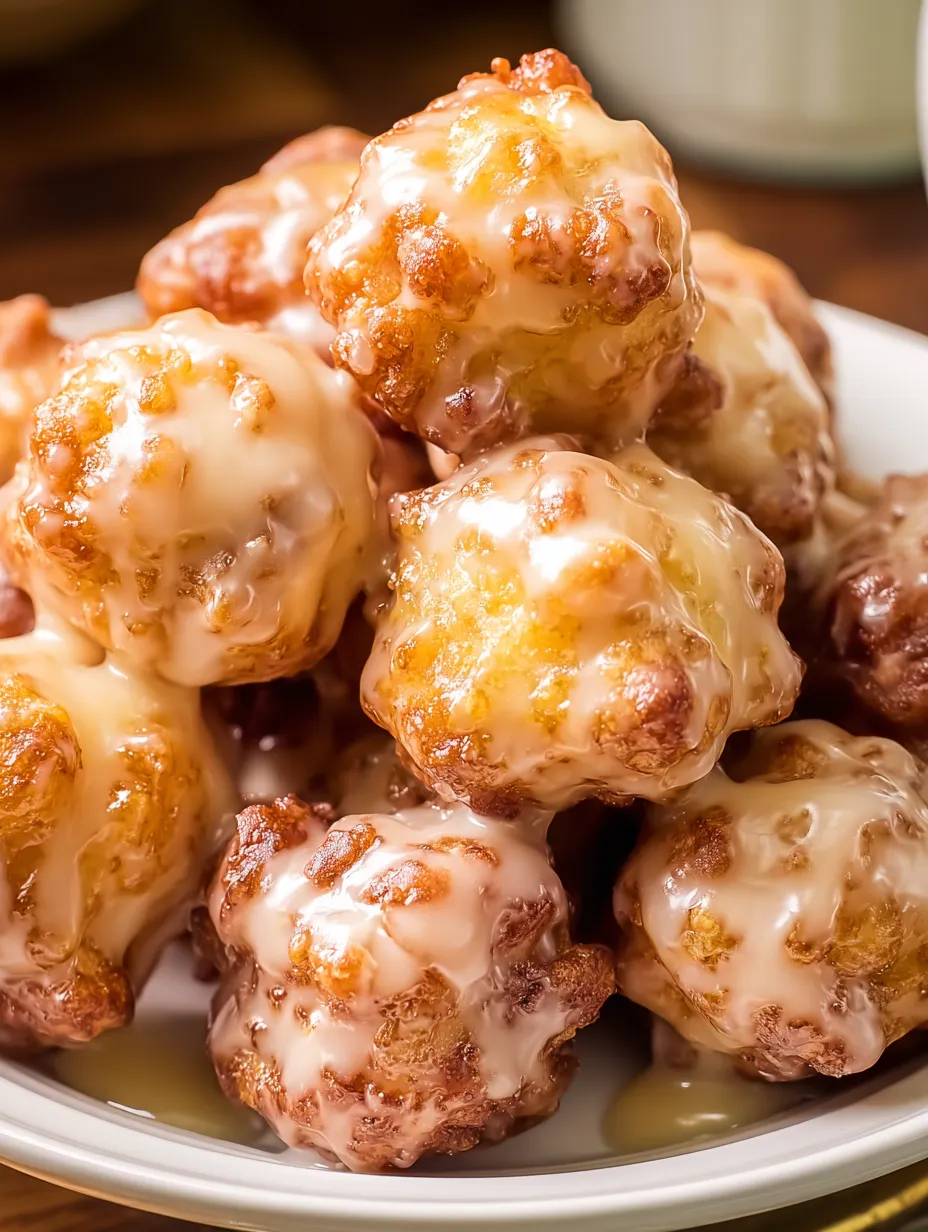
Apple fritter bites are soft golden treats stuffed with cinnamon and juicy apple in every bite. I whip these up on cool weekend mornings or anytime I want the house to be filled with cozy, sweet fall smells. Those gooey middles and shiny apple cider glaze always get my family crowding the kitchen as soon as they're out of the oven.
I gave these fritter bites a shot for the first time after an apple-picking trip with my kids, and now they’re our go-to every fall. Nothing feels cozier than munching on them straight from the tray with warm glaze dripping off your hands.
Tempting Ingredients
- Honeycrisp or Gala apples: sweet and tart bites that stand out, peel and chop them small for even flavor
- Vanilla extract: ties the flavors together, real vanilla gives the best taste
- Ground cinnamon: cozy fall scent fills your kitchen when you bake, make sure it smells strong and sweet
- Powdered sugar: makes the glaze fluffy and smooth, sift to avoid lumps
- Granulated sugar: sweetens the dough and helps it brown up, choose pure cane if you can
- Apple cider or juice: brings zing to your glaze, fresh-pressed is a bonus for an extra kick
- Large egg: brings everything together so the bites aren’t crumbly, let it come to room temp for easy mixing
- All-purpose flour: the base that holds everything, use a good fresh bag for the best texture
- Baking powder: makes the fritter bites puff up and stay soft, double-check it’s not old
- Unsalted butter: adds a rich taste and softness—melting it helps it mix into the batter evenly
- Kosher salt: helps sing out the apple taste and tones down the sweetness, use fine sea salt if you need to swap
- Unsweetened applesauce: keeps the fritters moist and gives extra apple flavor, pick one with just apples if you can
Simple Step-by-Step Guide
- Let your glaze set:
- Once you brush on the last layer of glaze, leave the fritters to cool and firm up for about 15 minutes
- Get them ready for baking:
- Scoop up the batter in tablespoon-sized portions and plop them onto your baking sheet, making sure there’s room for each bite to spread
- Heat your oven and sheet:
- Flip on the oven to 400°F and spritz your baking sheet with nonstick spray so nothing sticks and everything gets golden
- Bake and glaze:
- Pop them in for around 10 minutes till they’re set and starting to turn golden, pull them out, blast on the broiler, and glaze the hot fritters with your cider-sugar mix
- Mix the dry goods:
- Stir together flour, baking powder, salt, and cinnamon in a bowl till the mix is nice and blended for fluffy fritters
- Broiler time:
- Move the glazed fritters under the broiler for 2–4 minutes, turning them a lot so the glaze gets bubbly and just a little crisp
- Wet ingredients come together:
- Whisk butter and sugar in a big bowl till creamy, then stir in the egg, vanilla, and applesauce, blending till it’s nice and smooth to keep the butter from turning lumpy
- Bring it all together and add apples:
- Mix your dry stuff into the wet—gently! Only till combined, or they’ll get tough, then fold in chopped apples for fruity pops
My favorite moment is gently folding those diced apples into the dough just before baking. Sometimes I sneak in another handful if my kids aren’t paying attention—can’t get enough of those juicy, tart bits inside. Honeycrisp apples really make these sing with brightness.
Storage Hacks
Pop these bites into a sealed box at room temp for up to two days. Need them to last longer? Stick them in the fridge, then warm gently in the oven before you eat. If you’ve glazed ahead, let them cool before packing so your glaze stays set and not sticky.
Swap Ideas
Go for chopped ripe peaches or pears instead of apples for a new spin. If you want dairy-free, use melted coconut oil instead of butter. Swap out some applesauce with plain Greek yogurt to add extra zip and richness. Ran out of apple cider? Try orange juice for a fun twist.
How to Serve
Stack these high on a cake stand for brunch. A big cup of coffee or spiced tea goes great. Turn them into a real dessert by topping with a scoop of cinnamon or vanilla ice cream and pouring on extra glaze while they're warm.
Fun History and Background
Fritters go way back in American kitchens, all the way to colonial times when baking or frying fruit-filled dough was a smart way to use up the harvest. This oven method gives you all those classic flavors but skips frying, and brings out that fresh apple taste even more.
Frequently Asked Recipe Questions
- → Is it okay to swap out the apples for another type?
Go for it—try Fuji, Braeburn, or any firm, sweet variety if you want something different from Gala or Honeycrisp.
- → How do the bites get that shiny look on top?
Once you brush on the apple cider glaze and pop the bites under the broiler, the top gets that awesome glaze and a bit of crunch.
- → Can I prep these in advance?
They're best when fresh, but baking ahead works! Just glaze right before eating so they stay soft and glossy.
- → What’s the best way to keep extras?
After they’ve cooled, stash them in an airtight box on the counter for a couple days. Warm them a little if you want to bring back that out-of-the-oven feel.
- → Can I pop them in the freezer?
Totally! Freeze them before glazing, then let them thaw, warm them up a bit and finish off with glaze when you’re ready to eat.