
 Save Pin
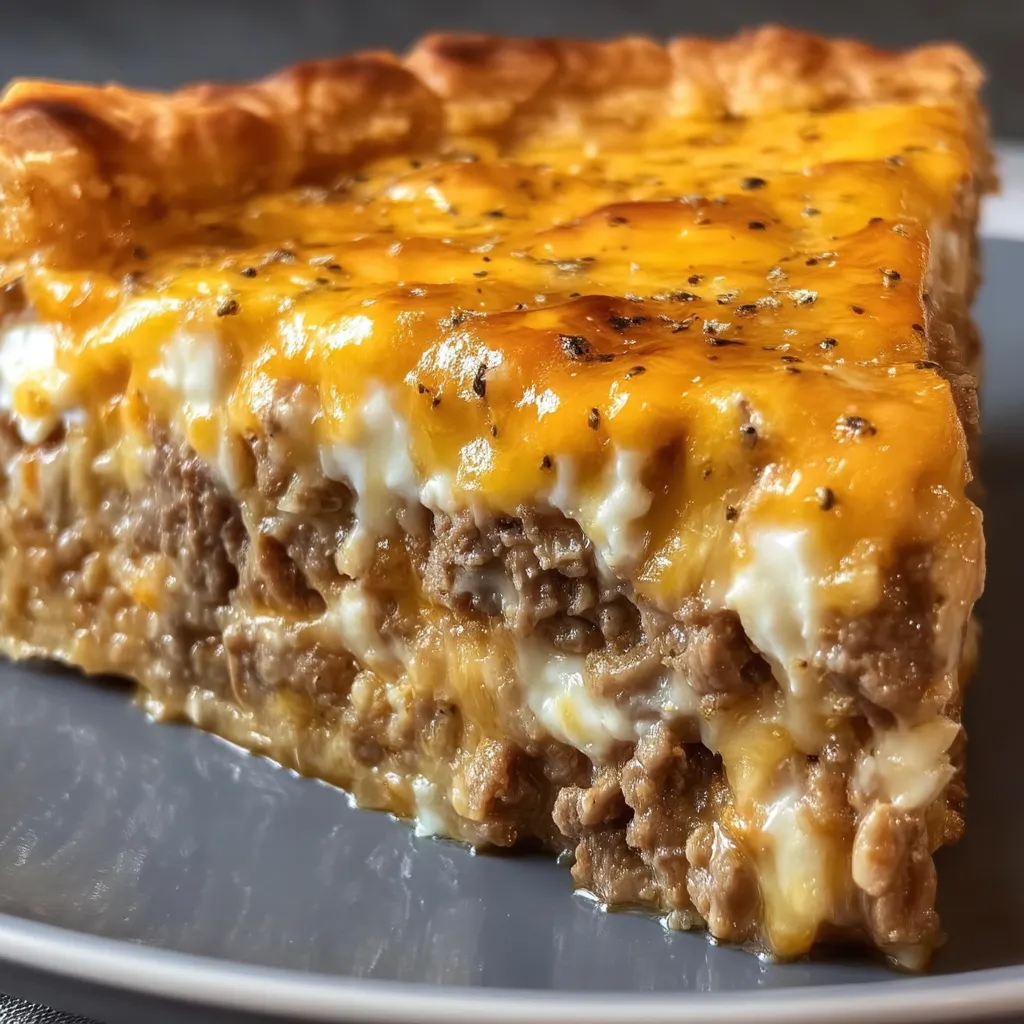
This filling cheeseburger pie packs all the tastes of your go-to fast food into a cozy homemade meal ready within an hour. My folks nickname this our "busy day blessing" since it keeps even the fussiest family members happy while giving me some breathing room from tricky dinner prep.
I started whipping this up during a crazy busy time when my children joined several sports teams. This dish rescued our evening meals many times, and these days they ask for it at least twice monthly, particularly when they're craving something warm and familiar.
Ingredients
- Ground beef: Go for 80/20 meat-to-fat mix for best taste and moisture
- Large onion: Brings natural sweetness and flavor to the meat base
- Cheddar cheese: Pick something extra sharp to get that real burger experience
- Bisquick mix: Works magic by creating a top crust without needing separate pastry
- Whole milk: Makes the batter rich and smooth for perfect setting
- Eggs: Help the topping rise nicely and hold its shape
- Salt and pepper: Basic seasonings that bring out all other flavors
- Garlic powder: Not required but really worth adding for extra flavor depth
Step-by-Step Instructions
- Prep Your Oven and Pan:
- Set your oven to 400°F, hot enough to get that nice golden top while cooking everything inside thoroughly. Thoroughly grease a 9inch glass pie dish to stop sticking. Glass works best so you can check if the bottom's done cooking.
- Cook the Aromatics:
- Cook your diced onion in a big skillet until it turns see-through and gets a bit soft, around 3 minutes. This builds the flavor base of your pie. Don't let them brown or they'll taste bitter.
- Brown the Beef:
- Toss your ground beef in with the soft onions, breaking it up into tiny bits with your spatula. Cook until you don't see any pink, about 10 minutes, stirring now and then. Don't forget to drain extra fat after cooking so your pie won't end up greasy.
- Layer the Base:
- Spread the beef and onion mix into your greased pie plate, making it level across the bottom. Scatter the shredded cheddar evenly over the meat. As it melts, the cheese will make a gooey middle that binds everything together.
- Prepare the Topping:
- In another bowl, mix the Bisquick, milk and eggs until you've got a smooth blend without clumps. It should look like pancake batter. Pour this evenly over your beef and cheese, making sure it covers everything.
- Bake to Perfection:
- Put your assembled pie in the hot oven and bake for 2025 minutes. You'll know it's ready when the top turns golden and a knife stuck in the middle comes out clean. Let it sit for 5 minutes before cutting so it can firm up properly.
 Save Pin
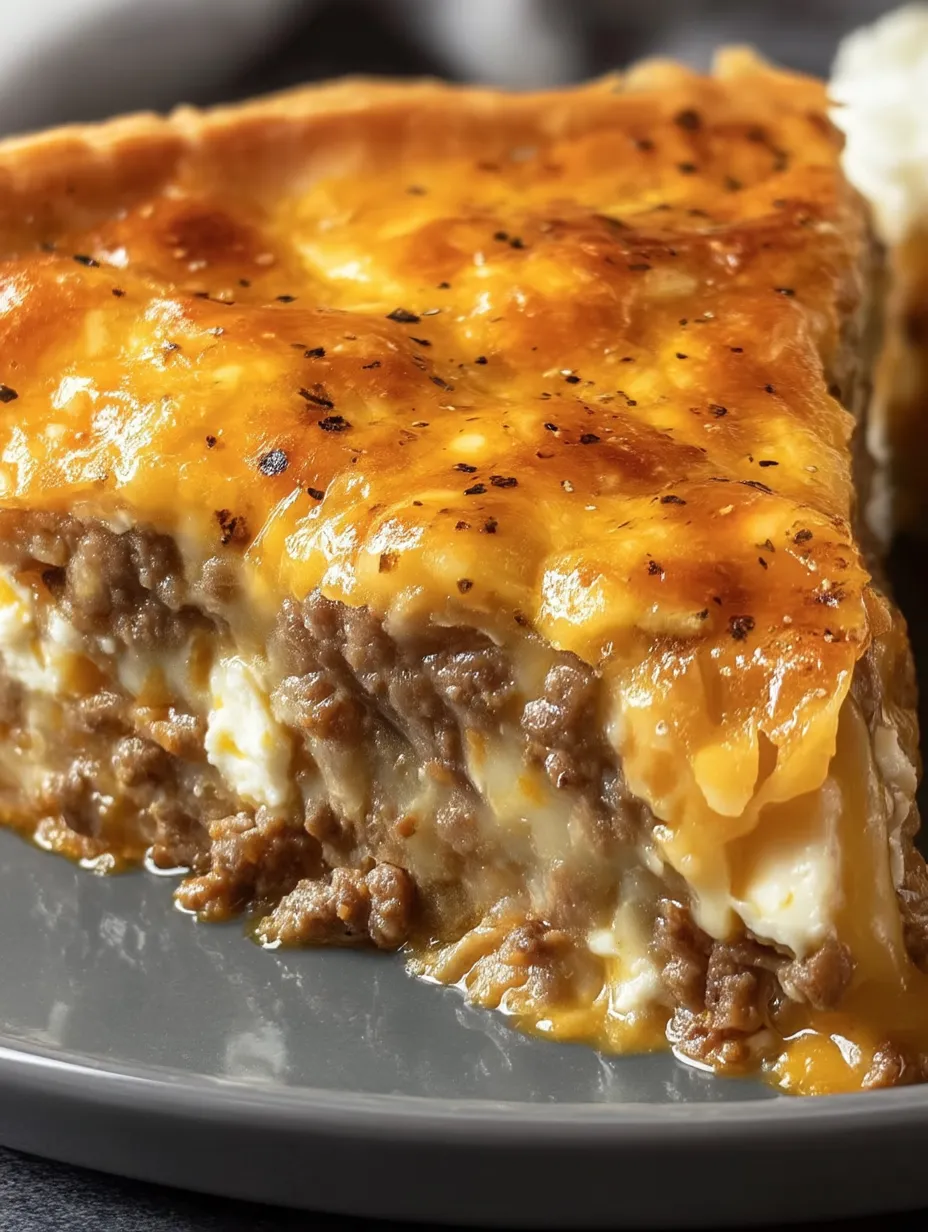
The Bisquick in this dish is my hidden advantage. My grandma showed me how to use it years back, and I've never found anything else that gives the same soft, fluffy texture. When I cook this for family get-togethers, someone always brings up how my uncle once gobbled half the pie before we officially sat down to eat!
Make It Your Own
This pie can change to match what your family likes best. Try putting some sliced tomatoes under the cheese for something fresh, or mix cooked bacon bits with the beef for an extra tasty version. My kids go crazy when I put a layer of dill pickle slices beneath the cheese – it really nails that burger taste they want.
Storage and Reheating
Your cheeseburger pie stays good in the fridge for up to 3 days. Wrap it with plastic or put slices in sealed containers. To warm it up right, put single slices in a 350°F oven for about 10 minutes instead of using the microwave, which can make the crust wet and soft. I often cook two pies at once, eating one for dinner and cutting the other for quick lunches during the week.
Perfect Pairings
Dish up this filling pie with a basic green salad with tangy dressing to cut through the richness. In summer months, corn on the cob makes a great side that fits with the all-American meal theme. For a fun touch kids adore, serve slices with small cups of ketchup, mustard, and relish for dipping – turning mealtime into something more fun and hands-on.
Save Pin
Common Questions
- → Can I use a different cheese?
Absolutely! Try Colby Jack, Pepper Jack, or Gouda for a new flavor twist.
- → How do I make it low-carb?
Just swap out the Bisquick mix with any low-carb baking blend to cut down on carbs.
- → Can I prepare it ahead of time?
You can put everything together early and keep it in the fridge. Just pop it in the oven when you're ready to eat.
- → What add-ins work well?
Try adding diced pickles, cooked mushrooms, or crispy bacon bits for extra yumminess.
- → How should I store leftovers?
Leftovers will stay good in the fridge for about 3 days. Warm them up in a 350°F oven until they're heated through.