
 Save Pin
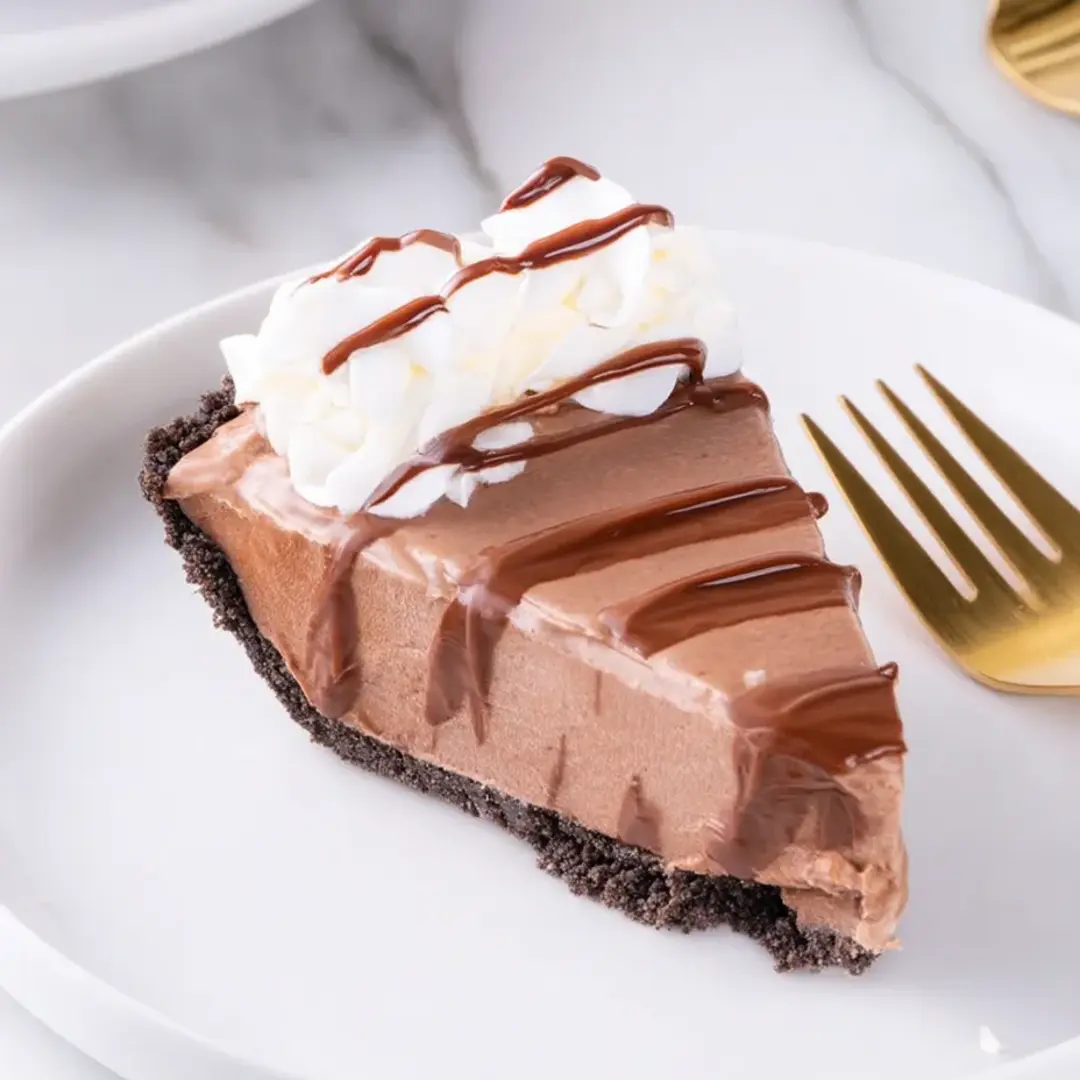
This dreamy No Bake Nutella Cheesecake has become my favorite dessert for wowing friends without sweating in the kitchen for hours. The smooth chocolate hazelnut mixture paired with that crunchy Oreo base creates such a perfect combo that everyone always wants another slice.
I came up with this treat when my oven stopped working right before hosting dinner. What began as a kitchen disaster has turned into the dessert my friends and family constantly beg me to make.
Ingredients
- For the Crust:
- 25 Oreo Cookies: Stick with original Oreos for just the right sweetness
- 5 tbsp unsalted butter: Melted to help everything stick together nicely
- For the Cheesecake:
- 2 pkgs Cream Cheese: Make sure they're totally soft for that smooth finish
- 1 jar Chocolate Hazelnut Spread: Worth paying extra for the good stuff for better taste
- 2 Tablespoons Cocoa Powder: Makes the chocolate flavor pop more
- 1 cup Powdered Sugar: Gives just the right amount of sweetness
- 1 container Whipped Topping: This is what makes it feel like eating a cloud
- For the Topping:
- 1/2 cup Chocolate Hazelnut Spread: Warm it up a bit so it pours easily
- Whipped Cream: Try making it yourself - you'll notice the difference
Easy Instructions
- Make the Crust:
- Crush those Oreos into tiny bits. Don't rush this part - you want them really fine. Mix with the melted butter until everything looks like wet beach sand. This helps your slices stay neat when you cut them later.
- Shape Your Crust:
- Push the cookie mix firmly into your pie dish, starting from the middle and working outward. Bring it up the sides about an inch. A measuring cup bottom works great for smoothing it all out. Stick it in the fridge for 15 minutes to firm up.
- Whip Up the Filling:
- Mix the cream cheese and Nutella together for about 3 minutes on medium. Stop and scrape the bowl a few times. You shouldn't see any streaks when you're done - just one smooth color throughout.
- Mix in Dry Stuff:
- Add the cocoa and powdered sugar on low speed until they're completely mixed in. The cocoa makes the chocolate taste richer while the sugar takes the edge off the cream cheese tang. Keep going until everything looks silky.
- Add the Fluffy Part:
- Carefully fold in the whipped topping with a rubber spatula. Don't stir - use more of a down-and-over motion to keep all the air bubbles. Stop as soon as it's mixed so your filling stays light.
- Let it Set:
- Pour everything into your crust and smooth the top. Cover it without touching the surface and let it chill for at least 4 hours or overnight if you can wait. This sitting time lets all the flavors blend together perfectly.
 Save Pin
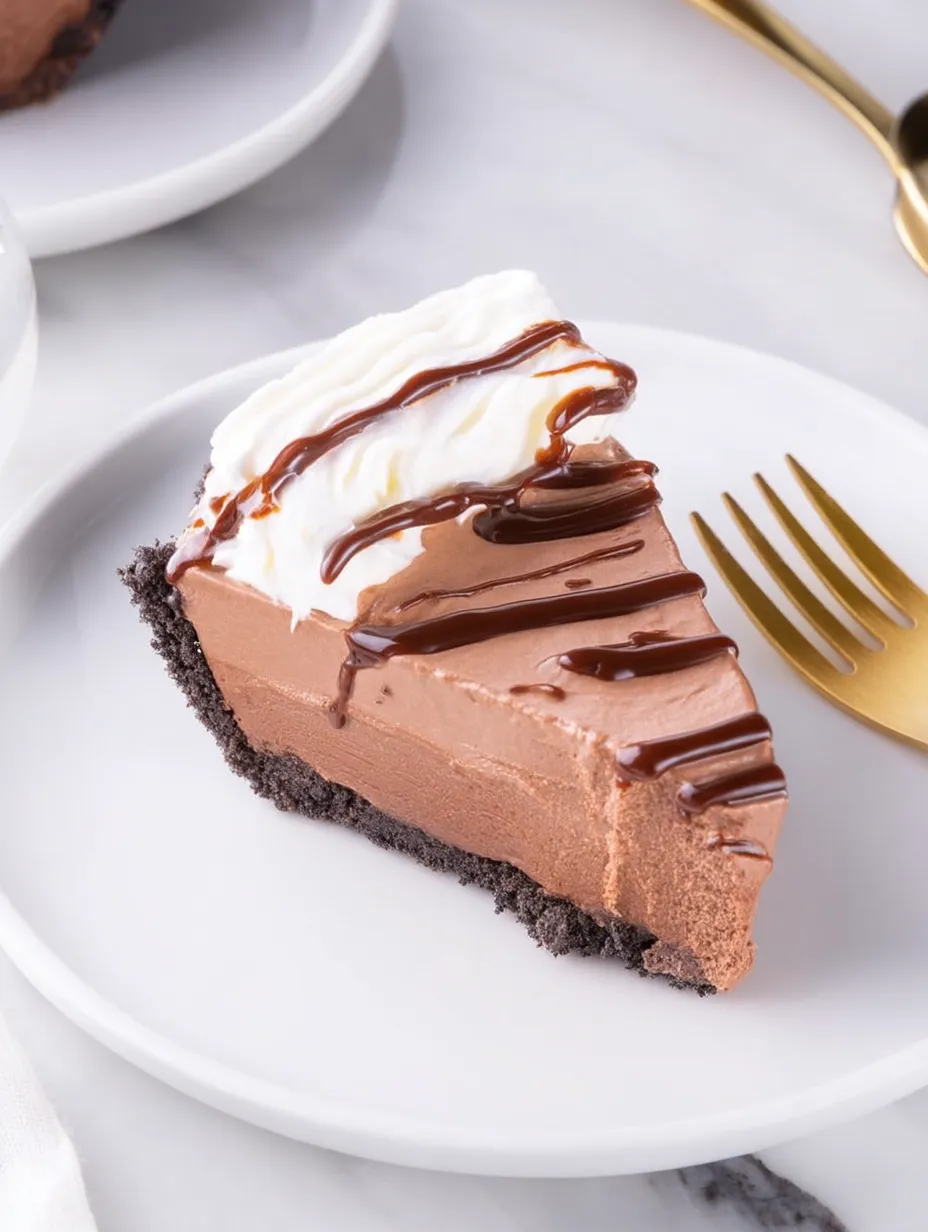
The key to getting this cheesecake super smooth is letting your cream cheese completely warm up first. I tried to rush it once and ended up with little lumps all through my filling. Those extra 30 minutes for room temp ingredients really makes all the difference.
Keeping It Fresh
This treat stays good in the fridge for up to a week if you cover it right. It actually tastes even better on day two when the hazelnut flavor really comes through. I find plastic wrap works better than foil since it won't stick to the top. Make sure you press the wrap against any cut edges so they don't dry out.
 Save Pin
Smart Swaps
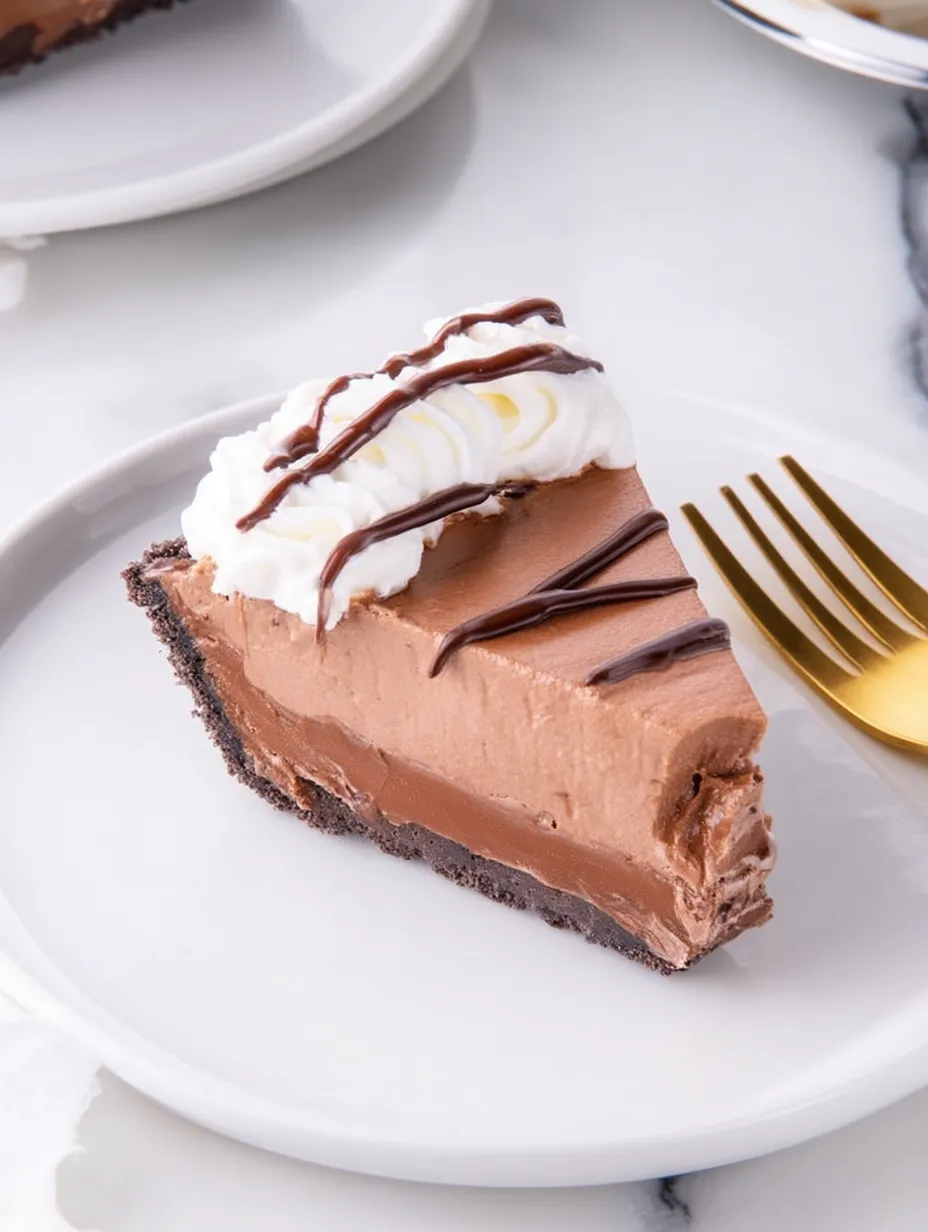
While regular Nutella gives you that classic taste, you can try other spreads too. I've made awesome versions using Biscoff cookie butter for a cinnamon-caramel twist and peanut butter for a treat that tastes like a giant peanut butter cup. The texture stays just as good no matter which spread you pick as long as you use the same amount.
Tasty Pairings
This cheesecake tastes even better with something tangy alongside it. I love adding fresh raspberries that cut through the richness. For fancy occasions, scatter some chopped toasted hazelnuts around the edge before topping with whipped cream for extra crunch and a prettier look. Let it sit out for about 10 minutes before eating to bring out all the flavors.
Where This Yummy Treat Came From
Chocolate and hazelnut first got paired up in 1800s Italy when chocolate makers mixed in hazelnuts to stretch their pricey cocoa supplies. This money-saving move turned into the beloved gianduja paste and later the spread we all know today. This no-bake version builds on chilled cheesecake methods popular in 1950s American kitchens but jazzes them up with rich European flavors.
Common Questions
- → What's the trick for a solid Oreo base?
Squish the Oreo crumb and melted butter mix down really hard with a flat-bottomed glass. Then let it cool in your fridge before adding your filling so it gets nice and firm.
- → Can I swap out Oreos for the base?
You bet! Try graham crackers, digestives, or any cookies you've got on hand for a different taste.
- → How long does it need to stay in the fridge?
Give it at least 4 hours in the fridge, but leaving it overnight works even better for the perfect firmness.
- → What can I use for the whipped topping?
You can grab ready-made whipped topping from the store or whip up some fresh cream yourself. Just make sure it's cold before you use it.
- → Is it okay to freeze this cheesecake?
Absolutely! It'll keep in the freezer for up to a month. Just let it thaw in your fridge the night before you want to eat it.