
 Save Pin
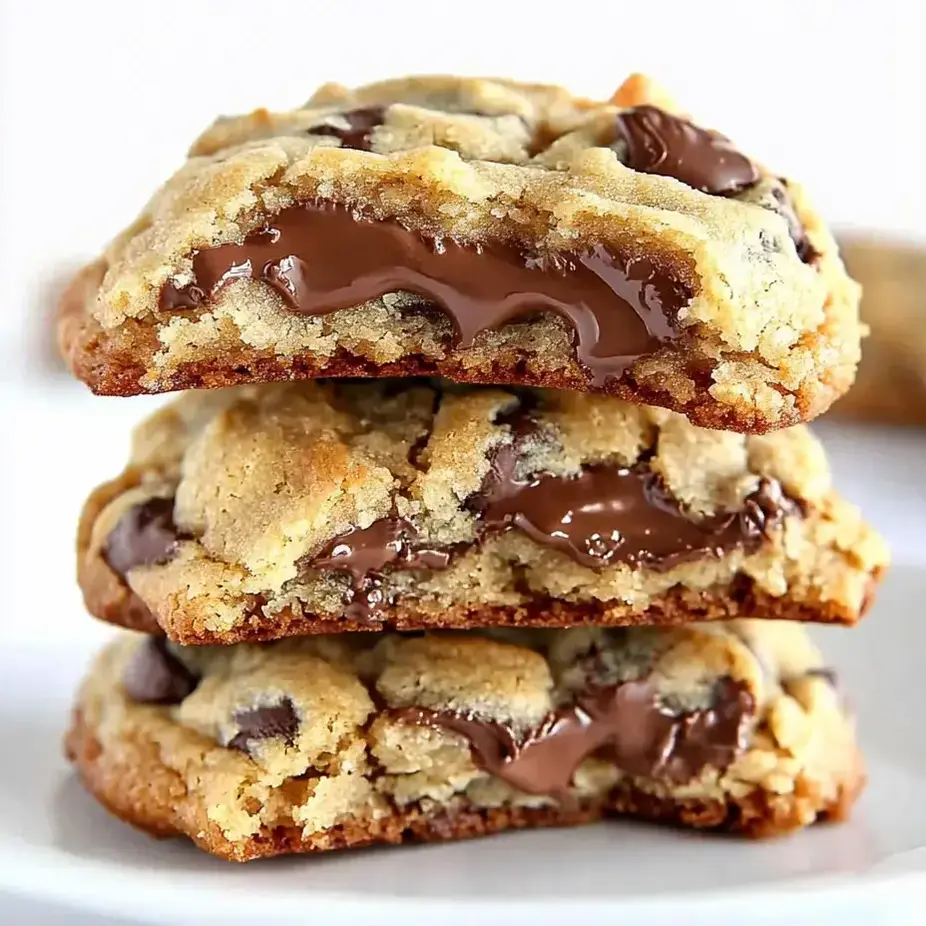
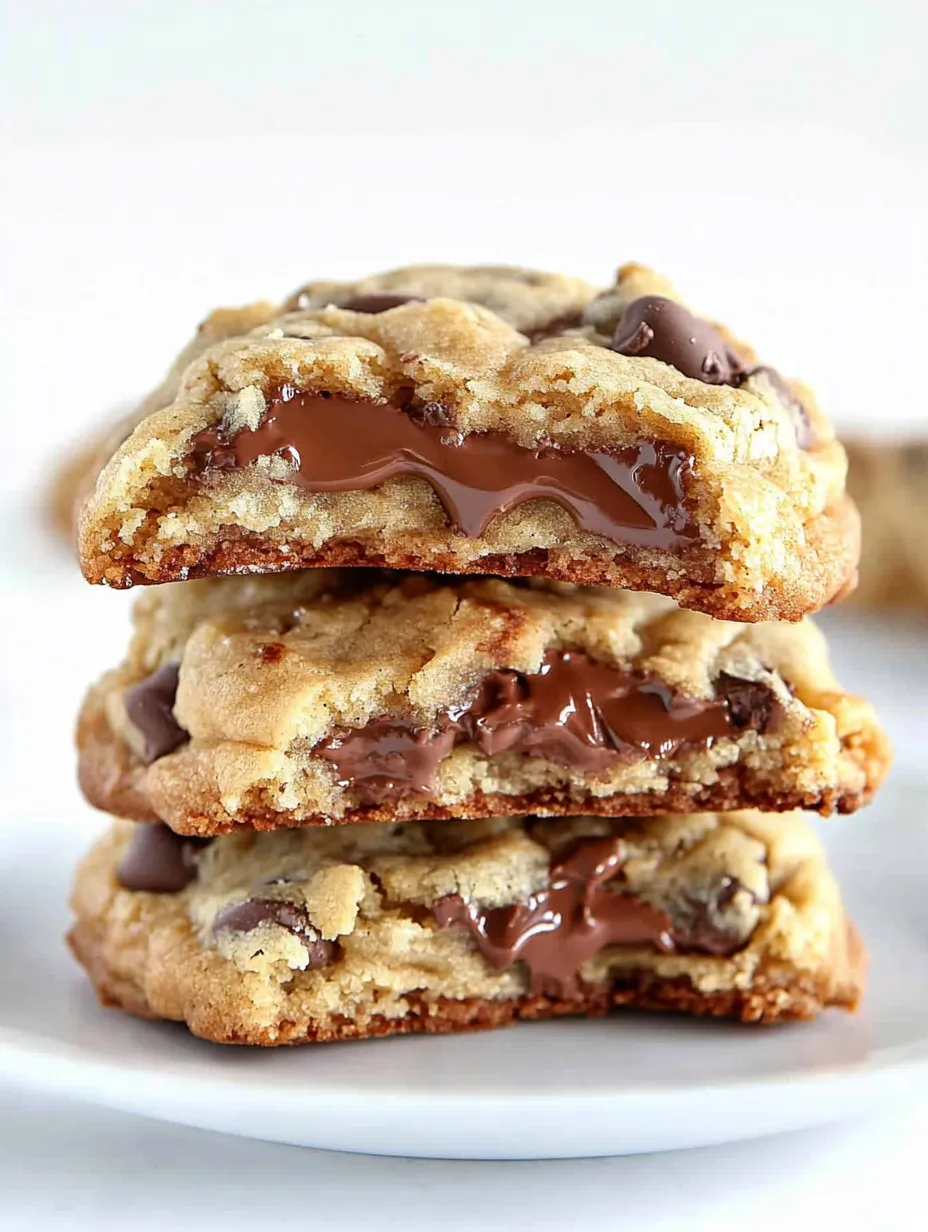
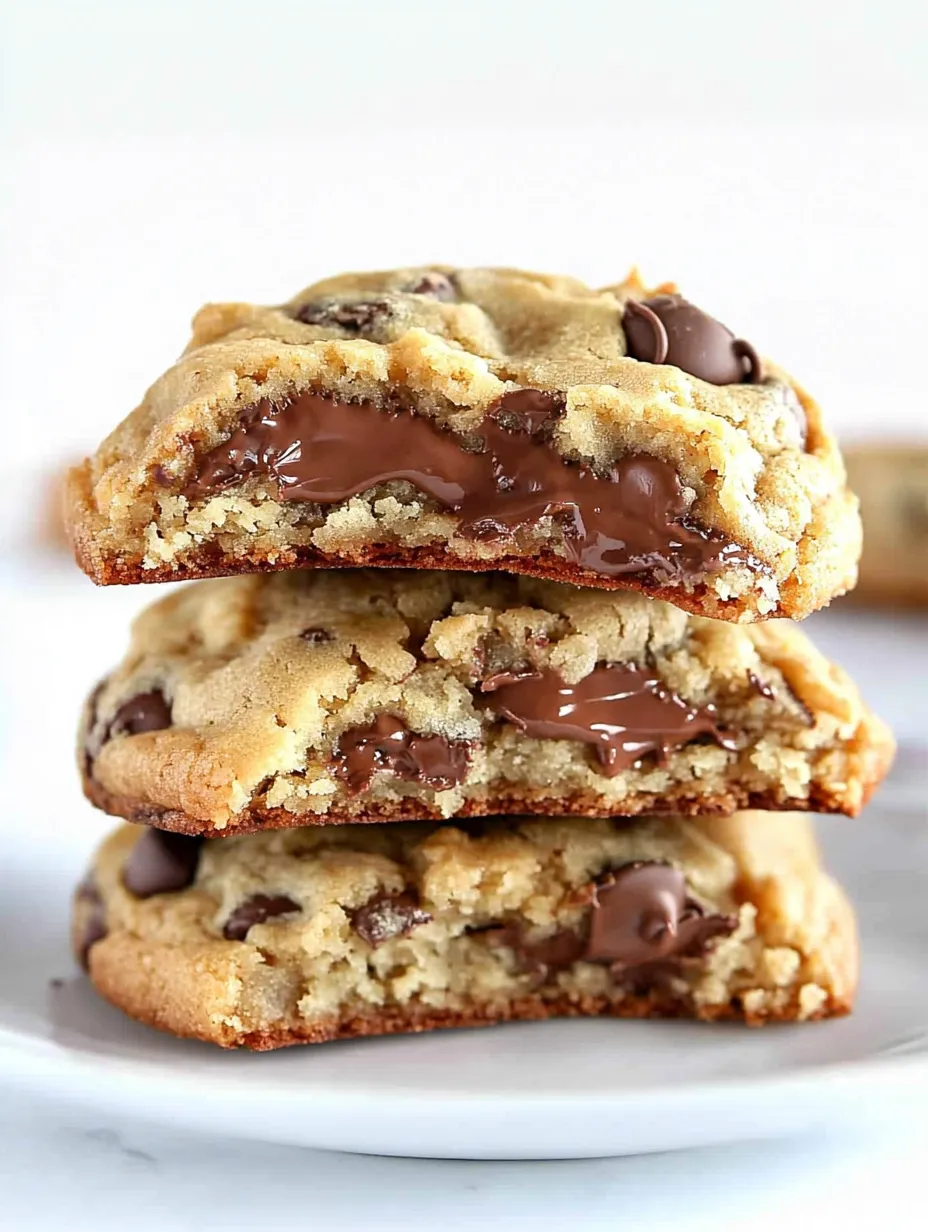
This homemade version of the famous NYC bakery chocolate chip cookies brings that legendary taste straight to your kitchen. These cookies aren't regular ones - they're huge, wonderfully thick treats with crispy, golden outsides and soft, melty middles that'll completely change how you think about cookies.
I first tried making these after standing in a line that wrapped around the block at the original shop. After that first amazing bite, I couldn't stop thinking about them and had to figure out how to make them at home. This method finally gets that texture and taste just right.
Ingredients
- Unsalted butter: Gives that rich taste and helps create the crispy outside. Make sure it's soft but not melty
- Light brown sugar: Adds moisture and that caramel-like flavor
- Granulated sugar: Makes those edges nice and crispy
- Large eggs: Hold everything together and give structure
- Homemade cake flour: The secret to that melt-in-your-mouth softness
- All purpose flour: Gives the cookies enough strength to hold all the chunks
- Baking powder and baking soda: Team up to make the cookies rise properly
- Sea salt: Brings out all the flavors and cuts the sweetness
- Walnut halves: Add that nice crunch and nutty flavor. Get the freshest ones you can find
- Large chocolate chips or chunks: Create those amazing pockets of melted chocolate
Easy Preparation Guide
- Get The Butter Ready:
- Whip the soft butter in your mixer at medium speed until it's smooth, which takes about a minute. Don't let your butter melt - you want it soft enough to mix but still holding its shape. This starts you off right for a soft cookie.
- Mix In The Sugars:
- Put both sugars in with your butter and beat them together just until they're mixed, around a minute. Don't go overboard with mixing here or your cookies might flatten too much while baking.
- Put In The Eggs:
- Add the eggs and mix at medium speed just until they're blended with your butter and sugar mix, about half a minute. It's okay if it looks a bit bumpy as long as you don't see any egg streaks.
- Add All Dry Stuff:
- Stop the mixer and dump in all your dry ingredients - both flours, baking powder, baking soda, and salt. Turn it on low just until everything comes together. The dough should look a bit rough, and that's exactly what you want.
- Stir In The Chunks:
- Use a spatula to carefully fold in the walnuts and chocolate chips until they're spread throughout the dough. You want lots of chunks in every bite.
- Form Your Cookies:
- Split the dough into 8 equal balls, about 6 ounces each. Just roughly shape them with your hands without pressing them flat. The uneven, rustic look is part of what makes them special.
- Bake Them Just Right:
- Put 4 cookies on each baking sheet and bake at 400°F for exactly 11 minutes until they're barely golden on top and bottom. They'll look slightly underdone but will keep cooking as they cool.
- Let Them Rest:
- Leave the cookies on the baking sheet for 15 minutes after taking them out of the oven. This waiting step is super important - it helps them set up with that perfect gooey middle.
 Save Pin
The chocolate chunks really make these cookies stand out to me. I still remember my first bite into an authentic cookie and being amazed by those big pools of melted chocolate. Using bigger chunks instead of regular chips makes those wonderful melty spots that make these cookies so memorable.
Wonderful Texture Trick
Using both cake flour and regular all purpose flour is totally necessary to get that real bakery texture. The cake flour makes them tender while the all purpose flour gives them structure. Don't skip making the homemade cake flour if you want truly authentic results. The cornstarch in the cake flour stops some gluten from forming, which gives you that signature soft middle.
Plan Ahead Options
You can make the dough up to 3 days before and keep it in the fridge. Just form the cookies, put them on a parchment-lined tray, wrap them well with plastic, and refrigerate. When you're ready to bake, put the cold dough straight in the hot oven, but add 1-2 minutes to the cooking time. You can also freeze the shaped dough for up to 3 months. Just let it thaw in the fridge overnight before baking.
 Save Pin
Tasty Serving Ideas
These cookies are amazing by themselves, but try them slightly warm with a scoop of vanilla ice cream for a next-level treat. The mix of warm, gooey cookie and cold ice cream is just fantastic. They also make great ice cream sandwiches once they've cooled down. For a true NYC experience, enjoy them with a cold glass of milk or a hot cup of coffee.
Different Size Options
While the huge 6 ounce cookies are what made the bakery famous, you can definitely make smaller ones too. For regular sized cookies, split the dough into 16 pieces instead of 8 and bake them for 7-8 minutes. The smaller cookies will have a bit different ratio between the crispy outside and gooey inside, but they'll still taste amazing.
Common Questions
- → What makes these cookies unique?
These jumbo cookies stand out with their crispy golden outer edge and warm gooey middle, giving you the best of both worlds in every bite.
- → Can I use dark chocolate instead of milk chocolate?
You can totally swap in dark chocolate chips or chunks if you want something less sweet with more intense flavor.
- → How do I make homemade cake flour?
Take out 2 tablespoons from your cup of all-purpose flour and add 2 tablespoons of cornstarch instead. Sift everything together 3-4 times to blend it well.
- → Why shouldn't I flatten the cookie dough before baking?
Keeping the dough balls tall and rough helps create that magic combo of thick cookies with soft centers and crunchy edges.
- → Can I make smaller cookies with the same recipe?
Sure you can make tiny versions, just split the dough into smaller balls and cut down on baking time so they don't dry out.