
 Save Pin
This autumn-inspired snack turns plain apple pieces into a fancy dessert that hits all the right notes with tangy fruit, smooth chocolate, and gooey caramel. What makes these Chocolate Covered Caramel Apple Slices so great is they pack all the taste of regular caramel apples but come in bite-sized pieces that are way easier to eat without getting your hands all sticky.
I made these for my kid's Halloween bash last year when I wanted something fun but practical. The children actually ate them completely unlike regular caramel apples that usually get tossed after a couple bites, and I caught all the grown-ups sneaking them from the sweets table.
Ingredients
- Honeycrisp or Granny Smith apples: They stay crisp when dipped and their sourness works great with the sugary toppings
- Chocolate melting wafers: Ghirardelli ones melt super easy without any fancy techniques, making these treats simple to put together
- Soft caramel squares: Store-bought caramels mixed with a bit of cream make the perfect texture that sticks to apples without pulling out your fillings
- Heavy cream: This makes your caramels turn into a smooth drizzle that hardens just right
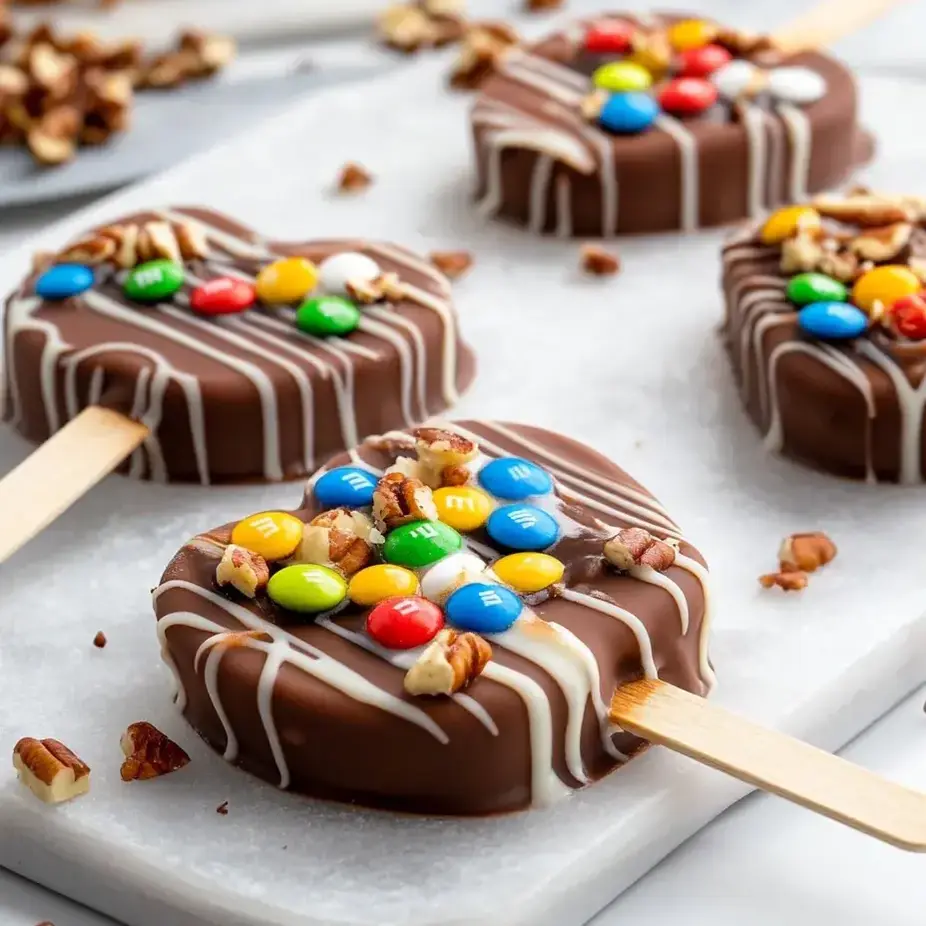
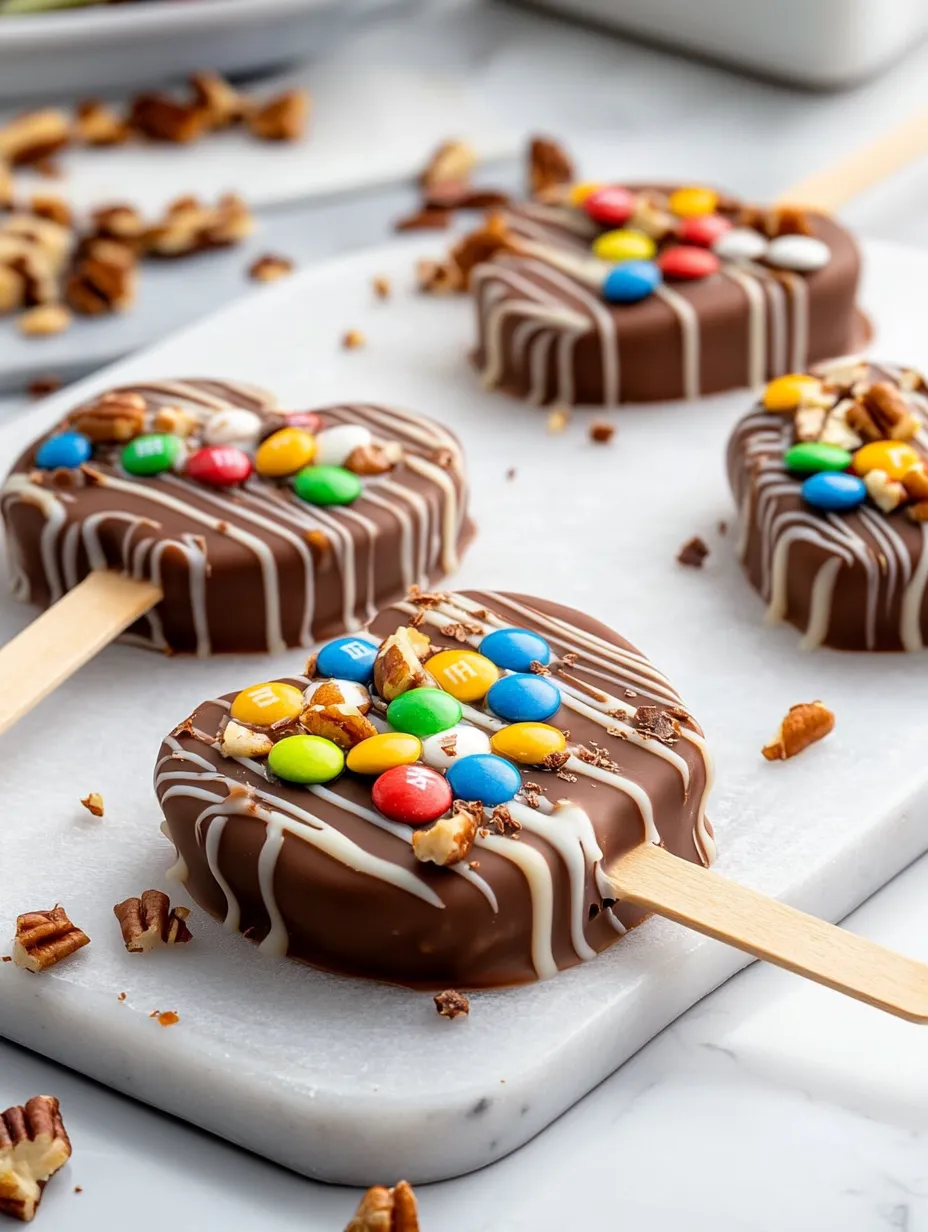
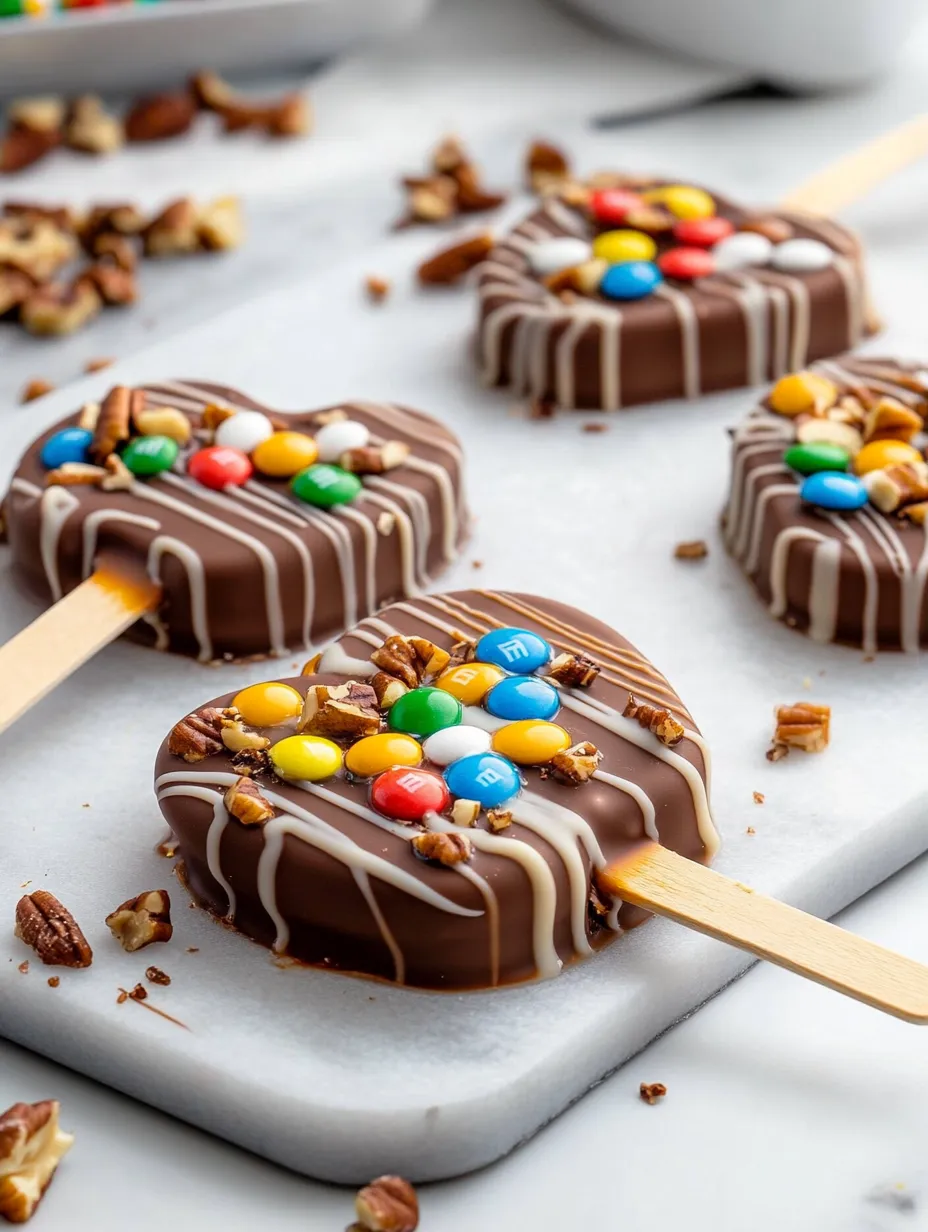
- Popsicle sticks: Food-safe wooden handles make these easy to grab and give them that classic fair-food look
- Toppings: Small M&M's, bits of nuts, colorful sprinkles, or smashed cookies add crunch and make them pretty
Step-by-Step Instructions
- Get Everything Ready:
- Put parchment paper or a silicone sheet on a baking tray so nothing sticks. Setting this up first helps you work faster and keeps things clean once your chocolate starts hardening.
- Cut and Clean Apples:
- Slice each apple into 4 or 5 big pieces about half an inch thick. Take out the seeds and middle part using a melon baller without cutting all the way through. Getting the thickness right matters - too skinny and they'll break, too chunky and they're hard to bite.
- Put in the Sticks:
- Stick wooden handles halfway into each slice from the bottom end. If they don't go in easily, make a tiny cut with a knife first to help guide them in without cracking the fruit. The stick should stay put but not poke through the other side.
- Cover with Chocolate:
- Melt your chocolate bits following the package instructions until totally smooth. Make sure to dry the apple slices completely before dipping - this really matters for the chocolate to stick properly. Dip each piece to cover it fully and let extra chocolate drip off for a clean look.
- Let Chocolate Harden:
- Place your chocolate-covered slices on your prepared tray with space between them. Chill for 5-10 minutes just until the chocolate gets firm but not so long that water droplets form when you take them out.
- Make the Caramel:
- Mix unwrapped caramels with heavy cream in a bowl that's safe for microwaving. Heat in quick intervals, stirring each time until totally melted and flowing. Let it cool a bit so it won't melt your chocolate coating.
- Add Pretty Touches:
- Drizzle slightly cooled caramel over each apple slice using a spoon for better control. If you're using different colored chocolate, melt it now and drizzle it over the caramel to make them look fancy. The different layers should stay separate, not mix together.
- Add Toppings and Finish:
- Right away sprinkle your favorite toppings on the still-wet caramel and chocolate. You'll need to move fast since they start getting hard quickly. Put them back in the fridge for another 10-15 minutes to completely set all the layers.
 Save Pin
The caramel part is what I love most about these treats. I found that adding a little more heavy cream than most recipes suggest makes it drizzle just right and sets without getting too hard to bite. My grandma always told me good caramel should be soft enough to bite but firm enough to stay in place, and this recipe nails that perfect middle ground.
Storage Considerations
These apple treats taste way better when you eat them the day you make them. The apple juice will eventually start to mess with the chocolate coating if kept too long. If you need to make them ahead, put them in one layer in a sealed container with parchment paper between layers and keep in the fridge for no more than 24 hours. Let them sit out for about 10 minutes before eating for the best taste and bite.
Preventing Browning
The chocolate layer helps keep the apple from turning brown, but for extra protection you can dunk the apple slices in lemon water (mix 1 tablespoon lemon juice with a cup of water) for about 30 seconds before drying them completely. This adds a tiny bit of citrus flavor that actually goes really well with the caramel while keeping the apples looking fresh.
Topping Ideas
You can put almost anything on these treats. For Halloween, try orange and black sprinkles, bits of black licorice or candy corn. For a fancier grown-up version, go with sea salt flakes, crushed coffee beans or chopped dried fruit. My personal favorite is making a "turtle" style with chopped pecans and extra caramel drizzle that reminds me of those famous candies.
 Save Pin
Common Questions
- → Can I use any type of apple for this?
You can try different kinds, but crisp and tangy ones like Granny Smith or juicy-sweet varieties like Honeycrisp give you the best mix of flavor and crunch.
- → How do I prevent the chocolate from sliding off the apple slices?
Make sure you thoroughly dry the apple slices with paper towels before you dip them into the melted chocolate.
- → What toppings work well with the apples?
Try small M&M's, diced nuts, colorful sprinkles, smashed cookies, or flaked coconut for some yummy options.
- → Can I prepare them ahead of time?
They taste best when you make and eat them on the same day for the freshest flavor and texture. Keep them in the fridge until you're ready to serve.
- → Is there an alternative to melting wafers for chocolate?
You can definitely use normal chocolate bars or chips instead, but adding a tiny bit of coconut oil will help them melt more evenly.