
 Save Pin
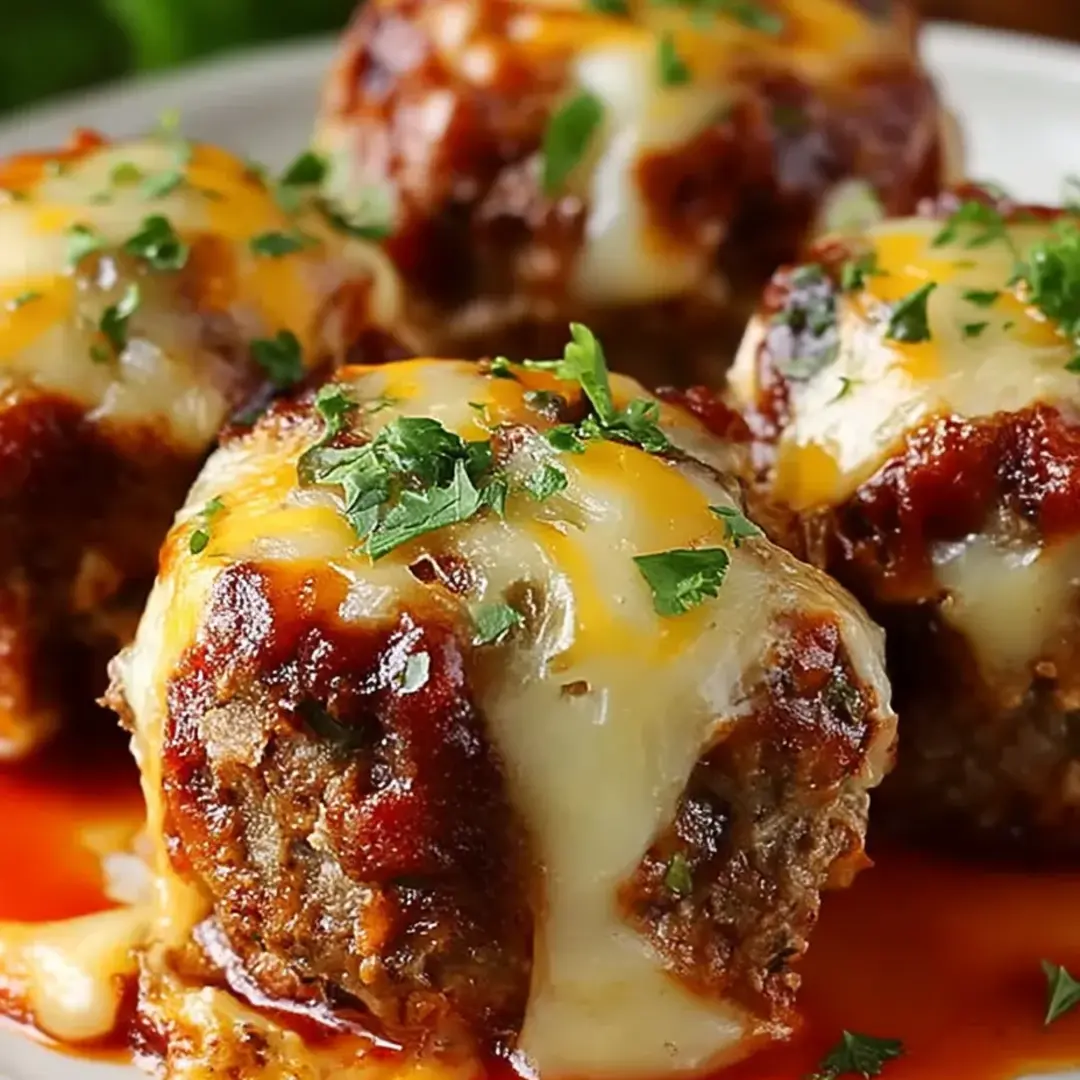
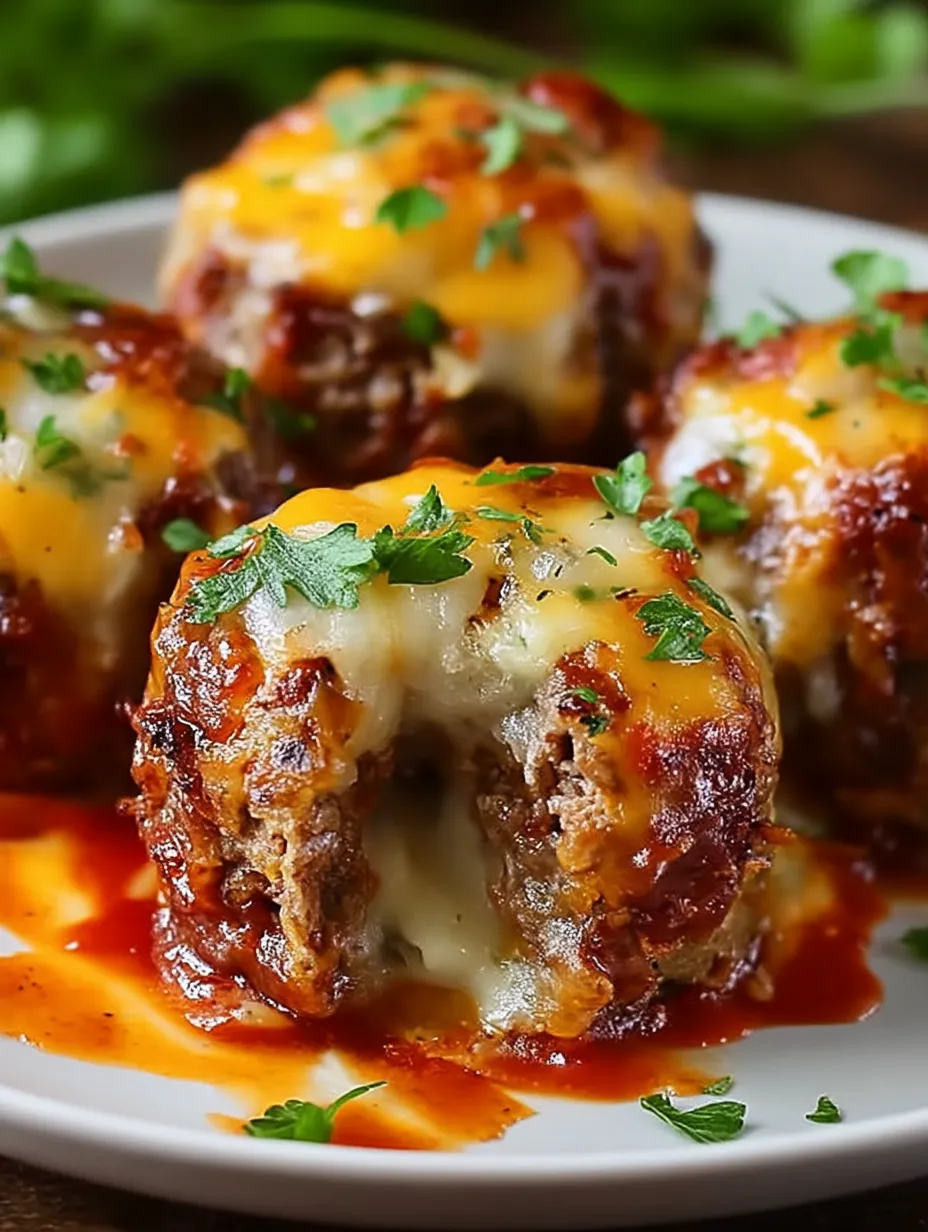
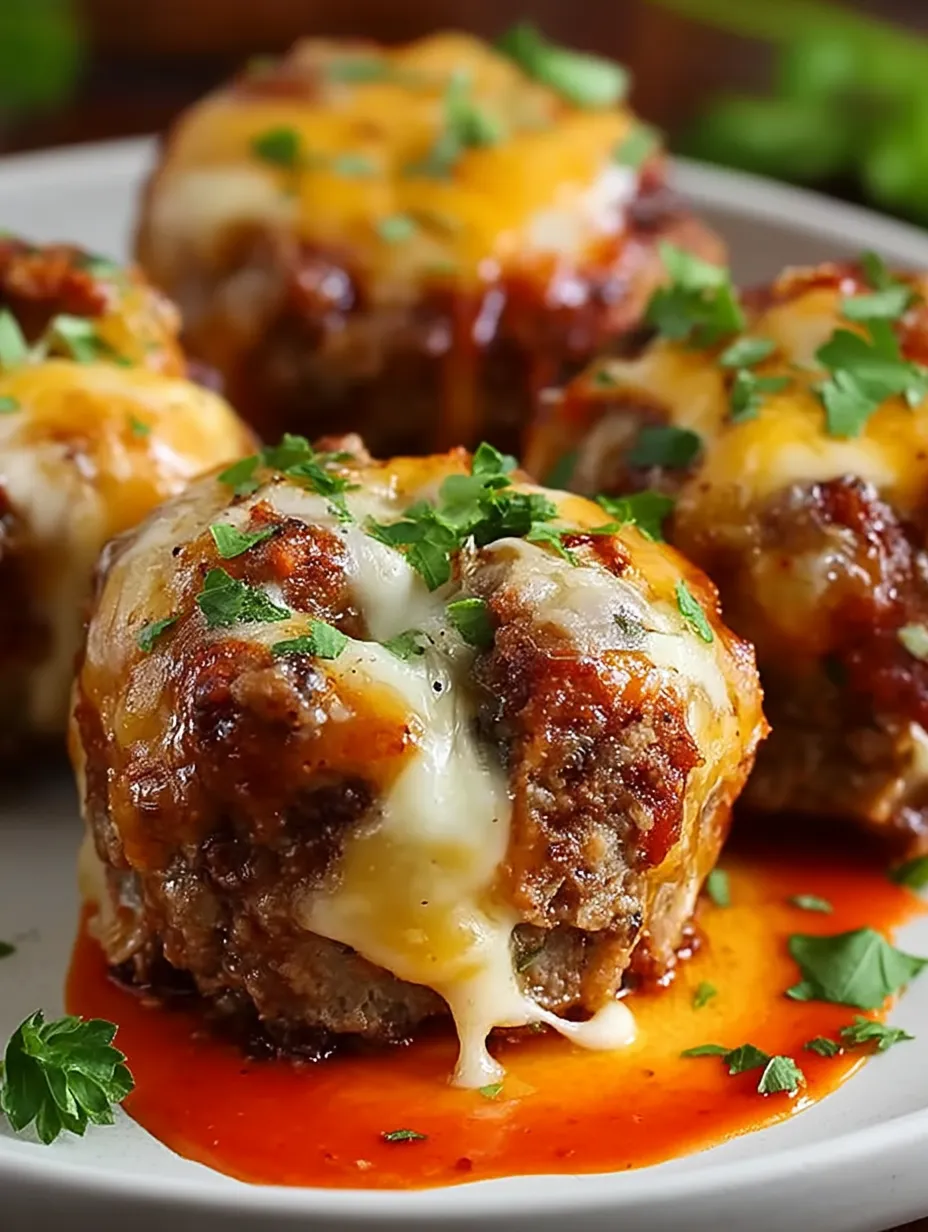
These gooey cheese-filled meatloaf bites turn old-school meatloaf into bite-sized treats with an oozy surprise inside. I whipped these up for a sports party once, and they vanished quicker than any other snack on the spread!
I originally made these for my nephew who always turned his nose up at standard meatloaf. The hidden cheese inside totally changed his mind, and now the family asks for these little meatloaf treats at every get-together.
Ingredients
- Ground beef: Makes up the main part; grab 80/20 fat content for extra juicy results
- Breadcrumbs: Keep everything stuck together without heaviness
- Milk: Makes the meat tender and adds needed moisture
- Egg: Works as the glue that holds the mixture together
- Onion and garlic: Give that tasty flavor base
- Salt and pepper: Can't skip these basic flavor boosters
- Worcestershire sauce: Adds rich flavor many cooks forget about
- Ketchup: Makes the tasty coating with that familiar meatloaf taste
- Mustard: Adds a zingy kick that cuts through the sweet ketchup
- Cheddar cheese: Creates the melty surprise center; sharp works best for flavor
- Fresh parsley: Adds fresh flavor and nice green color
Step-by-Step Instructions
- Prepare Your Oven:
- Heat your oven to 375°F and put parchment on a baking tray. The paper stops them from sticking and makes cleaning up way easier.
- Mix The Meat Mixture:
- Put ground beef, breadcrumbs, milk, egg, onion, garlic, salt, pepper, and Worcestershire sauce in a big bowl. Mix with your hands until it's just combined. Don't mix too much or they'll turn out tough.
- Create Cheese Pockets:
- Scoop about 2 tablespoons of meat mix and flatten it in your hand. Put some grated cheddar in the middle, then fold the meat around it, making sure it's totally sealed. Roll it between your hands to make a ball about 1.5 inches across.
- Prepare The Glaze:
- Mix ketchup and mustard in a small bowl until they're blended. This easy topping adds sweet and tangy flavors that brown nicely in the oven.
- Glaze And Bake:
- Brush each meat ball with plenty of glaze. Put them on your baking sheet with gaps between them. Bake for 25 to 30 minutes until they hit 160°F inside and look caramelized on top.
 Save Pin
Watching someone bite in and find that melty cheese center is just amazing. My husband actually popped the question the first night I cooked these. Just a fluke? I don't think so!
Make Ahead Instructions
These little meatloaf treats work great for planning ahead. You can shape the raw meatballs and keep them in the fridge for up to a day before cooking. If you need longer storage, freeze the raw meatballs on a tray until hard, then put them in a freezer bag. When you're ready to cook them, just add 5 to 7 more minutes to the cooking time if they're frozen.
Flavor Variations
While cheddar makes a traditional taste, don't be afraid to try different cheeses. Mozzarella gives you that awesome stringy pull when you take a bite. Pepper jack adds some heat that goes really well with the beef. You can also throw in herbs like basil or oregano for an Italian feel, or add smoky paprika and cumin for southwestern flavors.
 Save Pin
Serving Suggestions
These handy bites work in so many ways. Stick toothpicks in them for party snacks. Put them on mashed potatoes with extra sauce for a cozy dinner. Stuff them in small buns with some arugula for tiny sandwiches. You can even toss them with pasta and tomato sauce for a fun twist on spaghetti and meatballs.
Common Questions
- → Can I swap out the beef for something else?
Sure thing! Try ground turkey, chicken, or even meat-free options if you want different flavors or need to meet dietary needs.
- → What's the best cheese to stuff inside?
Cheddar works great, but feel free to try mozzarella, gouda, or any cheese that gets all melty and gooey when heated.
- → Can I make these before my guests arrive?
Absolutely! Put them together early, pop them in the fridge, and bake them right before you need them for the freshest taste.
- → What should I serve with these bites?
They're fantastic with creamy mashed potatoes, some oven-roasted veggies, or a crisp green salad to make a full meal.
- → How long will extras last?
Just stick any leftovers in a sealed container in your fridge for 3-4 days, or freeze them up to 3 months if you want them later.