
 Save Pin
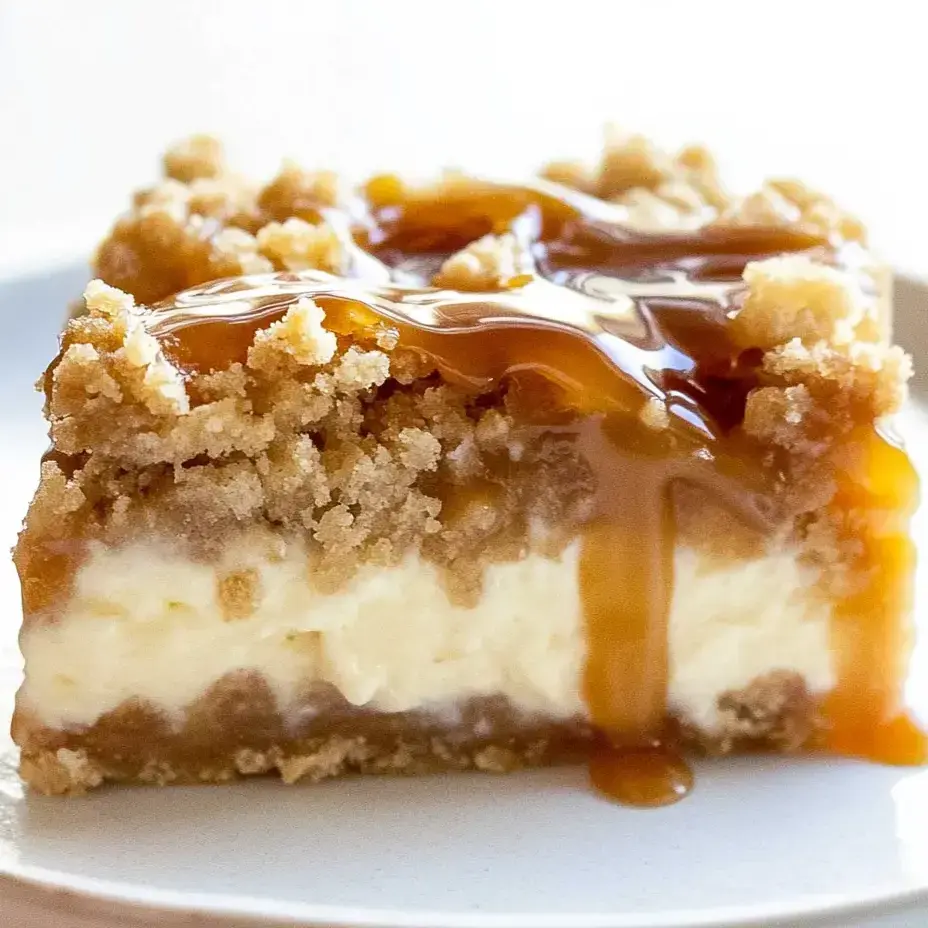
This lavish caramel apple cheesecake bar combines fall's tastiest flavors with a buttery shortbread base, smooth cheesecake filling, and spiced apples under a crumbly streusel. They've been my go-to autumn treat for ages, and they always wow everyone at gatherings.
I whipped these up for a Thanksgiving potluck five years back and they were gone before anyone even started on the turkey. Now my sister bugs me to bring them to every family event no matter what time of year.
Ingredients
- 2 cups all purpose flour: gives you that solid foundation that won't fall apart under the other stuff
- 1/2 cup firmly packed brown sugar: brings a rich taste to your base
- 1 cup softened butter: makes everything taste decadent and smooth
- 3 packages cream cheese: don't go for low-fat - the full-fat kind makes it super creamy
- 3/4 cup sugar: cuts through the sharpness of the cream cheese
- 3 large eggs: they give it that firm yet soft texture
- 1 1/2 teaspoons vanilla extract: adds a cozy flavor that makes everything taste better
- 3 Granny Smith apples: picked for their sour kick and firmness that won't turn mushy
- 2 tablespoons sugar: just enough to take the edge off the sour apples
- 1/2 teaspoon cinnamon: gives you that cozy apple pie feeling
- 1/4 teaspoon nutmeg: adds a bit of extra spice magic
- 1 cup firmly packed brown sugar: turns all caramelly when it bakes
- 1 cup all purpose flour: keeps your topping from falling apart
- 1/2 cup quick cooking oats: adds a nice crunch and earthy taste
- 1/2 cup softened butter: sticks everything together and makes those perfect little chunks
- 1/2 cup caramel topping: poured over finished bars to make the apple flavor pop
Simple Cooking Guide
- Prepare the Crust:
- Heat your oven to 350°F. Mix flour and brown sugar in a bowl. Add soft butter and work it in with a pastry tool until you get tiny crumbs with no dry spots left. Push this mix firmly into a greased 9x13 pan. Pack it down well so it won't break apart later. Bake for 15 minutes until the edges turn slightly golden.
- Mix the Cheesecake Layer:
- While your crust bakes, beat the soft cream cheese and sugar in a big bowl with an electric mixer on medium for about 3 minutes until it's totally smooth. Add eggs one by one, making sure each one mixes in fully before adding another. This stops air bubbles that could crack your cheesecake. Stir in vanilla until just mixed. Your batter should look silky.
- Prepare the Apple Mixture:
- Peel, core and chop the Granny Smith apples into small cubes. Toss them in a bowl with sugar, cinnamon, and nutmeg until all pieces are coated. Cut them small enough to fit in each bite but not so tiny they disappear while cooking.
- Assemble the Layers:
- Pour your cheesecake mix over the warm crust, spreading it all the way to the edges. This makes the creamy middle part. Scatter the spiced apples evenly across the cheesecake layer so every slice gets some.
- Create and Add the Streusel:
- Mix brown sugar, flour, and oats in a bowl, then work in the soft butter with your fingers until you get chunky crumbs with some bigger bits. When you squeeze some, it should stick together but break apart easily. Sprinkle this all over the apples, covering everything.
- Bake to Perfection:
- Bake for 40 to 45 minutes. You'll know it's done when the cheesecake part is set but still wiggles a tiny bit in the middle. The topping should be golden and smell amazing. Let it cool completely at room temp before putting it in the fridge.
- Finish and Serve:
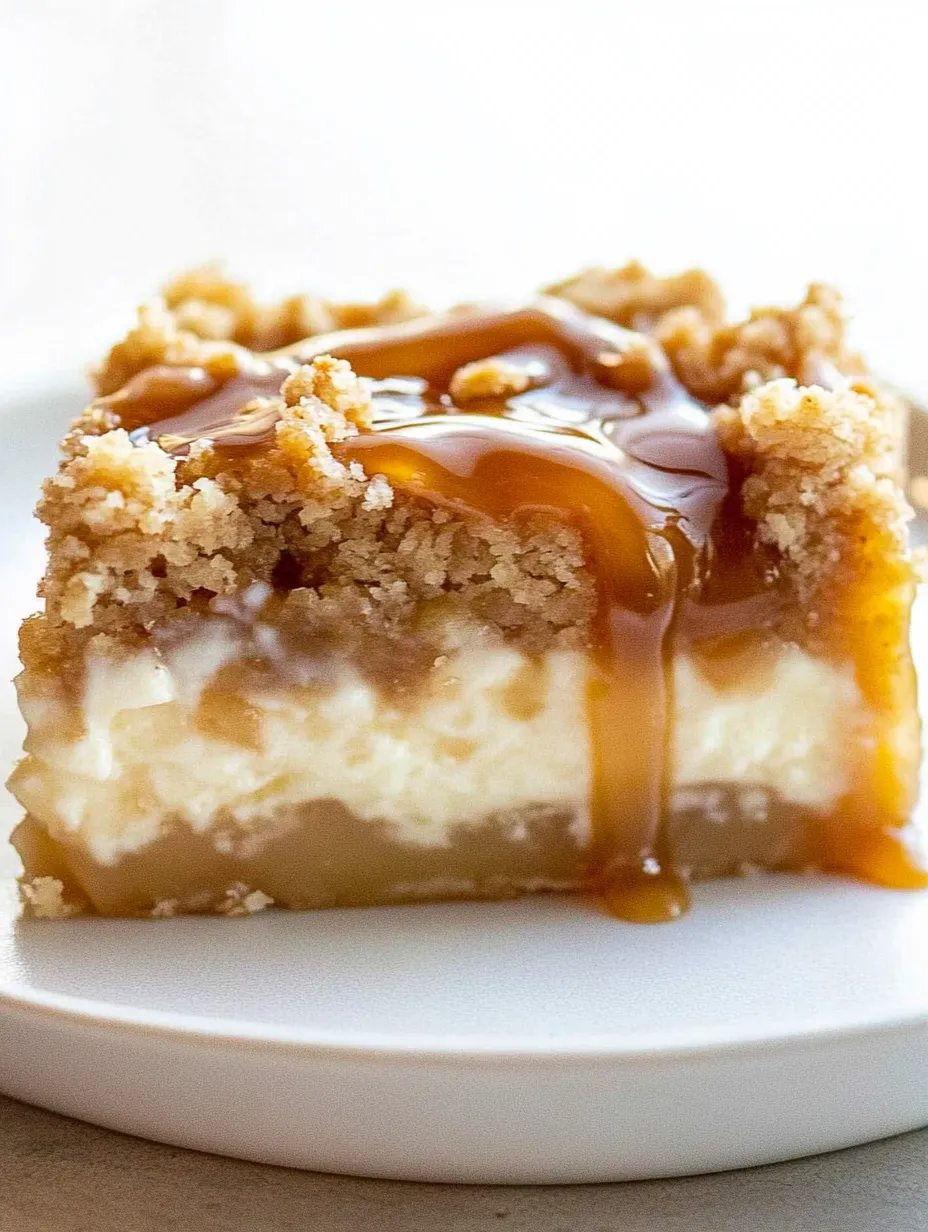
- Once cool, drizzle caramel sauce in a nice pattern on top. Chill for at least 4 hours or overnight before cutting. Use a sharp knife and wipe it clean between cuts for neat squares.
 Save Pin
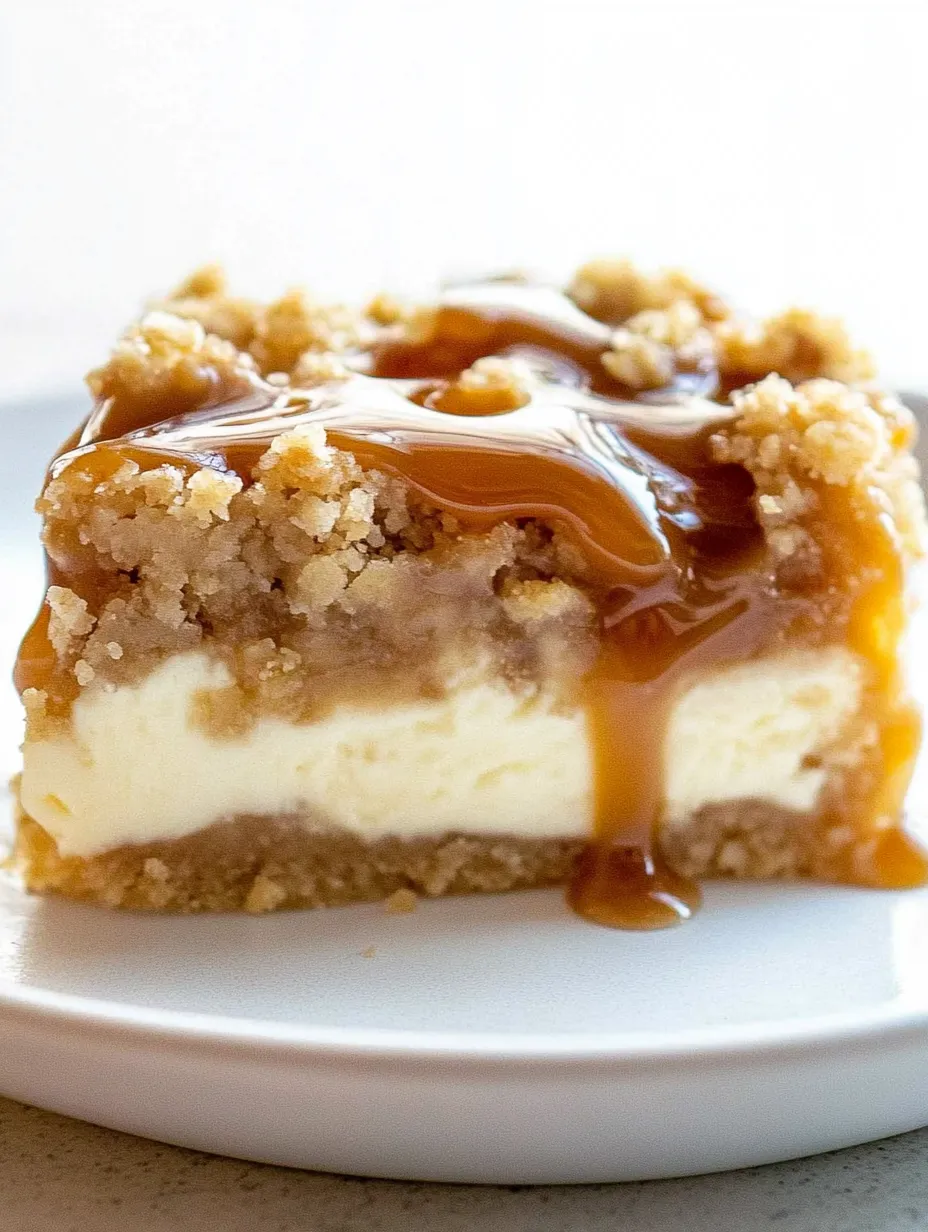
That caramel drizzle really makes these bars special. I found out that warming the caramel a bit before pouring creates those fancy bakery-style lines that make everyone think you're a pro. My grandma always said we eat with our eyes first, and these bars definitely prove she was right.
Prep-Ahead Wonder
These cheesecake treats actually taste better after a day or two as everything mingles together. You can make them up to three days before you need them and keep them in the fridge. Just wrap them tightly with plastic. For the best look, I'd wait to add the caramel until right before serving. When making them ahead, they'll cut cleaner if they're cold from the fridge, but they taste way better if you let them warm up just a bit before eating.
 Save Pin
Ingredient Swaps For Dietary Needs
If you can't have regular flour, you can swap in a one-to-one gluten free baking flour for both the base and topping. Make sure the oats are labeled gluten free if cooking for someone with celiac. For folks who don't do dairy, plant-based cream cheese and butter subs work pretty well, though they'll feel a bit different in your mouth. If you want them less sweet, you can cut back the brown sugar in the crust and topping by up to a quarter without messing up the texture too much.
Seasonal Apple Variations
Granny Smith apples work best here because they're firm and tangy, but you can try other kinds too. Honeycrisps give you a sweeter bite with great crunch. Braeburns or Pink Ladies hit that nice sweet-tart balance. In fall when apples are fresh, try mixing different types for more interesting flavor. Just always pick firm apples that won't turn to mush when baked. Stay away from soft ones like McIntosh that'll break down too much.
Serving Suggestions
These bars are filling enough to enjoy on their own, but you can dress them up for special times. A small scoop of vanilla bean ice cream on the side gives you that hot-cold magic. For fancy dinners, put a bar on a nice plate with a light dusting of powdered sugar and a mint leaf. At fall parties, I like to set out these bars with extra warm caramel sauce and whipped cream on the side so guests can fix them up just how they like.
Common Questions
- → Can I swap apples for something else?
For sure! Granny Smith works great for their tang, but you can try Honeycrisp or Fuji if you want something sweeter.
- → What's the best way to keep them fresh?
Pop them in a sealed container in your fridge for up to 5 days. They'll also stay good in the freezer for about 4 months.
- → Can I make them the day before?
They're perfect for prepping ahead! Just make them a day early, stick them in the fridge, and add the caramel right before you serve them.
- → Is there something else I can use instead of streusel?
You bet! Try some chopped nuts, granola chunks, or just skip it completely if you want something simpler.
- → I don't have a pastry blender - now what?
Don't worry! Just grab two forks or use your fingers to mix the butter in until everything looks like rough crumbs.