
 Save
Save
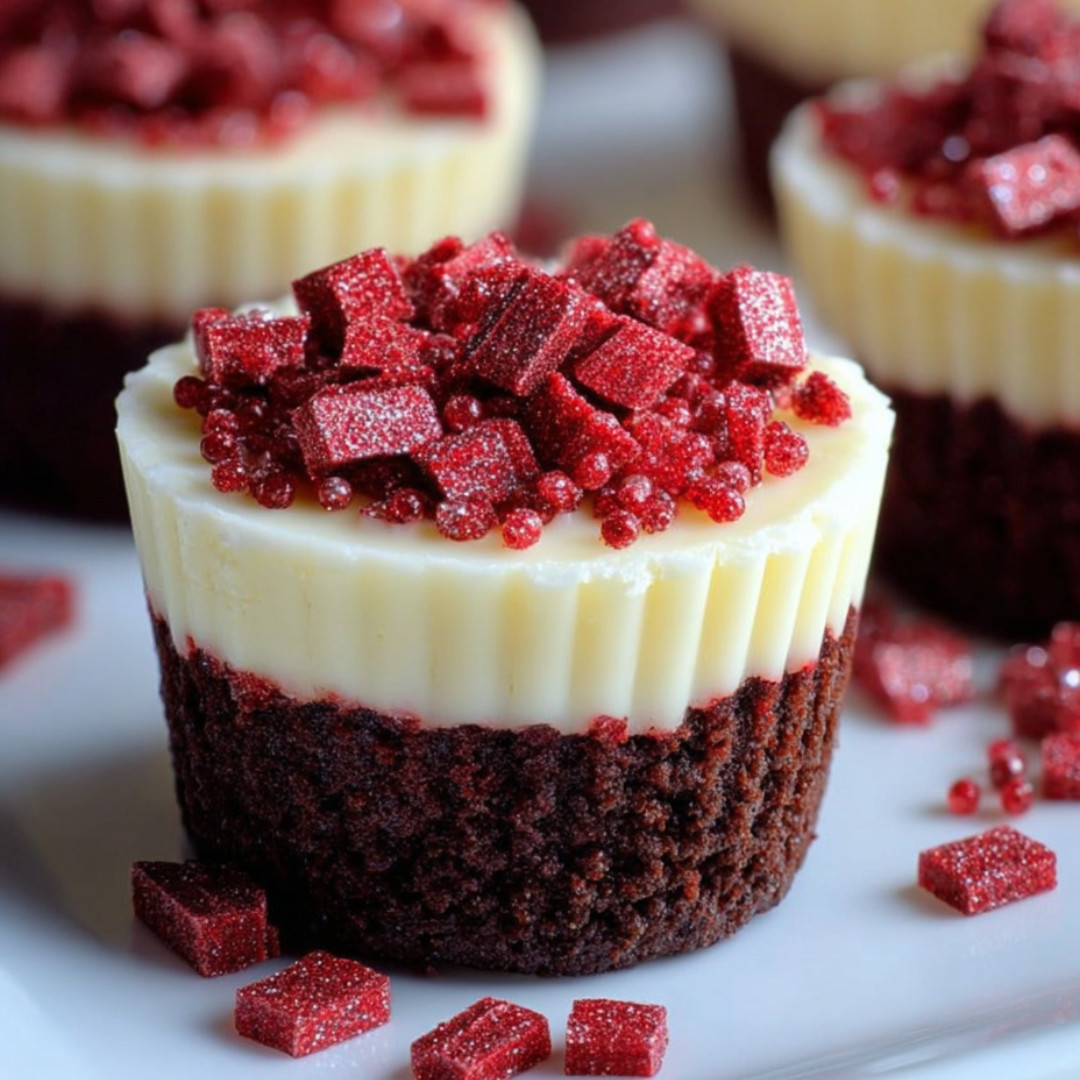
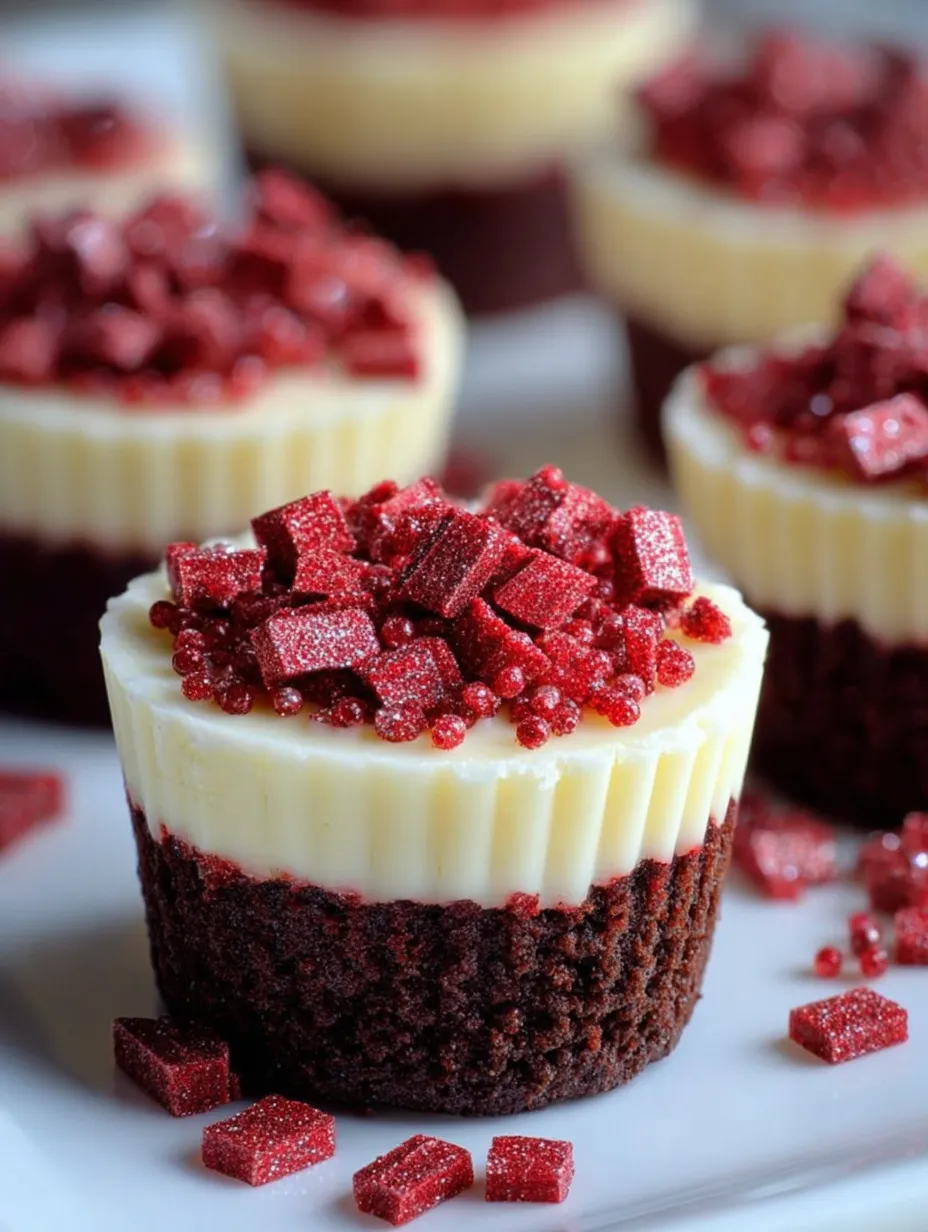
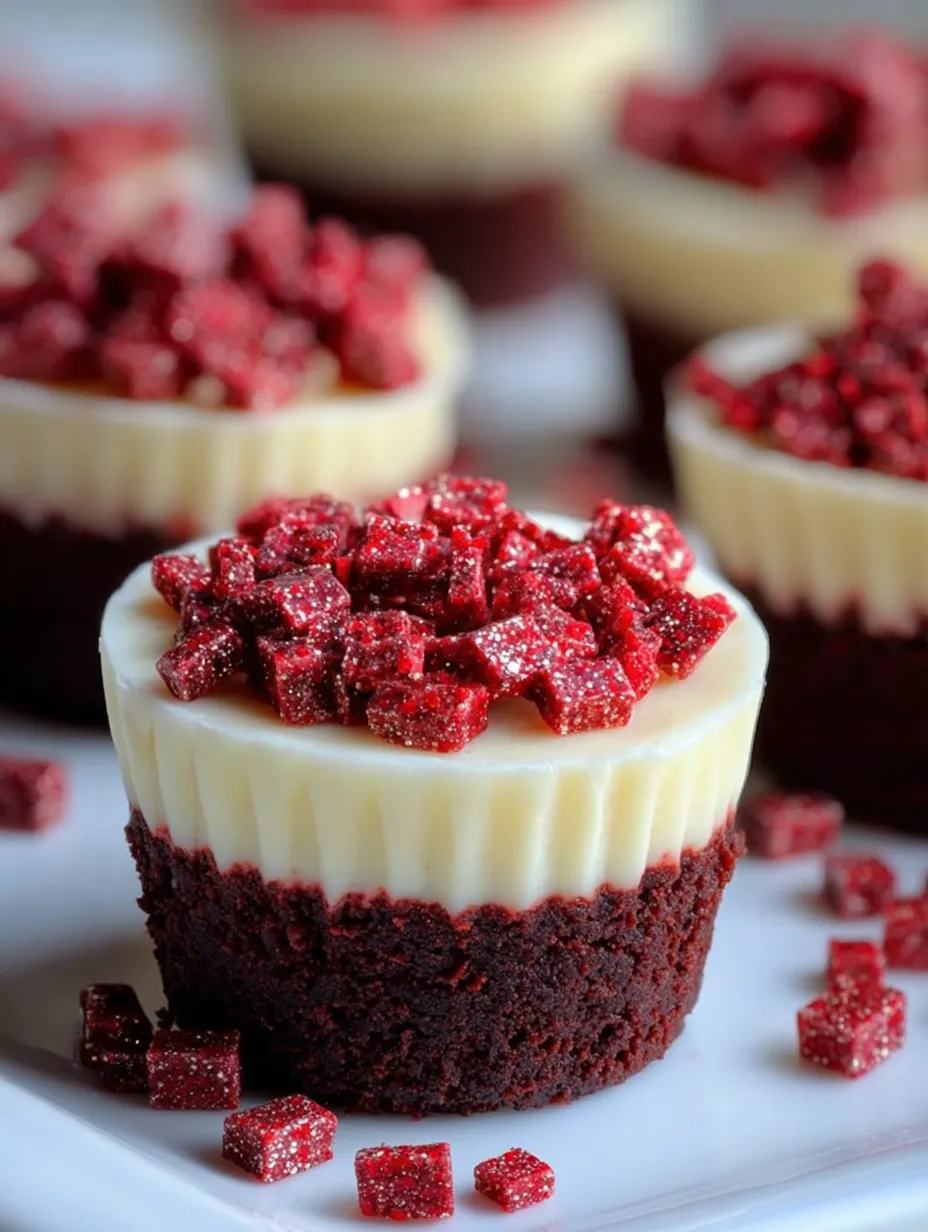
Mashup bars like these combine old-school cocoa brownies with a tangy cheesecake layer for every bite. The bold red swirls and clouds of white make them a stunner at get-togethers. They always get requests at every birthday and backyard BBQ I've brought them to since they were a hit at my cousin's dinner party.
I can't forget the first time they vanished before anyone even grabbed a plate. That perfect combo plus their photogenic look means everyone’s always asking for more.
Rich Ingredients
- Chocolate shavings or sprinkles: Sprinkle on for a playful topping—dark or milk, whatever you’re feeling
- Whipped cream: Pile some on for extra lushness. Freshly whipped always tastes best
- Cream cheese: The core of the creamy layer—full fat makes it extra dreamy
- Red food coloring: For that eye-catching color, use a gel if you want it super bright
- Salt: Just a pinch, but it wakes up every flavor. Fine sea salt mixes in smoothly
- Baking powder: Brings some puff to the brownies. Fresh is best for rise
- Cocoa powder: Key for that signature taste. Go Dutch-process if you have it
- All-purpose flour: Sift before adding for a nice, light texture. Make sure it hasn’t sat around too long
- Vanilla extract: Brings out warmth in the chocolate and cheesecake alike—real vanilla makes a difference
- Large eggs: Hold everything together. Go for free-range or farm-fresh if you can
- Granulated sugar: Adds moisture and balances things out. Pure cane sugar if you want the best taste
- Unsalted butter: Makes your brownies extra moist and flavorful. Good butter ups the game
Easy Instructions
- Cut and Serve
- If you used parchment, lift the bars out, slice cleanly, and top as you wish. Wipe your knife every time for that pro look
- Cool and Chill
- Let it cool completely at room temp. Pop the pan in the fridge for at least a couple of hours—it cuts clean and tastes even better
- Bake
- Slide the pan into a 350-degree oven. Check around 35 minutes. You want the cheesecake set at the sides but a little soft in the middle—a toothpick should come out with a few bits clinging to it
- Layer and Swirl
- Pour your cheesecake mix over the brownie. Smooth out. Swirl together lightly with a knife or skewer until you’ve got cool marbling, but don’t blend it all in
- Beat the Cheesecake Layer
- Whip up cream cheese till fluffy. Mix in sugar for silkiness. Add eggs one at a time, scraping between. End with vanilla and some flour. Blend just until smooth
- Spread the Base
- Push out the brownie batter evenly in your pan. Offset spatula helps. Set aside while you make cheesecake
- Combine Dry Ingredients
- Stir flour, cocoa, salt, and baking powder in a bowl. Add gradually to wet stuff till just together. Drop in food coloring and fold gently till the batter’s got that bold red look—don’t stir too much
- Make the Brownie Batter
- Melt all your butter, pour in sugar, stir until silky. Let that cool, then mix in each egg, one at a time, and finally vanilla
- Prep the Pan
- Grease up or lay parchment in your 9x13 pan so everything comes out in nice clean bars later
What’s Great to Know
- Stacks of layers make these perfect for holiday spreads
- Super chill-friendly—stash in the fridge for seven days
- No sweat bringing them along, they survive most trips!
The swirling on top is my favorite part. It takes me back to baking these bars with my kid and letting them twirl patterns through the creamy layer. Watching their designs is a total highlight for me every time we make these.
Storing It Right
Keeps fresh for a week in the fridge in an airtight container. They actually get better after sitting overnight because the flavors mellow out perfectly. For longer, freeze them wrapped up and tossed in a zip bag; just pull what you need and they’ll thaw super fast in about thirty minutes—ideal for surprise snack cravings.
Swaps You Can Make
If red food coloring’s gone, use beet powder for a cool color and earthy taste. Switch to one-to-one gluten-free flour if you want to skip the wheat. Try raspberries or a light drip of dark chocolate if you want to cut some of the sweetness or jazz up the topping.
Fun Ways to Serve
Eat these as standout bars, or throw on some berries for a fresh hit. Ice cream—especially vanilla bean—is amazing with them, or just dust with cocoa. If it’s for a special day, toss on sprinkles or tiny hearts for extra fun.
Why We Love Them
You’ll spot red velvet at old Southern family parties and weddings. Mixing it with brownies and cheesecake is a more recent spin, blending classic flavor with some new flair. Folks love the nostalgia combined with the standout new taste.
Frequently Asked Recipe Questions
- → How can I keep the cheesecake and brownie swirl looking good?
Drag a butter knife or skewer through the cheesecake and brownie layers using gentle figure-eights. Try not to blend them too much or you’ll lose those cool layers when you slice it up.
- → Is there a swap for red food dye?
If you’d rather skip the dye, beet juice or raspberry puree can add a natural tint—just know it may taste a little different. Or you can forget the color and just enjoy the brownie-cheesecake mix as is.
- → How do I stop the cheesecake part from cracking?
Keep mixing easy on the cheesecake so you don’t whip in too much air. Don’t let it bake too long, and once it’s done, let it cool off slowly. Pop it in the fridge for a few hours to let everything set nicely.
- → Can I fix these up ahead of time?
Totally! They taste even better after sitting in the fridge overnight. Just bake, cool, chill, and wait to cut them till you’re ready to serve. Super easy.
- → What extras taste best on top?
Top with a dollop of whipped cream, a sprinkle of chocolate curls, or some fun colorful sprinkles. If you’re feeling fancy, shake on powdered sugar or pour over some melted chocolate.
- → How’s the best way to keep leftovers fresh?
Stash them in the fridge inside a tight container and they’ll last about five days. To freeze, layer with parchment paper, freeze, then thaw before you want them again.