
 Save
Save
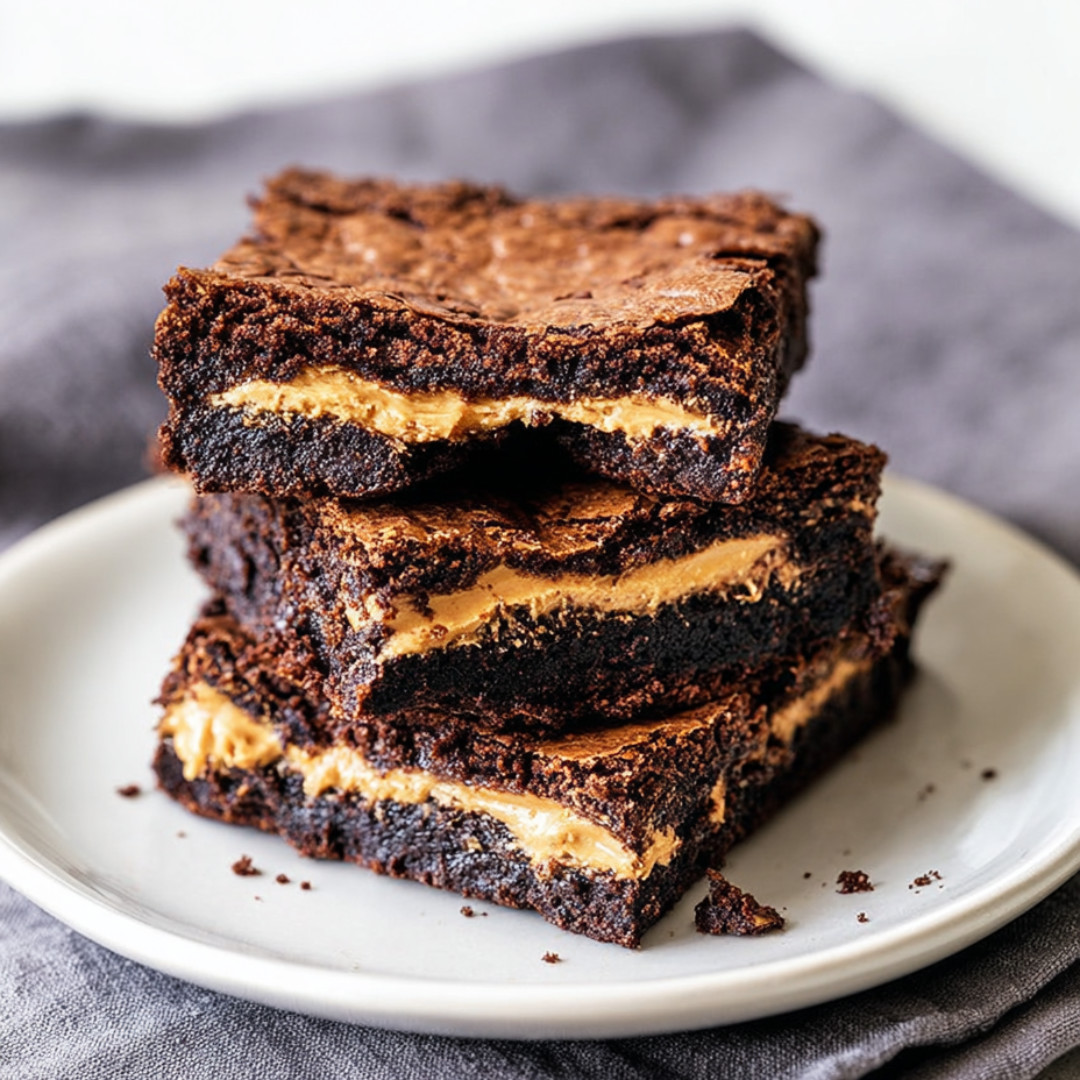
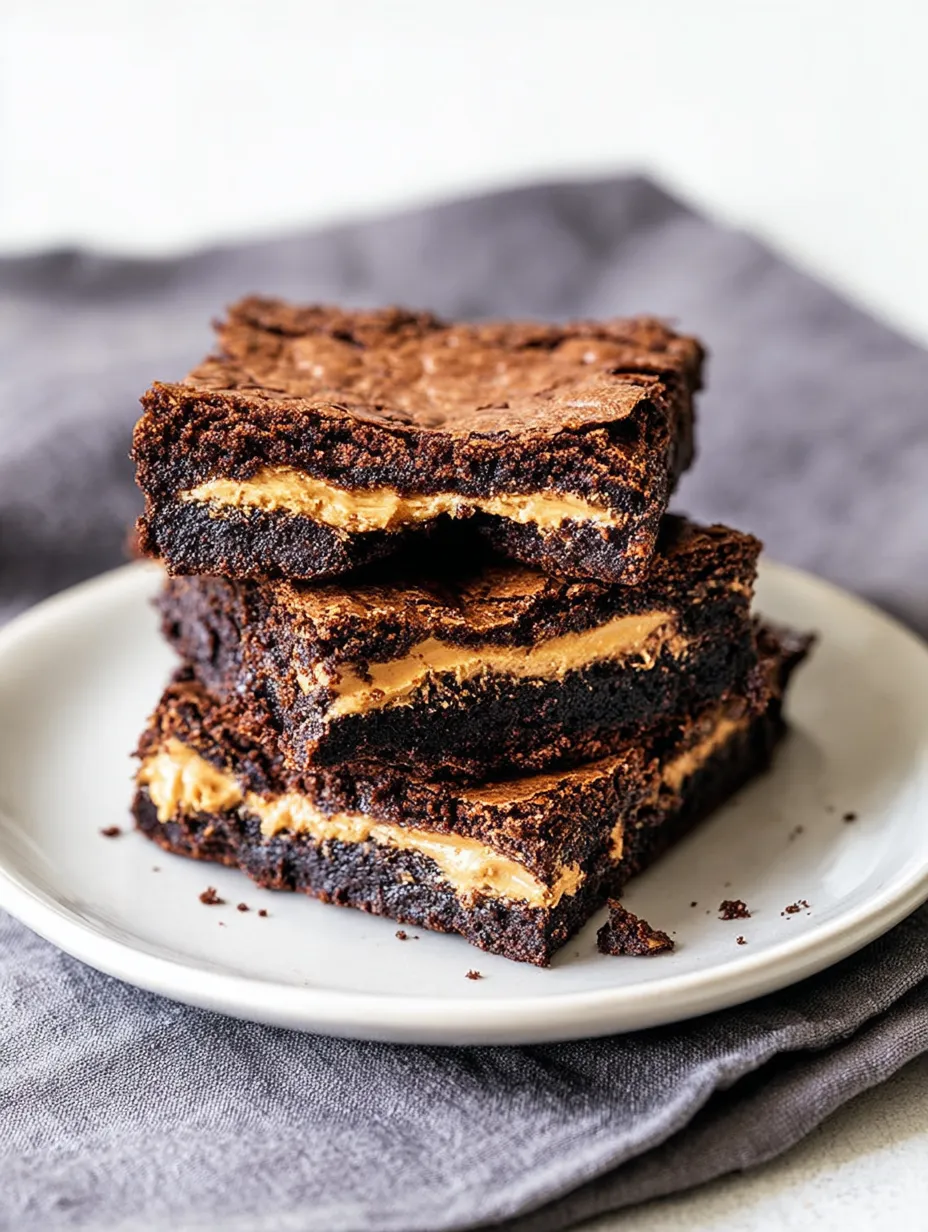
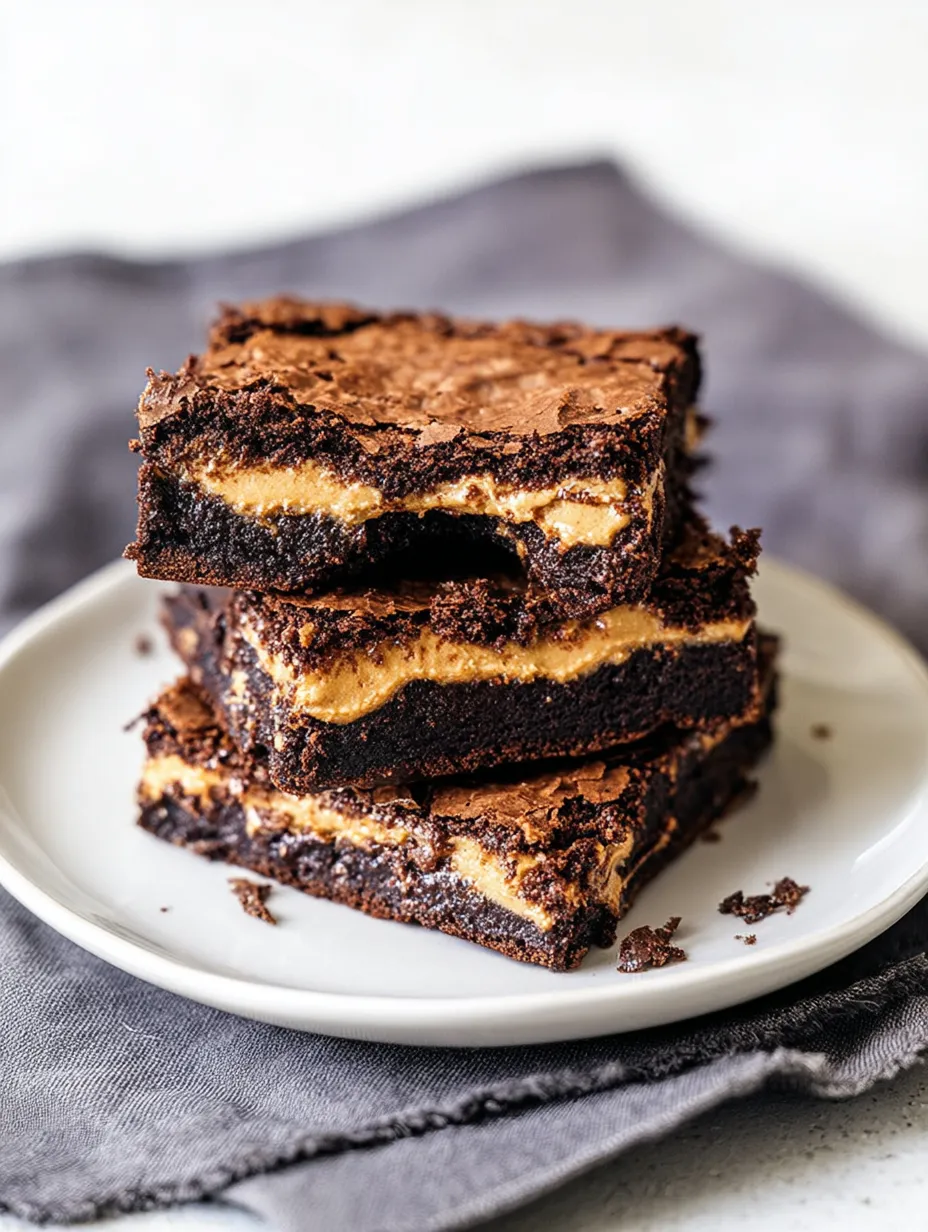
If you're a sucker for that unbeatable combo of chocolate and peanut butter, these Peanut Butter Stuffed Brownies totally hit the spot. Each bite is packed with chocolate perfection and a gooey center filled with dreamy peanut butter. You’ll turn out bakery-worthy treats that get snapped up almost instantly.
The first time I made a batch was when my brother was back from school. He ate almost all of them so fast I found myself whipping up more the next morning. I still laugh whenever I think about those fun afternoons every time I bake these.
Ingredients
- All-purpose flour: gives just enough structure and sifting helps if it's lumpy so the end result is tender
- Vanilla extract: smooths out and boosts the chocolate flavor use the real kind not fake if you can
- Large eggs plus extra yolk: make them rich and chewy and the extra yolk adds even more creaminess
- Creamy regular peanut butter: classic salty sweet taste stick with well-known brands for the best results and skip the oily or natural ones
- Granulated sugar: makes the brownies sweet and part of that fudge texture
- Semisweet baking chocolate: gives big chocolate vibes pick a bar chocolate instead of chips so it melts nice and smooth
- Fine salt: cuts through the sweetness and balances everything out
- Unsalted butter: adds full-bodied flavor make sure it's fresh and good quality
- Unsweetened cocoa powder: kicks up the chocolate flavor use Dutch process for extra depth and smoothness
Easy Step-by-Step Directions
- Bake and Cool:
- Pop the pan into your preheated oven at 350 and bake for about thirty minutes. If you like extra gooey brownies, check a bit earlier. Let the whole thing cool at least half an hour right in the pan, then lift out by the parchment and chill further on a rack before slicing up.
- Assemble and Layer:
- Pour half the batter into the lined pan first. Now grab that frozen peanut butter piece and set it right on top. Spread the rest of the batter gently over to totally cover the peanut butter, smoothing out the surface.
- Fold in Dry Ingredients:
- Hand mix the flour, cocoa, and salt in until just blended. Don’t overdo it or you’ll lose the softness and get cakey brownies.
- Add Eggs and Vanilla:
- Break in your eggs and that extra yolk, then add vanilla. Whisk about a minute for a glossy, chewy batch. The more air you whip in, the prettier the top crust gets.
- Mix in Sugar and Cool:
- With the chocolate mixture still warm, stir in the sugar with energy until smooth. Now cool the bowl until just barely warm so the eggs don’t scramble when you add them next.
- Melt Butter and Chocolate:
- Put the butter and chopped chocolate in a big, microwave-safe bowl. Melt them together in quick sessions, stirring every time, until silky and blended. That way, nothing scorches and the cocoa flavor shines.
- Prep the Peanut Butter Filling:
- Soften your peanut butter in the microwave for about half a minute, just so it spreads but isn’t hot. Smooth it into a parchment-lined square pan so the corners fill out. Freeze this until it's nice and firm, about an hour, which keeps the middle solid while baking.
I’ve got a soft spot for peanut butter, so I always sneak a fresh, warm chunk while the rest are cooling. It’s one of those flavors that takes me right back to bake sale days as a kid.
How to Store
Tuck brownies into a sealed container and leave out on the counter for three days if you want. Or pop them in the fridge and they’ll get even fudgier over five days. You can freeze single pieces wrapped tight for grab-and-go snacks weeks later, just thaw before munching.
Swap Outs
If natural peanut butter’s what you’ve got, just make sure you really mix it up to blend in the oil but be ready for a softer center. Want it dairy-free? Try plant-based butter and chocolate. Use a gluten-free flour blend for no wheat—just double-check if you need to tweak the baking time.
Fun Ways to Serve
Bite into them just as-is or pair with a glass of ice-cold milk. You could also dress them up with a scoop of vanilla ice cream and warm up some fudge sauce. They’re super sturdy for parties or packing up as sweet homemade presents.
A Tasty Backstory
Chocolate and peanut butter have gone hand in hand in American treats since boxed brownies showed up. Stuffed versions climbed the charts with those cool layers and loads of flavor—a classic example that just a few things in the pantry can make magic happen.
Frequently Asked Recipe Questions
- → Can crunchy peanut butter be used for the filling?
Smooth peanut butter is best for easy spreading and even layers. Crunchy works if you want some bits, but it might be harder to spread out.
- → How do I know when the brownies are done baking?
Look for firm sides and a center that's a bit soft. Poke it with a toothpick—moist crumbs are good, but it shouldn't be wet.
- → Can I store these brownies in the fridge?
Yep! Keep them in a sealed container. They'll last about 3 days on the counter or up to 5 in the fridge. They'll get even chewier when chilled.
- → How can I make the brownies less rich?
Just use less peanut butter inside, about 1 cup or even 3/4 cup, if you want a lighter bite.
- → Is it possible to double the batch?
You sure can. Grab a 9x13 inch pan, use the same baking time, and check for doneness like you would with a smaller batch.
- → What is the best way to cut the brownies for clean slices?
Let them cool all the way, then use a sharp knife and wipe it off between each cut. You'll get perfect, neat squares.