
 Save
Save
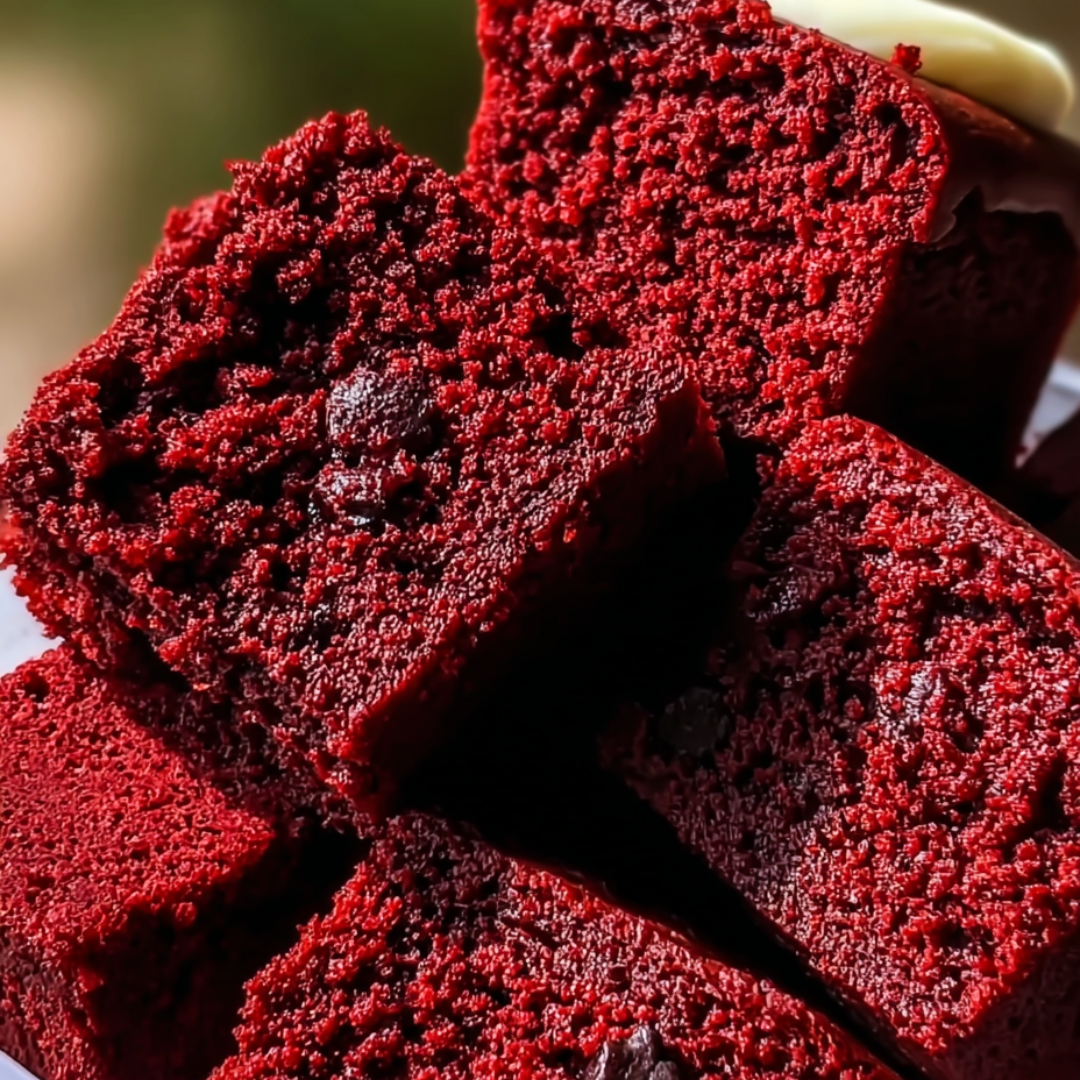
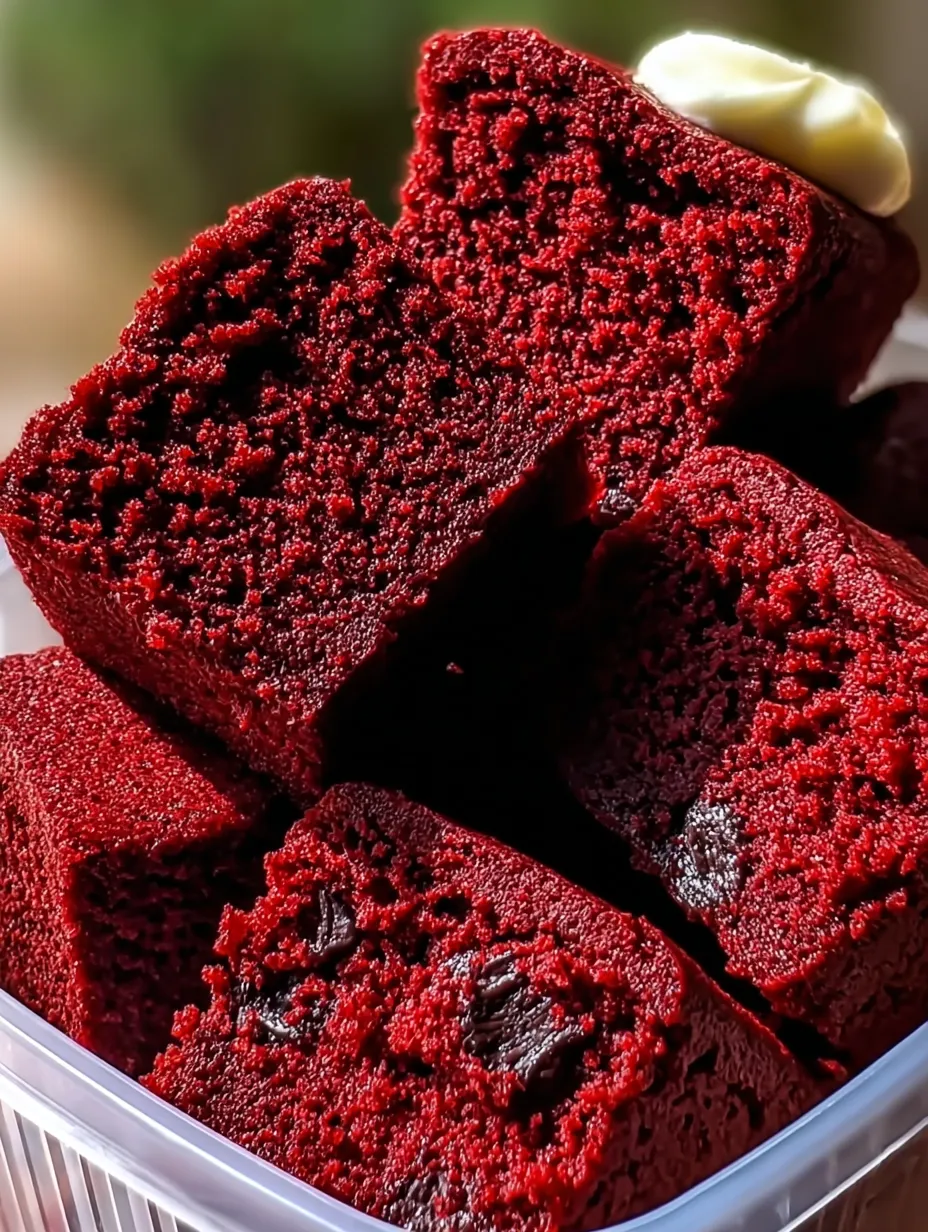
Chewy Red Velvet Brownie Sticks with a velvety cheesecake dip are what I whip up every time I want a sweet treat that feels a bit playful. They're rich and super moist—just right for dunking—and that dreamy dip? It’s got that throwback birthday vibe I love.
Whenever I show up with these, they're gone almost instantly. Folks want to know how I make that fluffy dip, and serving them as dunkable sticks makes dessert feel special.
Delicious Ingredients
- Heavy cream: whipped up and folded into the dip makes it light as air—pick the richer kind for best results
- Powdered sugar: gives the dip its smooth, delicate sweetness—sifting it first keeps things extra creamy
- Cream cheese for dip: brings the ultra-silky texture—go for the regular stuff, not low fat
- Salt: bumps up all the flavors and takes the edge off the sweetness—a little flaky sea salt works wonders
- Unsweetened cocoa powder: gives classic red velvet that little chocolate edge—Dutch-processed helps the flavors shine
- All purpose flour: keeps the sticks sturdy and perfect for dipping—careful measuring means no cakey crumb
- Large eggs: make the brownies hold up as strips, and fresh ones help bake evenly
- Vanilla extract: ties everything together and smells amazing—pure vanilla makes a big difference
- Red food coloring: gives that bold pop of color—gel color works best for a vibrant finish
- Granulated sugar: sweetens the brownies and makes them moist—fine sugar is easier to blend in
- Unsalted butter melted: creates the dense, fudgy bite—pick high-quality butter for the richest flavor
Easy Step-by-Step
- Serve for Dunking:
- Set out the brownie strips with your creamy cheesecake dip front and center, making it easy for everyone to grab and dunk right in
- Make the Cheesecake Dip:
- Whip up the softened cream cheese, powdered sugar, and a splash of vanilla until you’ve got a super light mixture; gently fold in your whipped heavy cream and keep the dip airy
- Cool and Cut:
- Let brownies hang out in the pan until they’re cool—don’t skip this step or you’ll end up with crumbs—then slice them into finger-sized sticks for easy dipping
- Bake the Brownies:
- Scrape your batter into a nine-by-thirteen pan lined with parchment, smooth it out, and bake at 350°F. When a toothpick comes out with a few sticky crumbs, they’re ready (about 25–30 minutes)
- Add Dry Ingredients:
- Mix together salt, cocoa powder, and flour, then fold into the wet stuff gently just until you don’t see dry bits—don’t overdo it or you’ll lose that fudgy bite
- Incorporate the Eggs:
- Beat in your eggs, one at a time, making sure each one’s mixed in before you add the next—this builds up that signature chewy base
- Mix the Batter:
- Melt butter, add in your sugar, pour in red coloring and vanilla, then whisk until it looks totally smooth and glossy
Good Stuff to Know
- Brownies keep just fine in the freezer, up to three months
- Cheesecake dip goes great with strawberries too
- Switch to a gluten free flour blend for no-gluten brownies
Honestly, it’s slicing the brownies into perfect skinny sticks and seeing everyone’s faces light up when they dunk them into that frosting. These treats always show up at our family parties and birthdays now.
How to Store
Pop cooled brownie sticks into a container and keep them at room temp for up to three days. Stash the dip in the fridge and cover it—it’ll last up to four days chilled. If you want to prep ahead, leave the brownies whole and only cut them right before serving for the best texture. Need to freeze? No problem—just let brownies come to room temp before serving.
Swap It Up
Want a bolder flavor? Use dark cocoa powder. Need gluten free? Grab a one-to-one blend instead of regular flour. For the dip, a little Greek yogurt in place of some cream cheese adds a tangy kick. Out of heavy cream? Store-bought whipped topping will work in a pinch.

How to Serve
Put these out on a dessert platter with berries and mini cookies for a fun spread. Swirl on some melted white chocolate or a sprinkle of pecans for a quick upgrade. They’re a real crowd pleaser at things like baby showers or Valentine’s get-togethers.
Nostalgic Dessert Fun
Red velvet’s roots are in Southern celebrations, usually as classic cakes. Turning them into fun dippable brownies feels both new and old school. That dip is inspired by my grandma’s favorite no-bake cheesecake—it’s a sweet nostalgic twist everyone loves.
Frequently Asked Recipe Questions
- → How can I make my brownies super fudgy?
Start with melted butter and keep the stirring gentle—don’t overdo it. Take them out of the oven before they’re fully set to keep them extra gooey inside.
- → Is it okay to make the cheesecake dip ahead of time?
Definitely! Whip it up a day early, cover, and pop it in the fridge till you need it.
- → What’s the best way to keep leftover brownie sticks fresh?
Stick them in a sealed container and leave on the counter for up to three days, or in the fridge if you want them to last even longer.
- → Any other fun toppings for these brownies?
Add some melted white chocolate on top or sprinkle chopped pecans for more flavor and crunch.
- → What else can I use for dipping these brownie sticks?
Try chocolate ganache, your favorite fruit jam, or even a quick peanut butter dip for something different.