
 Save
Save
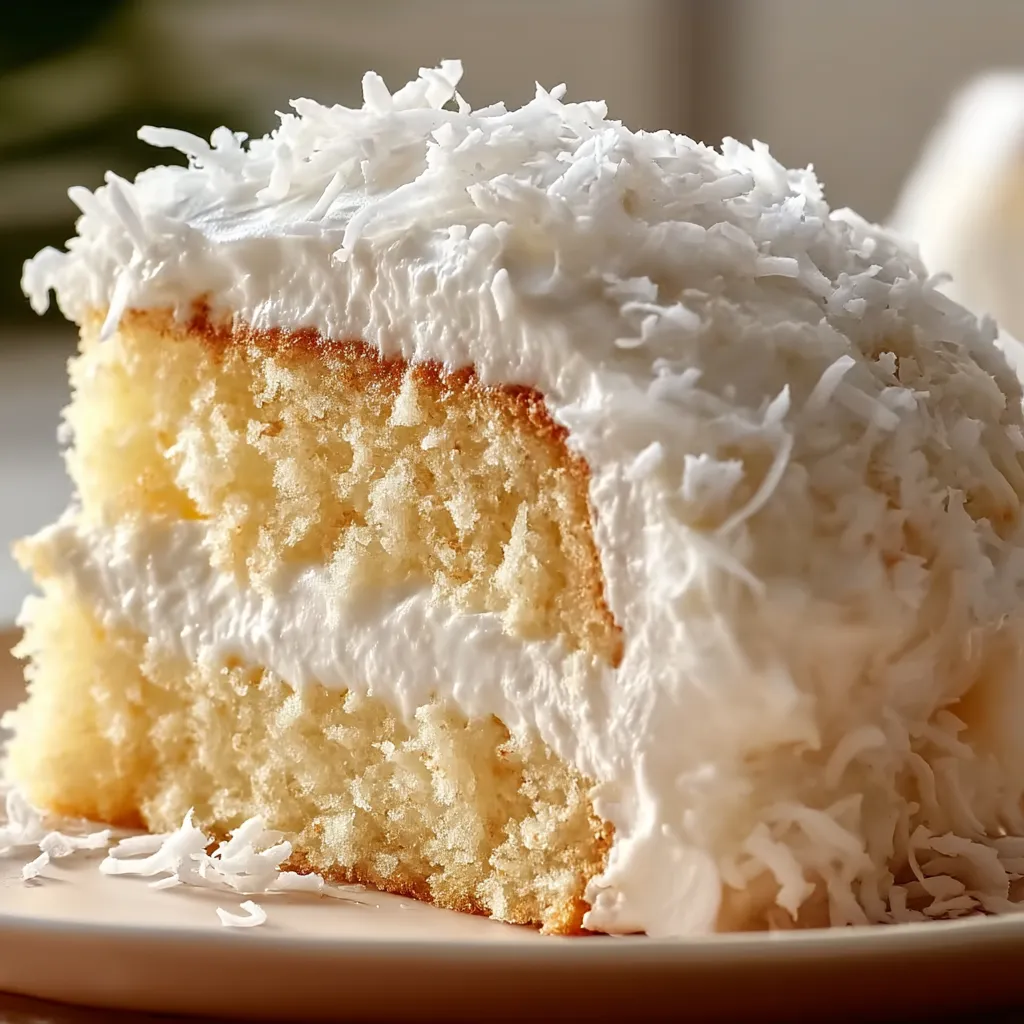
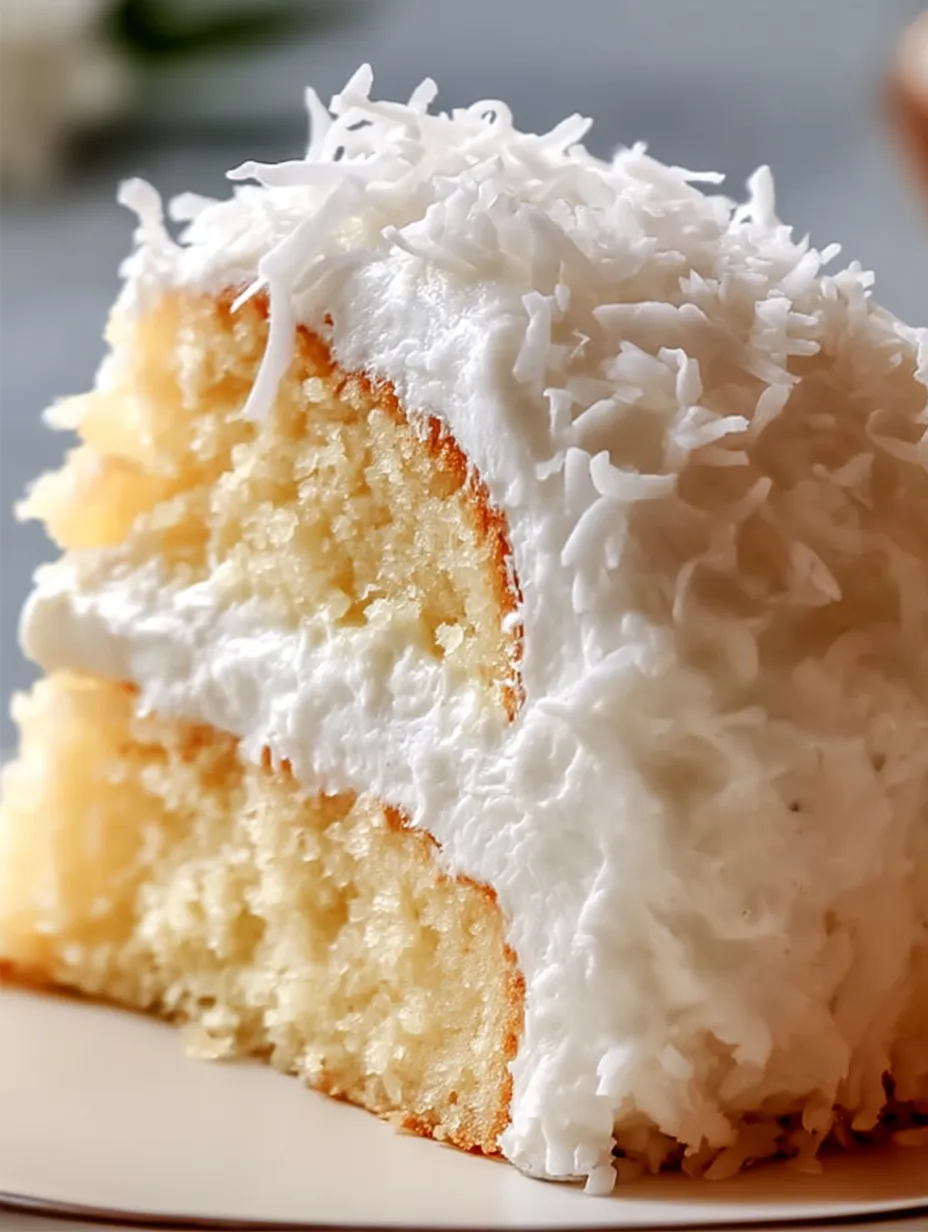
This airy coconut dream cake takes you straight to the tropics with each mouthful. Light, fluffy, and packed with coconut goodness, this eye-catching treat has turned into my go-to celebration dessert that always wows my friends.
I first whipped this up for my sister when she came back from Hawaii. The coconut brought back memories of her island trip, and it's now what everyone in our family asks for whenever we need to bring a bit of vacation vibes to our parties.
Ingredients
- All purpose flour: Makes the ideal base for this soft cake without getting too heavy
- Baking powder: Creates that amazing lift and fluffy feel
- Unsalted butter: Brings creaminess while letting you manage saltiness
- Granulated sugar: Adds sweetness and helps trap air when mixed with butter
- Room temperature eggs: Blend better for a silkier mix
- Vanilla extract: Sets up the background flavor that makes coconut shine
- Coconut extract: Pumps up the island flavor without going overboard
- Coconut milk: Adds real tropical taste plus keeps everything moist and tender
- Shredded coconut: Makes a pretty outer layer and gives a nice texture change
Detailed Directions
- Get Everything Ready:
- Heat your oven to 350°F and fix up your cake pans. I like using parchment circles with a tiny bit of cooking spray for guaranteed no-stick results. There's nothing worse than a gorgeous cake that won't come out of the pan.
- Mix Dry Stuff:
- Stir together flour, baking powder and salt until fully mixed. Don't skip this part - it makes sure your cake rises evenly all the way across.
- Whip Up The Foundation:
- Beat your butter and sugar for a full 3-4 minutes until it's super fluffy. Many people cut this short, but taking your time here creates tons of tiny bubbles that make your cake extra fluffy. It should get lighter in color and look almost whipped cream-like.
- Make Your Batter:
- Drop in eggs one at a time, making sure each one mixes in completely before adding another. This keeps your batter smooth and holds all those air bubbles. Add both flavor extracts now to spread the taste throughout.
- Blend Everything Together:
- Switch between adding dry ingredients and coconut milk, starting and finishing with the flour mix. This way works best to mix everything without overdoing it. Your batter should look smooth but still hold its shape a bit.
- Bake It Just Right:
- Pour into your ready pans and bake until a toothpick comes out clean, around 25-30 minutes. The tops should bounce back when you gently touch them and look slightly golden around the edges.
- Cool With Care:
- Let the cakes sit in their pans for exactly 10 minutes. This timing is key - it lets the cake set up but still come out easily. Then move them to cooling racks so the bottoms don't get soggy from steam.
- Put It All Together:
- Once totally cool, spread coconut frosting between layers and press shredded coconut all around the sides. Do this over a baking sheet to catch the falling coconut and make cleanup a breeze.
The coconut milk really is the key player in this cake. I tried using regular milk once when I ran out, and while the cake turned out okay, it missed that special island richness that makes everyone ask for seconds. My grandma always told me a real coconut cake should make you feel like you're on vacation with just one bite.
Getting That Fluffy Feel
That dreamy texture comes down to good mixing and careful measuring. If you mix too much after adding flour, you'll get a tough cake. Stop as soon as everything's combined for the fluffiest results. You can use cake flour instead of all-purpose for an even softer cake, but I find the all-purpose version holds up better when you stack the layers.
Prep It Early
This cake actually gets better overnight. The coconut flavor grows stronger, and the texture turns even more tender. You can bake the layers up to two days ahead, wrap them well once they're cool, and keep them at room temp until you're ready to frost. The finished cake stays good for up to four days in the fridge, but let it warm up before serving for the best taste and feel.
Switch It Up
The basic coconut cake is amazing, but you can play with other flavors too. Try adding some lime curd between layers for a key lime coconut twist. Mix in a cup of tiny pineapple pieces for a piña colada feel. If you love chocolate, try pouring some melted dark chocolate over the frosted cake to create a tasty contrast with the sweet coconut.

Frequently Asked Recipe Questions
- → What makes this cake light and fluffy?
You'll get that amazing airy texture by really working the butter and sugar together until fluffy which puts lots of tiny air bubbles in the mix plus the coconut milk adds just the right moisture.
- → Can I substitute coconut extract?
You can swap in vanilla or almond flavoring if you need to but you won't get that same tropical taste that makes this cake special.
- → How do I toast shredded coconut?
Just put your coconut flakes on a flat baking tray and pop them in a 350°F oven for about 5-7 minutes. Give them a stir now and then so they turn golden all over.
- → Can I freeze the cake layers?
You can totally freeze the plain cake layers for up to three months if you wrap them really well in plastic and keep them in an airtight box.
- → What's the best way to decorate this cake?
Cover it with coconut frosting or some whipped cream and then push coconut flakes into the sides and top for a beautiful tropical look everyone will love.