
 Save
Save
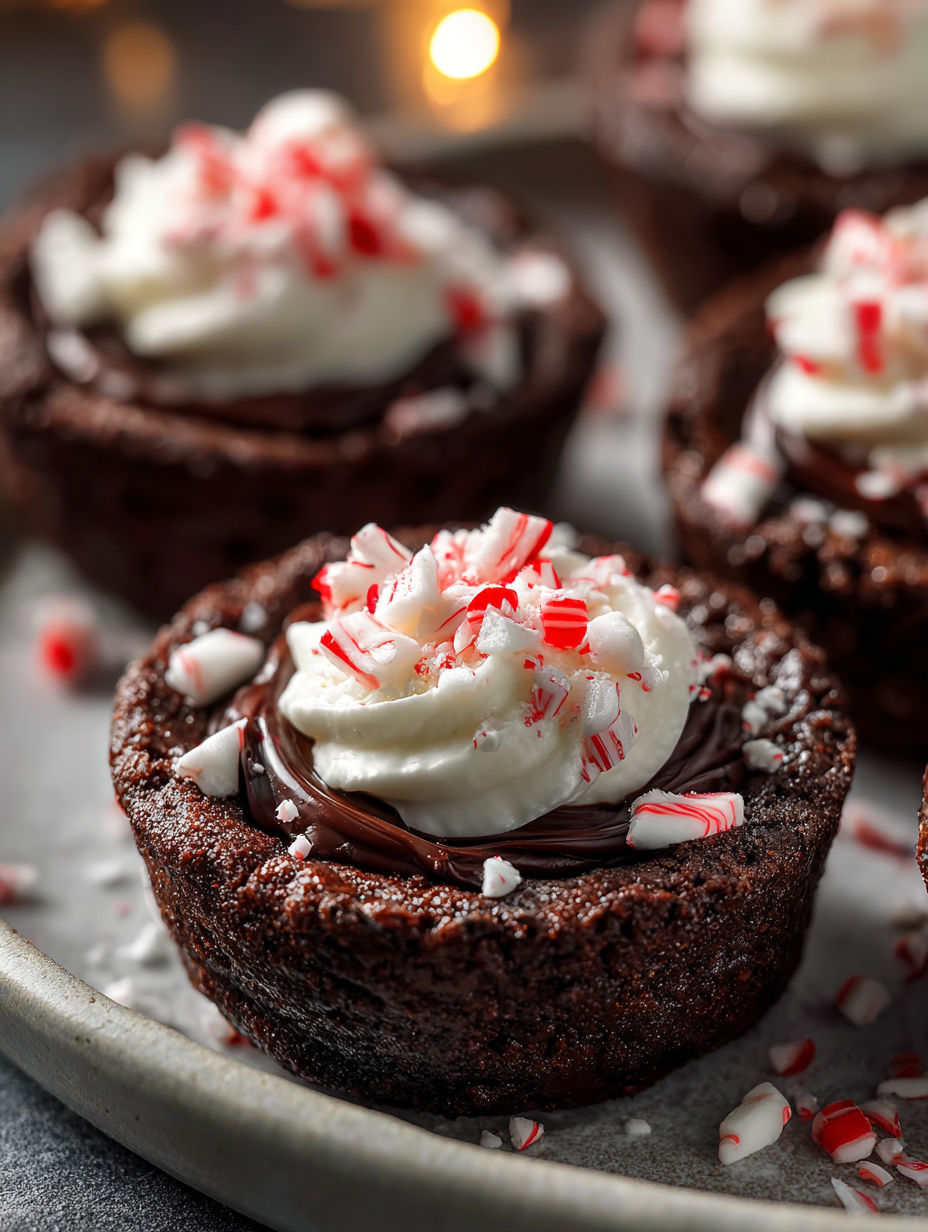
These chocolate peppermint cookie cups are a perfect holiday treat that bring together rich cocoa flavors and a refreshing peppermint cheesecake filling. They are excellent for festive gatherings or whenever you want to impress with a decadent yet approachable dessert.
I first made these after craving something chocolatey with a festive twist and they became an instant hit at our holiday party. The creamy peppermint filling balances the rich cookie so well it’s hard to stop at just one.
Ingredients
- Two cups all-purpose flour: for structure choose good quality flour for tender cookies
- Quarter cup Dutch-processed cocoa powder: sifted for deep chocolate flavor and smooth texture
- Quarter cup black cocoa powder: adds an intense dark color and bold chocolate taste
- One teaspoon baking soda: for lightness and lift as the cookie cups bake
- Half a teaspoon salt: to enhance the chocolate and other flavors
- One cup unsalted butter: at room temperature ensures creamy, easy-to-mix dough
- Half a cup granulated sugar: adds sweetness and crispness to the cookies
- One cup packed light brown sugar: brings moisture and caramel notes to the dough
- Two large eggs: at room temperature help bind and enrich the dough
- One teaspoon vanilla extract: for warmth and depth in the cookie base
- One cup heavy whipping cream: chilled helps create stiff peaks for the cheesecake filling
- Eight ounces full fat cream cheese: gives the filling smooth creaminess and tang
- Half a cup granulated sugar: balances the tart cream cheese in the filling
- One teaspoon peppermint extract: delivers the distinct holiday mint flavor
- Red color gel: optional for decorating and festive stripes in the piping bag
- Chopped candy canes: for a crunchy, colorful garnish
Instructions
- Preheat And Prepare The Tins:
- Preheat your oven to 350 degrees Fahrenheit or 175 Celsius. Lightly spray two regular-sized cupcake tins with cooking spray to prevent sticking.
- Mix The Dry Ingredients:
- In a bowl whisk together the all-purpose flour, Dutch-processed cocoa powder, black cocoa powder, baking soda, and salt. Set this mixture aside for later.
- Cream Butter And Sugars:
- Using an electric mixer beat the room-temperature unsalted butter with both granulated and brown sugars on medium-high speed until the mixture looks light and fluffy which should take about two to three minutes.
- Incorporate Eggs And Vanilla:
- Reduce your mixer speed and add the eggs one at a time making sure each one is fully mixed in before adding the next. Then mix in the vanilla extract.
- Combine Dough:
- Add the dry ingredients to the wet ingredients and mix gently until just combined avoiding overmixing which can make the cookies tough.
- Portion Dough Into Tins:
- Use a large three-tablespoon cookie scoop to evenly portion dough into the prepared cupcake tins filling each about three-quarters full.
- Bake The Cookie Cups:
- Bake in the preheated oven for ten to thirteen minutes. The edges should look set but the centers are still slightly soft.
- Create Wells For Filling:
- Right after removing the tins from the oven press each cookie gently but firmly with a small jar or container to create a cavity in the center without breaking through the base.
- Cool In Pan Then On A Rack:
- Allow the cookie cups to cool in the pan for ten minutes. Loosen each by twisting gently and then cool for another five minutes before removing onto a wire rack to cool completely.
- Whip The Cream:
- Chill your mixing bowl and whisk then whip the heavy cream until it forms stiff peaks. This can take several minutes and the cold tools help achieve the right texture.
- Make The Cheesecake Filling:
- In a separate bowl beat the softened cream cheese with sugar and peppermint extract until smooth and creamy.
- Fold Whipped Cream Into Cream Cheese Mixture:
- Carefully mix the whipped cream into the cream cheese mixture until well combined to keep the filling airy.
- Prepare Piping Bag:
- Use a small food-safe paintbrush to paint two red stripes on the inside of a piping bag fitted with a large round tip. Fill the bag carefully with the cheesecake filling.
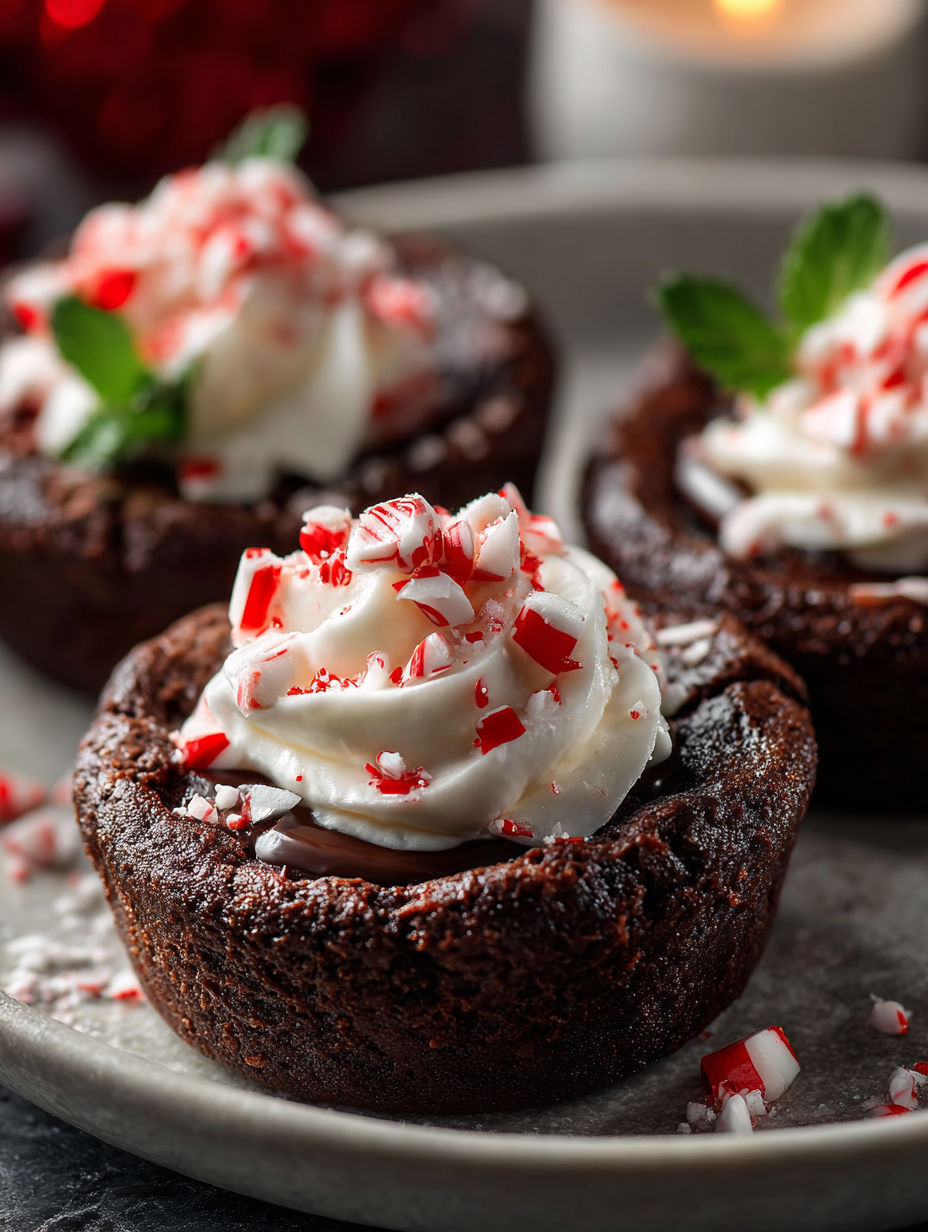
- Pipe Filling Into Cups:
- Pipe a generous swirl of the peppermint cheesecake filling into the cooled cookie cups. Refrigerate for one to two hours until the filling sets.
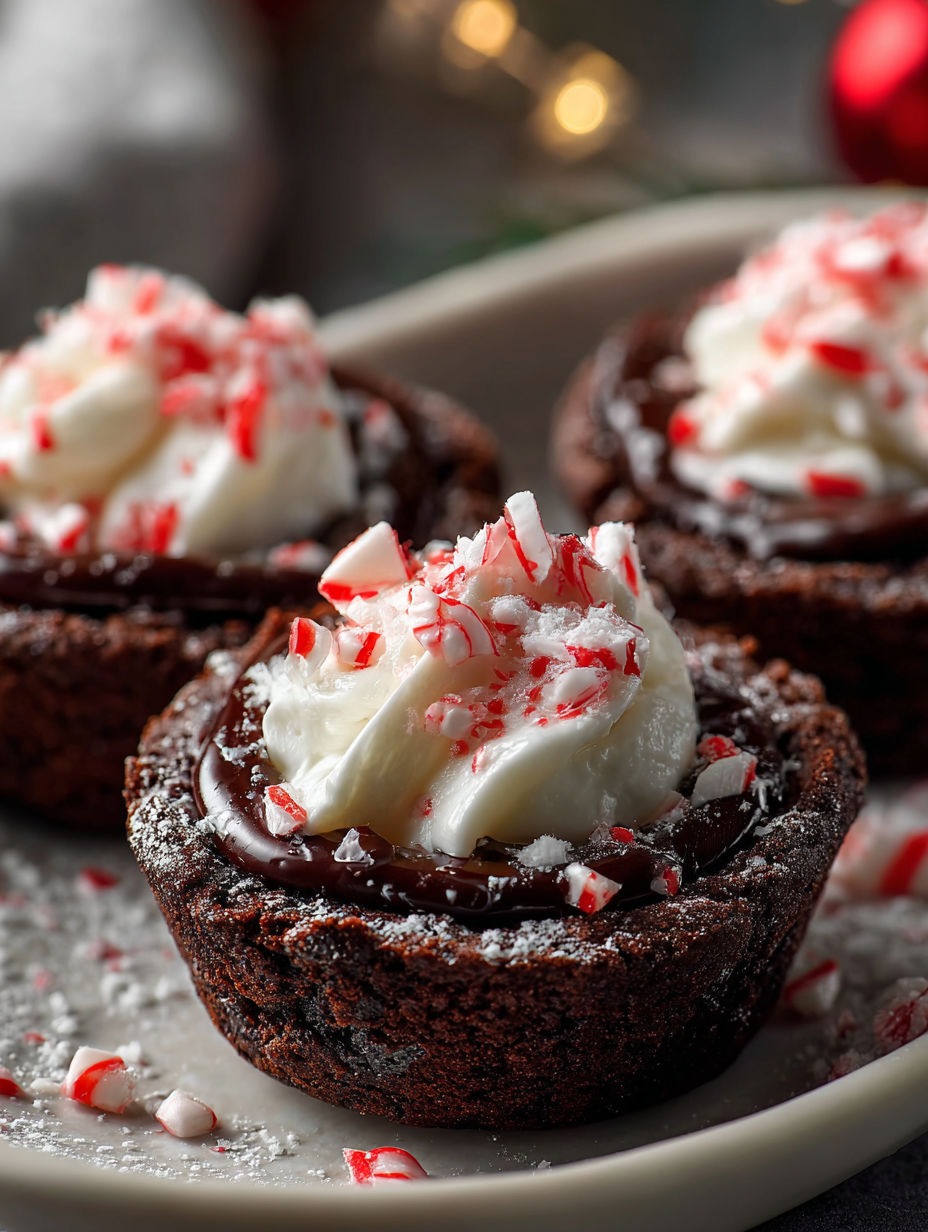
- Garnish And Serve:
- Sprinkle chopped candy canes on top if desired. Serve chilled and consume within two to three days or freeze without candy canes for up to four weeks.
My favorite part is piping the filling after painting the bag with red gel stripes which makes the presentation feel festive and professional even at home. This recipe always sparks memories of cozy family nights around the tree with peppermint sweets and hot cocoa.
Storage Tips
Store these cookie cups in an airtight container refrigerated for up to three days. To prevent sogginess keep the peppermint cheesecake filling chilled and add chopped candy canes right before serving. They freeze well if you skip the candy canes on top just thaw in the fridge overnight.
Ingredient Swaps
Try using gluten-free all-purpose flour if you have dietary restrictions just watch dough consistency. Swap peppermint extract with a drop or two of spearmint or fresh mint for a twist. Use reduced-fat cream cheese for a lighter filling but expect less richness.
Serving Ideas
Serve these cookie cups with hot chocolate or a peppermint mocha for a complete holiday experience. They also go well with a scoop of vanilla ice cream or fresh berries for extra indulgence. Package them in small boxes as thoughtful edible gifts.
Enjoy these cookie cups as a festive centerpiece that’s sure to delight both family and guests alike.
Frequently Asked Recipe Questions
- → What gives the cookie cups their rich chocolate flavor?
The combination of Dutch-processed and black cocoa powders creates a deep, intense chocolate taste while maintaining a tender texture in the cups.
- → How do I ensure the cookie cups hold their shape after baking?
After baking, pressing the warm cookie centers down with a jar forms wells that hold the filling securely once cooled.
- → Why is chilling the heavy cream important before whipping?
Chilling the cream and bowl helps achieve stiff peaks more easily, resulting in a light and airy filling.
- → Can I make the cookie cups ahead of time?
Yes, you can bake and fill the cookie cups in advance. Store them in an airtight container in the fridge to maintain freshness.
- → What is the role of peppermint extract in this dish?
Peppermint extract infuses the cheesecake filling with a refreshing minty note, complementing the rich chocolate flavor.
- → Is it possible to freeze these cups?
Yes, the cookie cups can be frozen up to four weeks without the candy cane topping, which is best added fresh after thawing.