
 Save
Save
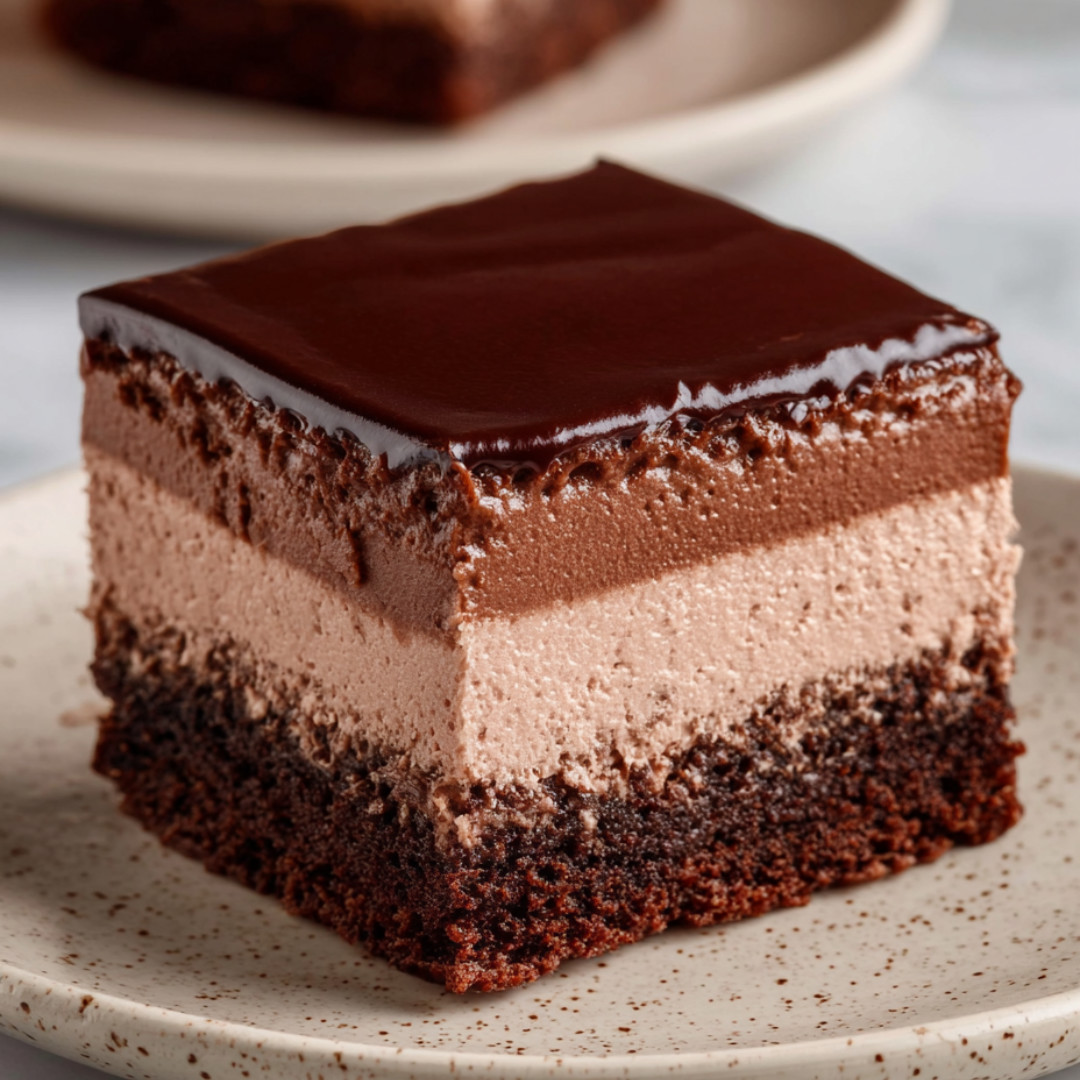
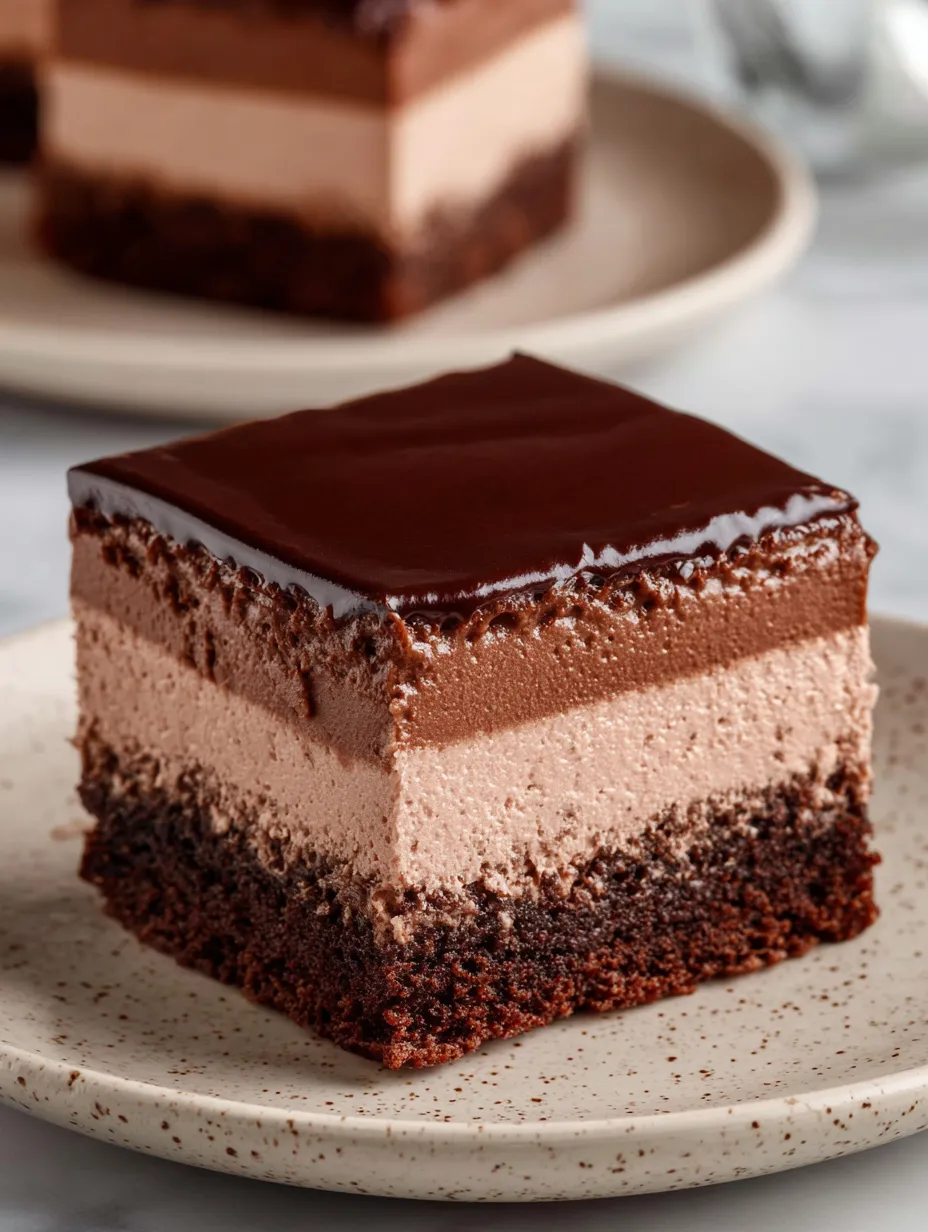
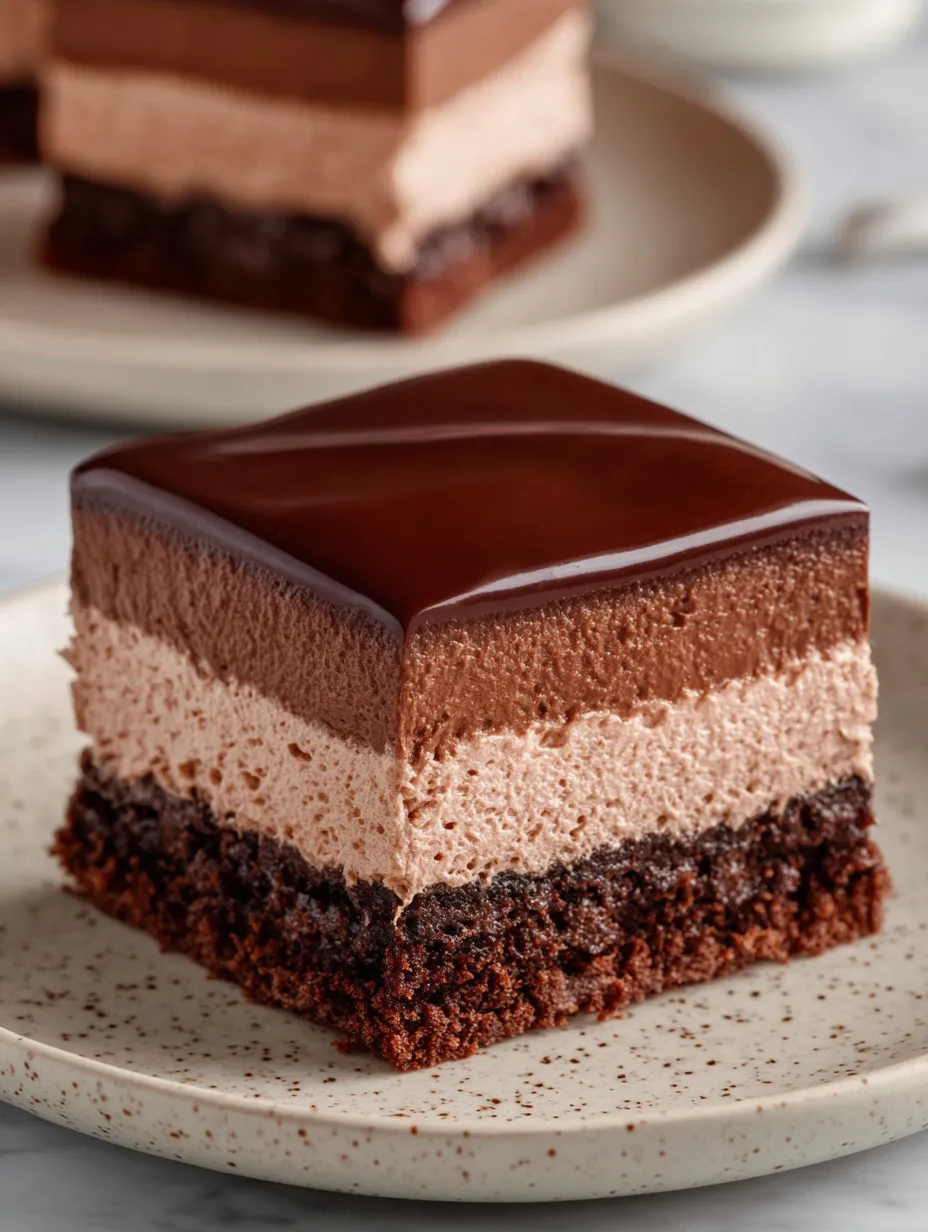
When you bring these chocolate mousse brownies to any gathering, they're always the first to vanish. They're loaded with fudgy layers, smooth mousse, and a shiny chocolate topping that makes each bite a dream for anyone who loves chocolate. Plus, you don't have to be an expert baker—anyone can pull this off.
I baked these for a buddy’s birthday years ago, and now even folks who never bake want the directions. You’ll be surprised—they look fancy but all it takes is basic pantry stuff.
Luscious Ingredients
- Powdered sugar: keeps the mousse sweet and airy Mess-free if you sift it in before mixing
- Milk: smoothes out melted chocolate so your mousse stays silky
- Semisweet chocolate: stars in both your ganache and mousse Choose a bar you’d eat on its own, not chocolate chips
- Heavy whipping cream: brings extra richness to both the mousse and ganache Pick cream that’s at least 36 percent fat for the dreamiest texture
- Baking powder: adds a little lift which keeps things from getting too dense
- Salt: brings out the good stuff in the chocolate Don’t skip it, really
- All-purpose flour: keeps everything soft but not too fluffy
- Unsweetened cocoa powder: this is where your dark chocolate vibes come through Dutch process gives a moodier chocolate if you want
- Vanilla extract: makes the chocolate pop Look for the real deal for best results
- Large eggs: help everything stick together and give your brownies good structure Fresh eggs work best here
- Granulated sugar: not just for sweetness, it also helps give that lovely crackly topping
- Unsalted butter: melts in for chewy, rich brownies Use the good stuff if you can—it’s worth it
Simple Steps
- Finish with Ganache:
- Drop your chopped chocolate into a bowl and pour over cream that’s just started bubbling on the stove. Wait a couple of minutes so the heat does its thing. Gently stir until it turns glossy—don’t rush it. Let it stand about five minutes to thicken up a tad. Pour on top of the cold mousse and use a spatula to get it nice and smooth. Stick it in the fridge for an hour so it’ll set.
- Make the Mousse:
- Warm up the milk so it’s steaming, then pour it over some chopped chocolate in a bowl. Leave it alone for a couple of minutes, so the chocolate can get soft. Stir everything carefully until it’s all smooth and shiny—then let it cool down so it doesn’t melt the whipped cream. In another bowl, whisk chilled cream and powdered sugar till it looks soft and billowy—the whipped cream should just flop over. Gently fold in your melted chocolate so it stays fluffy. Spread that on the cooled brownie and chill at least two hours so it gets sturdy.
- Start the Brownies:
- In a big bowl, whisk your sugar, melted butter, eggs, and vanilla together until it looks shiny and totally mixed. Sift flour, cocoa, baking powder, and salt over that—fold in with a spatula so you don’t stir too much. Pour the batter into a parchment-lined eight inch square pan and smooth the surface. Bake at 350°F for twenty to twenty-five minutes. Use a toothpick—there should still be a few sticky crumbs when you check. Let it cool all the way before you go to the next step.
Everybody raves about that mousse layer—it’s rich but feels like a fluffy cloud. My nephew tried these once and said they beat any bakery brownies, so now they’re our must-make for family celebrations.
Keeping Them Fresh
Cover the bars tight and stash them in the fridge for up to four days. Stash single squares in the freezer if you want them to last—just let them warm up at room temp before digging in. Mousse keeps its fluff and the chocolate topping stays shiny after freezing.
Swaps and Alternatives
Want them even richer Use dark chocolate instead of semisweet. Prefer them milder Go for milk chocolate. For gluten free, a good flour blend swaps in easily for the brownie layer. Toss in half a cup of chopped pecans or walnuts before baking if you like a bit of crunch.
Serving Ideas
Chill them and slice while cold for tidy edges. If it’s a dinner party, dress up each piece with a swirl of whipped cream and some berries. Goes really well with a cup of bold coffee or a splash of red wine for dessert.
Family Baking Moments
Layered chocolate bars like this are a staple for holidays and bake sales. My own family always made them for special birthdays or February celebrations—they feel like a present to both bake and eat. You get all that cozy, homemade feeling but they still steal the show.
Frequently Asked Recipe Questions
- → How do you keep the brownie from drying out?
Bake until a toothpick in the middle shows just a few sticky crumbs. Take it out right away and let it cool in the pan so it stays soft.
- → Can I prep this dessert in advance?
Sure, make these mousse brownies the day before. Just cover and stash in the fridge. Slice whenever you’re ready to serve.
- → What if I don’t have semisweet chocolate?
If you like, use dark or milk chocolate for the mousse and ganache. You might need to tweak the sweetness for your taste.
- → How do you slice these for sharp layers?
Take a sharp knife, dip it in hot water, dry it, and cut. Wipe after each slice and you’ll see those layers pop.
- → What’s the best way to store extras?
Pop leftovers in a sealed container in the fridge for four days. Chilling keeps the layers firm and tasty.
- → Can I swap out cream in the mousse?
Full-fat coconut cream works instead of regular whipping cream for dairy-free, but your mousse will taste a little different and might feel a bit silkier.