
 Save
Save
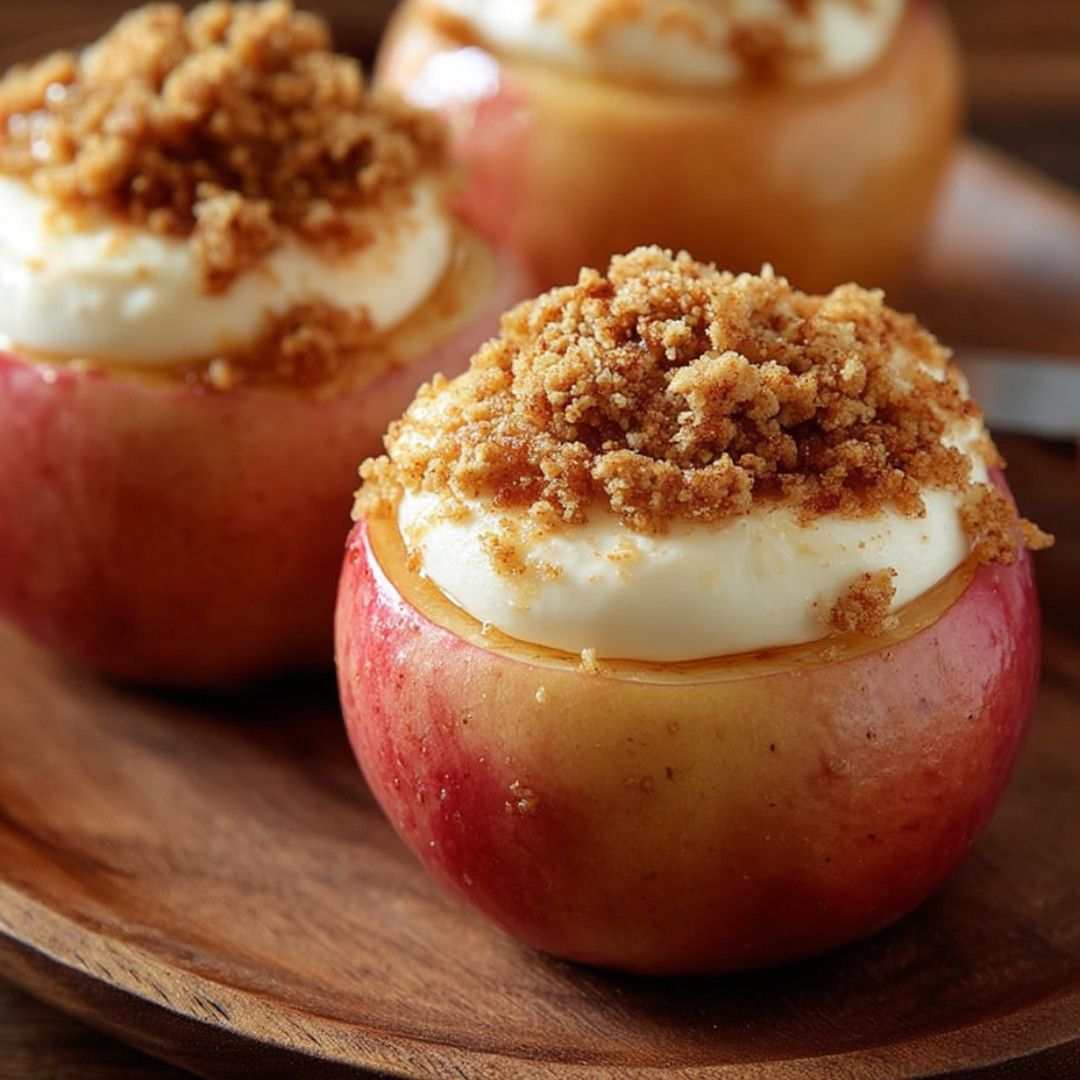
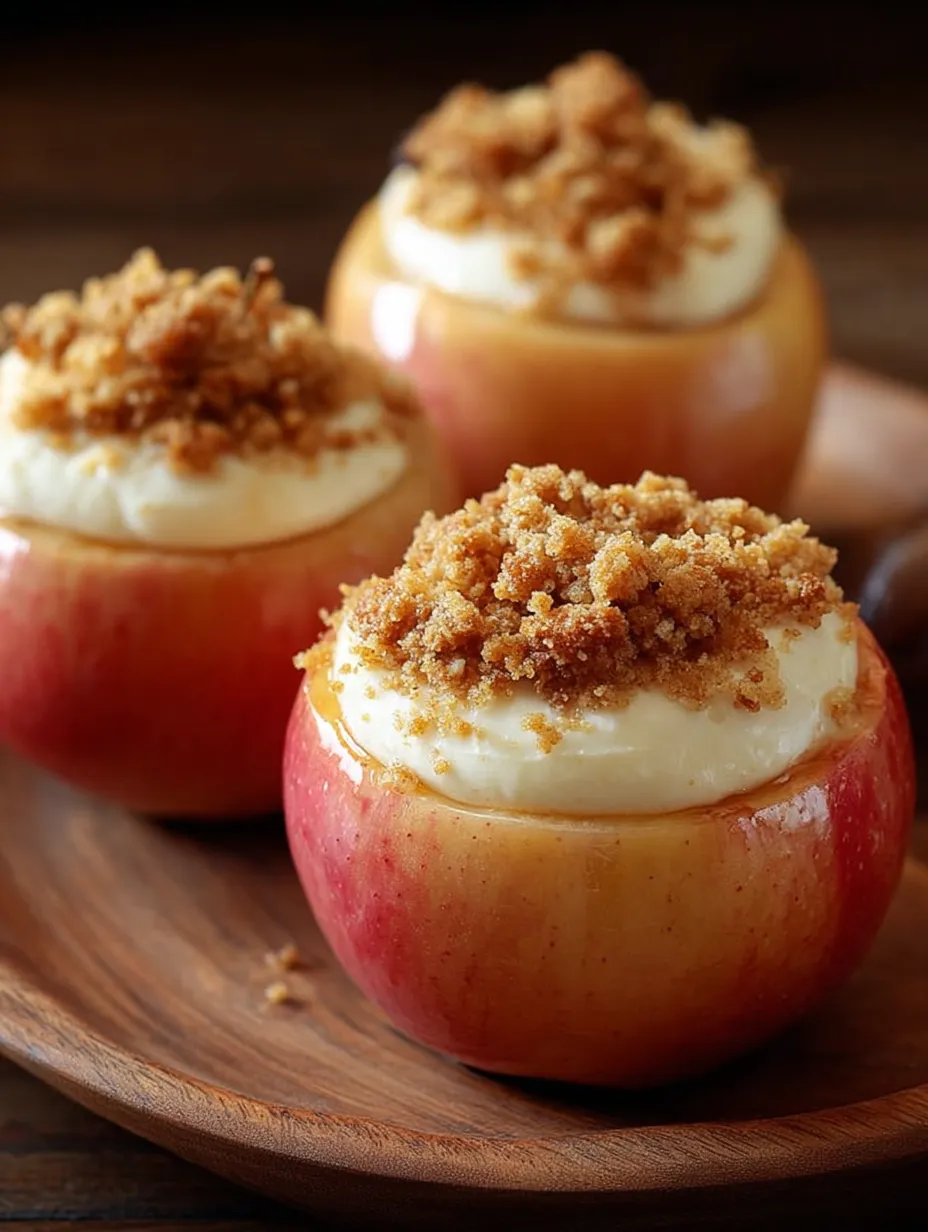
The leaves had barely begun to turn golden when my dad came in from the orchard with a basket of apples, still cool from the crisp air. Mom would always scoop out the cores and fill them with whatever sweet filling she could dream up, but it was the year she swirled together cheesecake and apples that the whole kitchen went quiet—that is, until the first spoonful was tasted. Each bite reminded me of grandma’s spiced apple pies and those creamy bakery cheesecakes no one ever agreed on for birthdays. Right there, our family found its newest fall tradition.
I stumbled onto the cheesecake filling twist after one too many crumbly crust attempts (and a kitchen dusted with flour). Realizing the apples could be their own "crust" was a game-changer—less mess, more flavor, and that filling holds its own.
Essential Ingredients
- Apples: The star—firm, crisp, and big enough to hold filling. Granny Smiths bring tang that cuts the sweetness; Honeycrisp offers just the right balance. Look for fruit without bruises, with taut, shiny skin.
- Cream Cheese: Bring to room temperature for that ultra-smooth, scoopable cheesecake texture. Block-style gives body; avoid whipped or low-fat for best results.
- Sugar: Granulated sugar sweetens the filling—taste as you go to suit your preferences.
- Vanilla Extract: Rounds out the flavor and makes it unmistakably “cheesecake.” Pure extract gives real warmth over imitation.
- Cinnamon: Essential for that classic apple dessert note, in both filling and topping. Choose ground cinnamon that smells sweet and spicy, not dusty.
- Lemon Juice: Just-squeezed keeps apples bright and wakes up the rich filling. A fresh lemon gives more punch than bottled.
- Graham Cracker Crumbs: Classic cheesecake move—add crunch and toastiness up top. Go for finely crushed for even topping; gluten-free varieties swap in seamlessly.
- Butter: Melted and mixed into the crumbs to mimic a graham crust. Use unsalted for full flavor control and a deeper, more buttery bite.
Cooking Process
- Preheat for Promise:
- Get that oven to 375°F (190°C) so you’re ready to slide in your apples without a pause. Starting with the right temp means tender fruit and golden topping—no underbaking surprises.
- Carve the Wells:
- Use a melon baller or paring knife to hollow out each apple—leave a sturdy base! This not only keeps the filling from escaping, but prevents your apple from collapsing in the oven.
- Mix for Creaminess:
- Blend cream cheese, sugar, vanilla, and cinnamon until absolutely smooth. Soft, room-temp cream cheese means no lumps and that luscious, thick cheesecake body.
- Pack It In:
- Spoon and gently press the cheesecake mixture deep into each apple cavity. Tightly packing avoids disappointing air gaps after baking.
- Create That Crust:
- Mix graham cracker crumbs with melted butter and another pinch of cinnamon—think “wet sand” when pinched. This clings atop each apple, giving you the craveable crunch of a graham crust.
- Nestle and Brighten:
- Arrange apples snugly in the baking dish; drizzle fresh lemon juice over each to keep colors vibrant and perk up flavors.
- Bake to Perfection:
- Slide into the oven until apples yield to a fork but keep their shape, and the topping turns golden. The filling will puff slightly and set creamy—your cue that they’re ready.
- Settle, Then Serve:
- Let cool for a few minutes so the filling firms up. Serve warm from the baking dish, straight or topped with vanilla ice cream or a caramel drizzle.
Recipe Highlights
- Naturally gluten-free option (just swap the crumbs)
- No crust, no springform, no fuss—just one dish
- Protein from cream cheese, plus fiber from whole apples
- Perfect for making ahead and reheating as needed
One year, I absentmindedly grabbed a batch of soft, supermarket apples—result: puddles at the bottom of the pan and sad, slumping shells. Since then, I always go for the firmest fruit. But my sweet spot? Adding a spoonful of oat crumble to the graham topping for a crisp twist—my nod to apple crisp fans in the family.
Make-Ahead Strategies
- Prep and fill apples up to a day ahead. Cover and refrigerate; just bring to room temp before baking.
- Bake fully ahead, cool, and chill—then gently rewarm in the oven before serving. The flavors meld overnight, making them even better.
- Leftovers keep for three days; don't freeze, as the cheesecake centers get weepy.
Flavor Variations
- For a nutty crunch, fold chopped pecans or walnuts into your graham topping.
- Add a pinch of ground ginger, cardamom, or even clove to the filling for deeper warmth.
- Swap honey or maple syrup for sugar for a subtle flavor shift, and use your favorite dairy-free cream cheese for a vegan version.
Seasonal Adaptations
- In late summer, try peach halves instead of apples (just reduce baking time).
- For holidays, stir a little orange zest into the filling or add dried cranberries to the topping.
Kitchen Tool Recommendations
- A sturdy melon baller or sharp paring knife makes coring stress-free without piercing the apple base.
- Use a small offset spatula or spoon for neatly filling apple centers.
- Snug-fitting baking dishes help apples stand upright and bake evenly.
Cooking Secrets
1. Always use room temperature cream cheese; cold will leave lumps and uneven flavor.
2. Don’t overbake—apples should be tender but intact. Watch for bubbling filling and golden crumbs as your signs.
3. Let the apples rest before serving; this keeps the filling set and perfectly creamy in the center, not runny.
Frequently Asked Recipe Questions
- → Which apple variety works best?
Firm apples like Granny Smith or Honeycrisp hold their shape well, offering a balanced sweet-tart flavor.
- → Can I prepare this in advance?
Yes, you can assemble the apples a day ahead and refrigerate, then bake before serving for convenience.
- → How do I make it gluten-free?
Simply substitute traditional graham crackers for gluten-free ones in the crumb topping.
- → What if I don't have graham crackers?
Crushed digestive biscuits, vanilla wafers, or almond flour with butter are tasty alternatives for the topping.
- → How should leftovers be stored?
Keep leftovers in an airtight container in the fridge and reheat gently in the oven or microwave before serving.
- → Can nuts or extra spices be added?
Absolutely! Try chopped pecans or a pinch of nutmeg or cloves to enhance the flavor and texture.