
 Save
Save
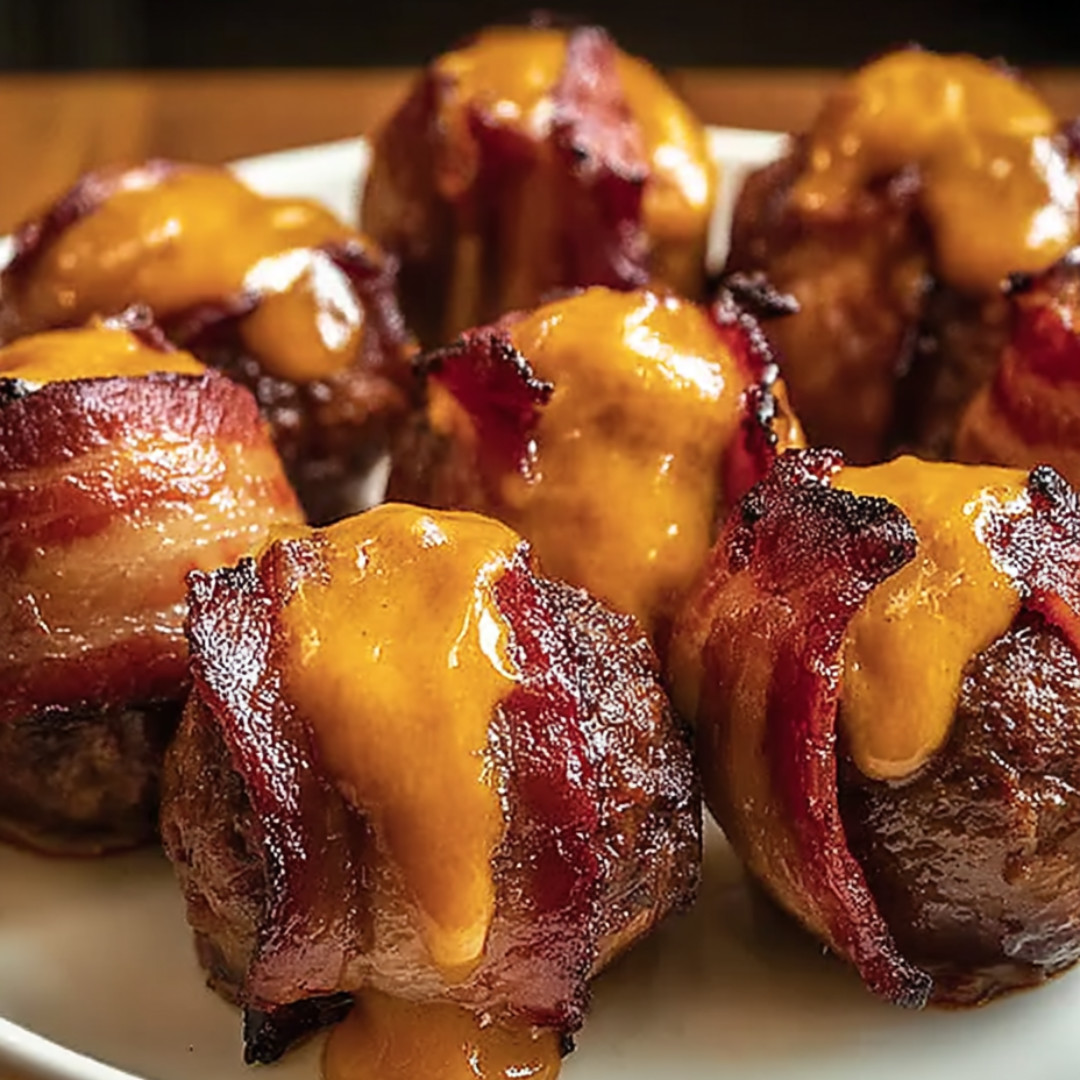
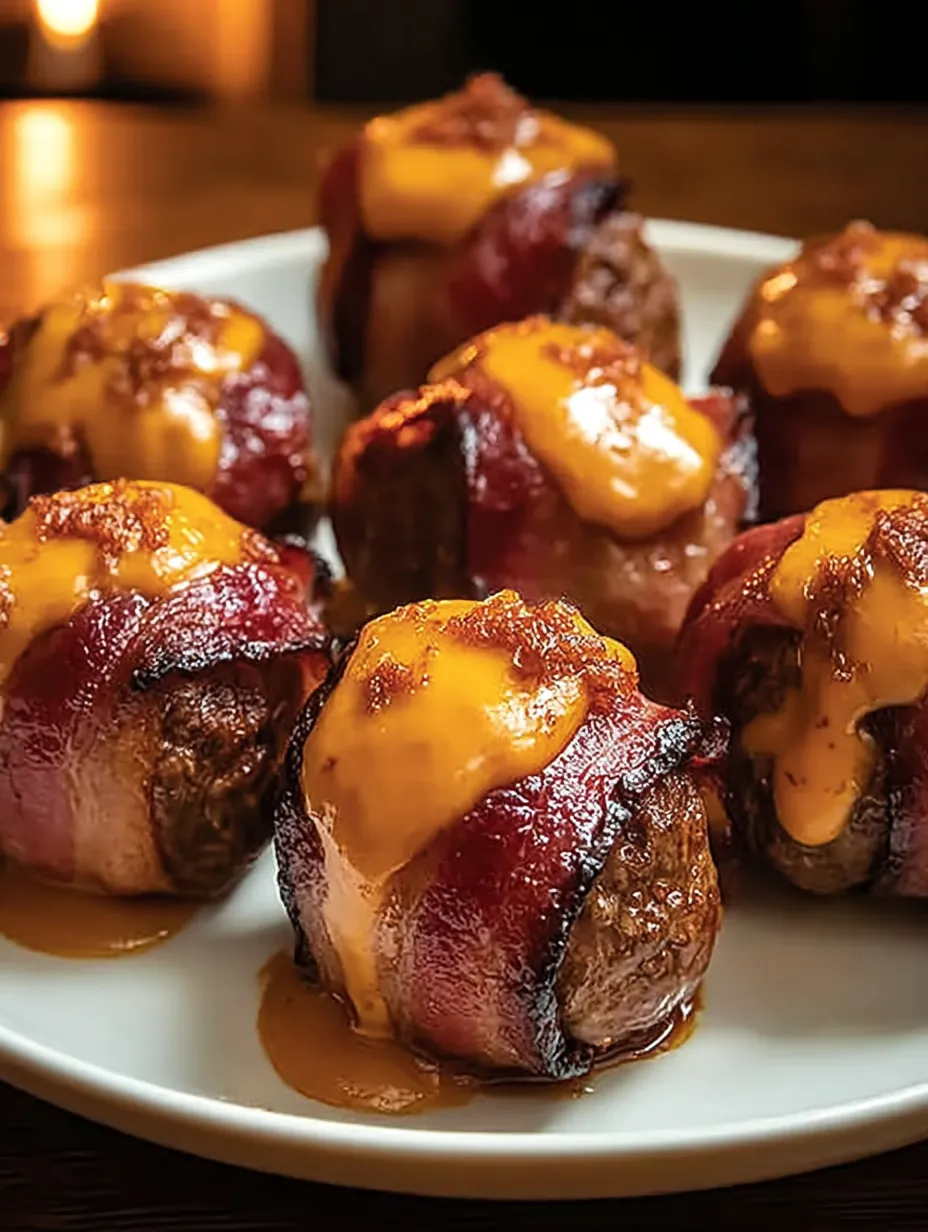
The smoky sizzle of bacon always takes me back to backyard summer evenings, when Dad would fire up the grill and surprise us with something outrageous and cheesy. These Cheddar-Stuffed BBQ Bacon Bombs were his proudest creation, crafted when he wanted something that was part cheeseburger, part meatball, and wholly wrapped in bacon. The first bite always came with a gush of molten cheddar and a hit of sweet, sticky BBQ sauce—a little messy, completely irresistible, and totally unforgettable.
It was during a spur-of-the-moment cookout with friends that I first realized the power of stuffing cheddar inside ground meat. We were low on groceries, so we rolled meatballs around cubes of random cheese, wrapped them in bacon, and basted with leftover BBQ sauce. The accidental combination turned out to be a flavor bomb—crispy, gooey, smoky, and juicy, all at once.
Essential Ingredients
- Ground Beef (or Pork): The main building block. Choose 80/20 ground beef for juicy results; pork gives a rich, savory punch. If using turkey/chicken, add a drizzle of oil to keep things moist.
- Cheddar Cheese (cubed): The gooey surprise inside. Go for sharp cheddar for big flavor; cubes melt better than shreds for that signature center.
- Bacon (thin-cut): The crispy blanket. Thin slices wrap easily and crisp up well; avoid thick-cut, which stays rubbery.
- BBQ Sauce: Adds a caramelized glaze. Use your favorite—sweeter if you like sticky, tangy if you want a bit of bite.
- Worcestershire Sauce: Deepens the meat flavor and adds an umami lift.
- Garlic & Onion Powder: Classic backbone seasoning; make sure your spices smell fresh and vibrant.
- Salt & Black Pepper: Enhances all flavors. Use kosher salt for even seasoning.
- Brown Sugar (optional): For smoky-sweet caramelization; especially good if using spicy BBQ sauce.
- Toothpicks: So simple, but crucial. Bamboo picks work best for securing the bacon wrap.
When you shop, look for ground meat with a little bit of fat—dry meatballs are no one’s idea of a good time. Choose bacon that’s pliable so it stretches over each ball without tearing, and snag a block of cheddar to cut clean, chunky cubes (pre-shredded won’t give that molten center).
Cooking Process
- Building the Flavor Base:
- Mix ground meat with Worcestershire, garlic powder, onion powder, salt, and pepper. This step creates savory depth with every bite, making sure each mouthful is more than just meat.
- The Cheesy Core:
- Shape the meat around each cheddar cube, sealing tightly. Encasing the cheese fully stops leaks—and guarantees a melty surprise.
- Blanketing in Bacon:
- Wrap a slice of bacon around each ball and secure with a toothpick. The bacon bastes the meat as it cooks and becomes shatteringly crisp under the broiler.
- BBQ Bath:
- Brush each bacon bomb lightly with BBQ sauce before baking, and hit them again halfway for lacquered edges and extra flavor.
- Baking & Broiling:
- Bake until the bacon’s nearly crisp, then finish with a quick broil. This two-stage method gives ultra-juicy centers and caramelized, crispy exteriors.
- Rest & Serve:
- Let them cool for a few minutes so the cheese sets just enough—otherwise you risk a cheddar eruption the second you bite in.

Recipe Highlights
- Protein-rich, satisfying, and gluten-free (if using GF BBQ sauce)
- Perfect for meal prep—stores and reheats beautifully
- Kid-approved and totally customizable for picky eaters
The first time I tried using mozzarella instead of cheddar, the cheese escaped out the sides—lesson learned: always seal the meatballs thoroughly! (And never underestimate a child’s ability to inhale three bacon bombs before you even sit down.)
Seasonal Adaptations
- Summer: Brush with a hickory-smoked BBQ sauce and cook right on the grill for extra smoke.
- Fall/Winter: Swap cheddar for smoked gouda and add a pinch of smoked paprika and chopped fresh thyme to the meat.
- Spring: Lighten things up with ground chicken, pepper jack, and minced scallions mixed in.
Make-Ahead Strategies
- Prep everything the morning of the party. Assemble and store uncooked in the fridge until baking time.
- For freezing, wrap each bomb in plastic and store in a ziplock. Thaw overnight, then bake as usual—perfect for quick weekday meals.
Flavor Variations
- Spice Lover: Toss chopped jalapeños or a spoonful of chipotle in adobo into the meat mixture.
- Sweet & Savory: Use maple-flavored bacon and slather with peach BBQ sauce.
- Herbaceous: Fold in a handful of chopped parsley and chives for freshness.
Kitchen Tool Recommendations
- Heavy baking sheet: Ensures even browning and prevents sticking.
- Sturdy tongs: Makes flipping (and rescuing under-broiler bombs) safe and easy.
- Pastry brush: Even BBQ sauce = even caramelization.
Cooking Secrets
- Always wrap the cheese completely to prevent leaks—pinch and seal any cracks.
- Start with the seam of the bacon on the bottom; this helps the wrap stay secure as it bakes.
- Finish under the broiler, but don’t walk away—bacon can go from golden to burnt in seconds!
Every time I make these, I’m reminded that sometimes the most comforting dishes sprout up from improvisation and happy accidents. And trust me—no one ever forgets the first time they bite into a bacon bomb.
Frequently Asked Recipe Questions
- → How do I keep the cheese from leaking out?
Ensure the meat mixture fully encloses the cheese cubes and seal any gaps before wrapping with bacon. Chilling before baking can also help.
- → What cheese substitutes work best?
Try melting-friendly cheeses like pepper jack, gouda, or mozzarella for different flavors and textures inside each bite.
- → Can I use ground turkey or chicken?
Yes, lean meats like turkey or chicken work well—add a touch of oil or extra sauce to keep everything juicy and flavorful.
- → How do I achieve crispy bacon?
Broil the bacon bombs for the last few minutes of baking, but watch carefully to avoid over-browning or burning the bacon.
- → What sides pair nicely with these?
Classic sides include coleslaw, potato salad, baked beans, or crusty cornbread. Serve with extra BBQ sauce for dipping.
- → How should leftovers be stored and reheated?
Store in the fridge for up to 3 days or freeze for several months. Reheat in the oven or air fryer for best texture and flavor.