
 Save
Save
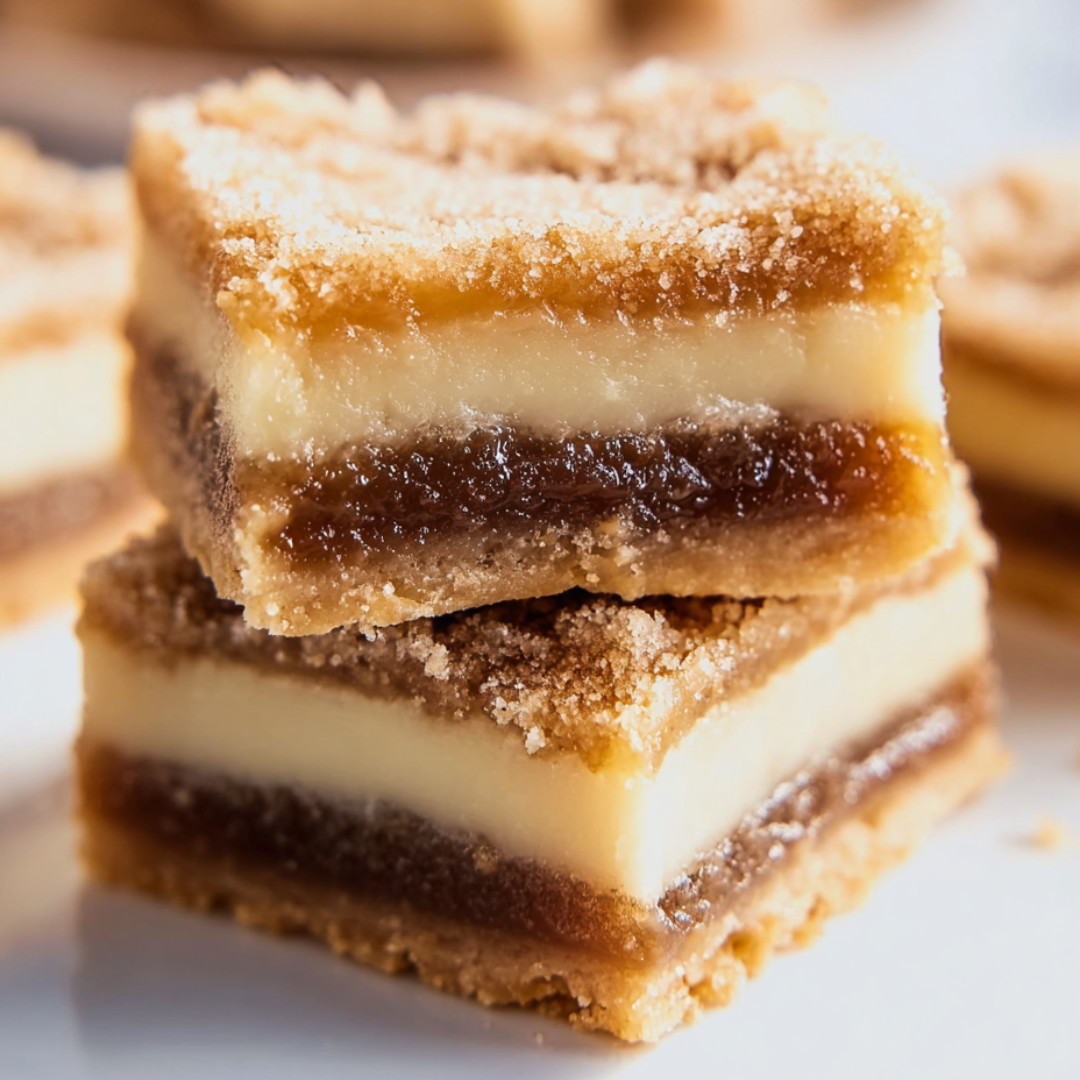
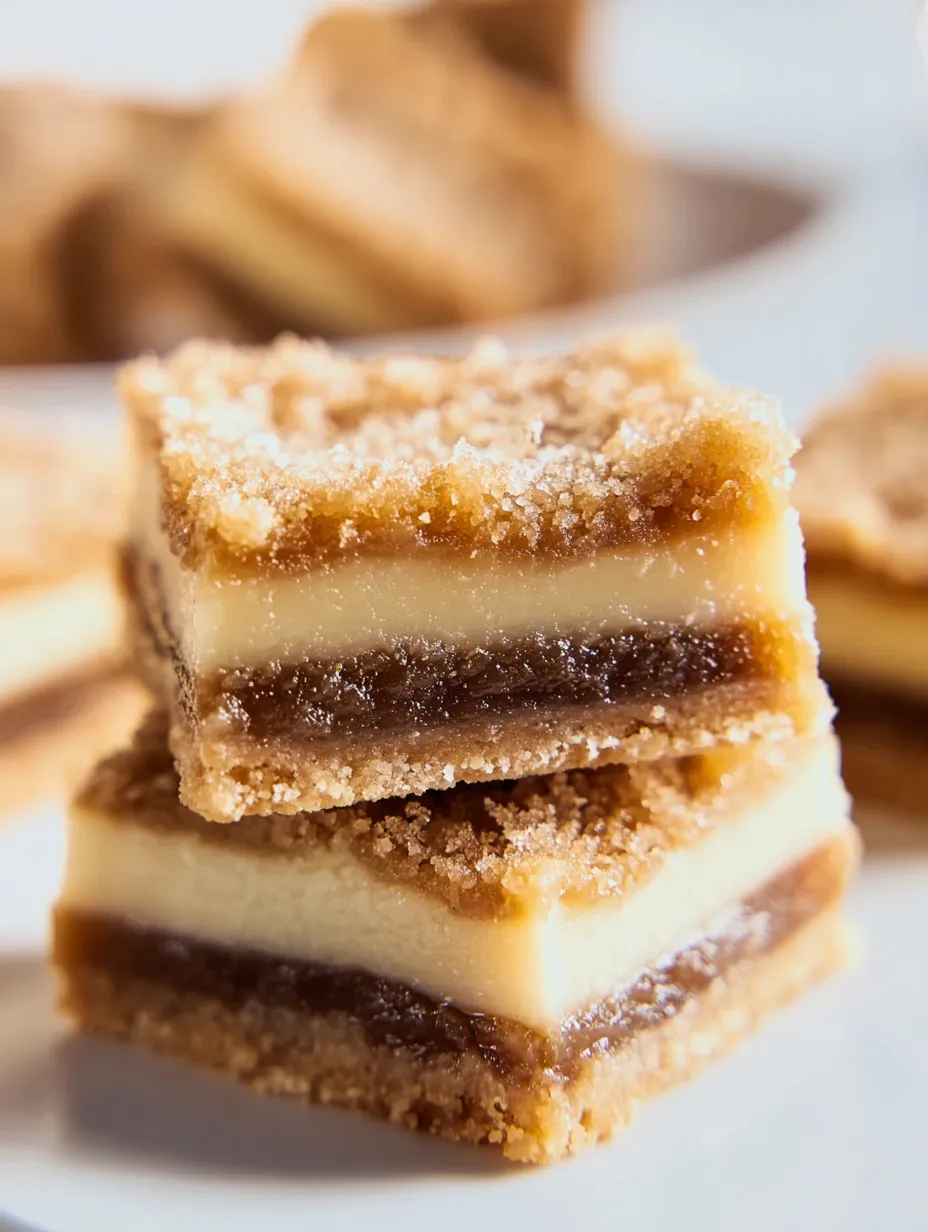
The best part about Butter Tart Squares? All that cozy taste of the old-school treat, but in a no-fuss, sharable bar. Soft, crumbly crust on the bottom, sticky sweet top, and all comes together in just one batch. They're always my go-to when I need a no-mess Canadian favorite for big groups or parties.
I once took a batch to a family get-together in July and they vanished before you could blink. Now, everyone in my family asks me for them every holiday season.
Dreamy Ingredients
- Vanilla extract: Brings warmth and nice depth. Use pure vanilla when you can so it tastes real
- Large eggs: Helps the filling hold together and adds silkiness. Freshest eggs give you the richest color and taste
- All purpose flour: Keeps the crust soft and structured. Unbleached gives even better flavor
- Brown sugar: This is what makes the filling taste so rich and caramel-like. Get the soft, not dried out, kind for the best melt
- White vinegar: A little splash cuts the sweetness and stops the filling from turning too sugary. Go for clear, flavorless vinegar
- Optional raisins: Toss in chewy raisins if you want that classic bite. Plump ones make a big difference
- Icing sugar: Also called powdered sugar, makes the base sweet and smooth. Sift it if you see clumps
- Unsalted butter: Cold, in cubes, makes for a crumbly, flaky foundation. High-fat butter adds major yum
Comfy Step-by-Step Directions
- Slice and Serve:
- Once they've chilled, just grab those edges of parchment to lift out the bars. Slice into even squares, serve, and watch smiles happen
- Cool Down and Chill Out:
- Let your pan sit on a rack until it's not warm. Then chill in the fridge for a few hours so you get tidy cuts
- Bake, Bake, Bake:
- Set that timer for 25–30 minutes. The center should wobble just a bit, but the sides look set
- Pour and Assemble:
- Soon as the crust is out, pour the gooey filling right over it while it's still warm so the magic starts
- Add and Mix Up the Filling:
- Stir the brown sugar into your cooled butter, whisk smooth, then add eggs one at a time. Add vanilla and vinegar. If you're using raisins, mix those in
- Melt Butter for Filling:
- Zap that butter in a microwave bowl and let it cool a bit before you put in eggs. You don't want a scramble
- Crust Goes in the Oven:
- Bake for 10 minutes until lightly golden. That makes sure your crust stays firm under gooey topping
- Press Into the Pan:
- Dump the crumb mix into your lined pan, even it out, and press so it's packed and ready for filling
- Mix Up the Crust:
- Grab a bowl, whisk together icing sugar with flour, then pop in those cold butter cubes
- Butter In, Crumbly Texture:
- Cut in butter or use your fingers until you see pea-sized pieces. If it looks dry, a splash of cold water does the trick
- Preheat Time:
- Crank the oven to 350°F (about 175°C) to get things started
- Prep Your Pan:
- Line a 9x13-inch pan with parchment, press into corners, give it a wipe of spray so nothing sticks
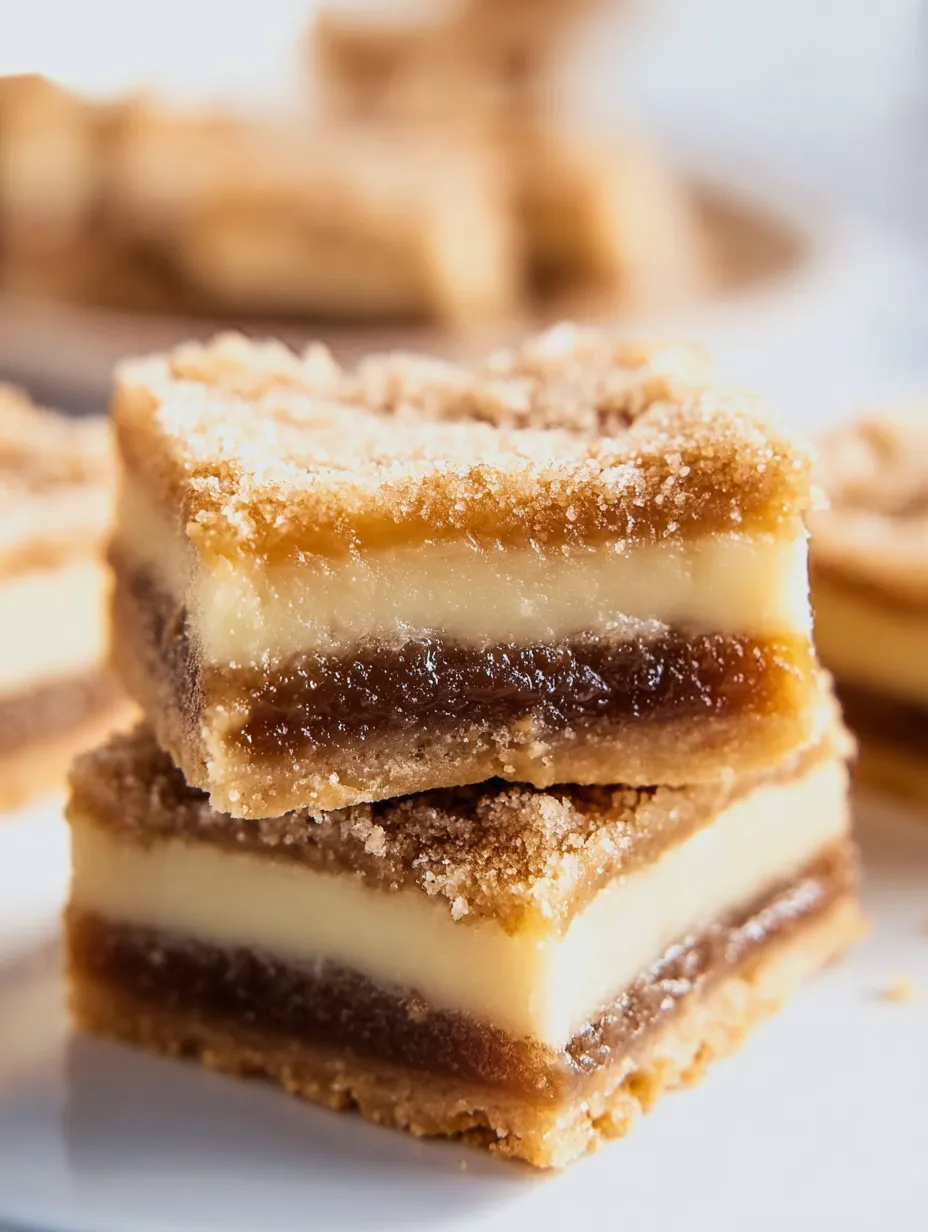
The creamy, buttery middle is what I crave every time. When that hint of vanilla hits, I’m right back in my grandma’s kitchen, sneaking an extra square straight from the fridge—holiday magic.
Storage Made Simple
Tuck your butter tart bars in a sealed container and they’re fine on the counter for a couple days. Want them to keep longer? Stash in the fridge. They freeze awesome—just wrap them tight and thaw when you need a treat, up to two months out.
Swaps and Sub Outs
Go for chopped walnuts or pecans if raisins aren’t your thing and you want crunch. For no gluten, use a 1:1 gluten free flour instead of regular. Almond flour’s also great for a super tender base, but the feel changes a bit.
Serving Ideas
Sprinkle extra icing sugar on top for a fancy finish, or add a scoop of vanilla ice cream. Serving lots of folks? Cut the bars small and pop them in paper cups to keep things tidy.
A Slice of Tradition
Across Canada, butter tarts get a little twist wherever you go. These bars just make it easier—skip fiddly crusts, grab that caramel filling in one swoop. Families have tweaked and treasured these for ages, always changing a bit for new memories.
Frequently Asked Recipe Questions
- → How can I get a crumbly crust?
Grab chilled, diced butter and mix it into the flour plus powdered sugar so you get a mix of small bits. Firmly press it down in the pan for a nice, crumbly base.
- → Is it possible to prep Butter Tart Bars before serving?
Absolutely, they work great ahead of time. Chill them for a few hours or overnight, then slice right before you want to eat.
- → What's the easiest way to keep these bars fresh?
Just pop any extra bars in a sealed container on the counter for three days, or keep them in the fridge if you want them to last longer.
- → Are raisins or nuts a must in these bars?
They’re totally up to you! Toss them in if you enjoy a fun texture and extra flavor, or leave them out if you want things simple.
- → How can I tell when the gooey layer is ready?
When you give the pan a gentle shake, the filling should just jiggle in the very center. If it’s too runny, let it bake a little bit longer.