
 Save
Save
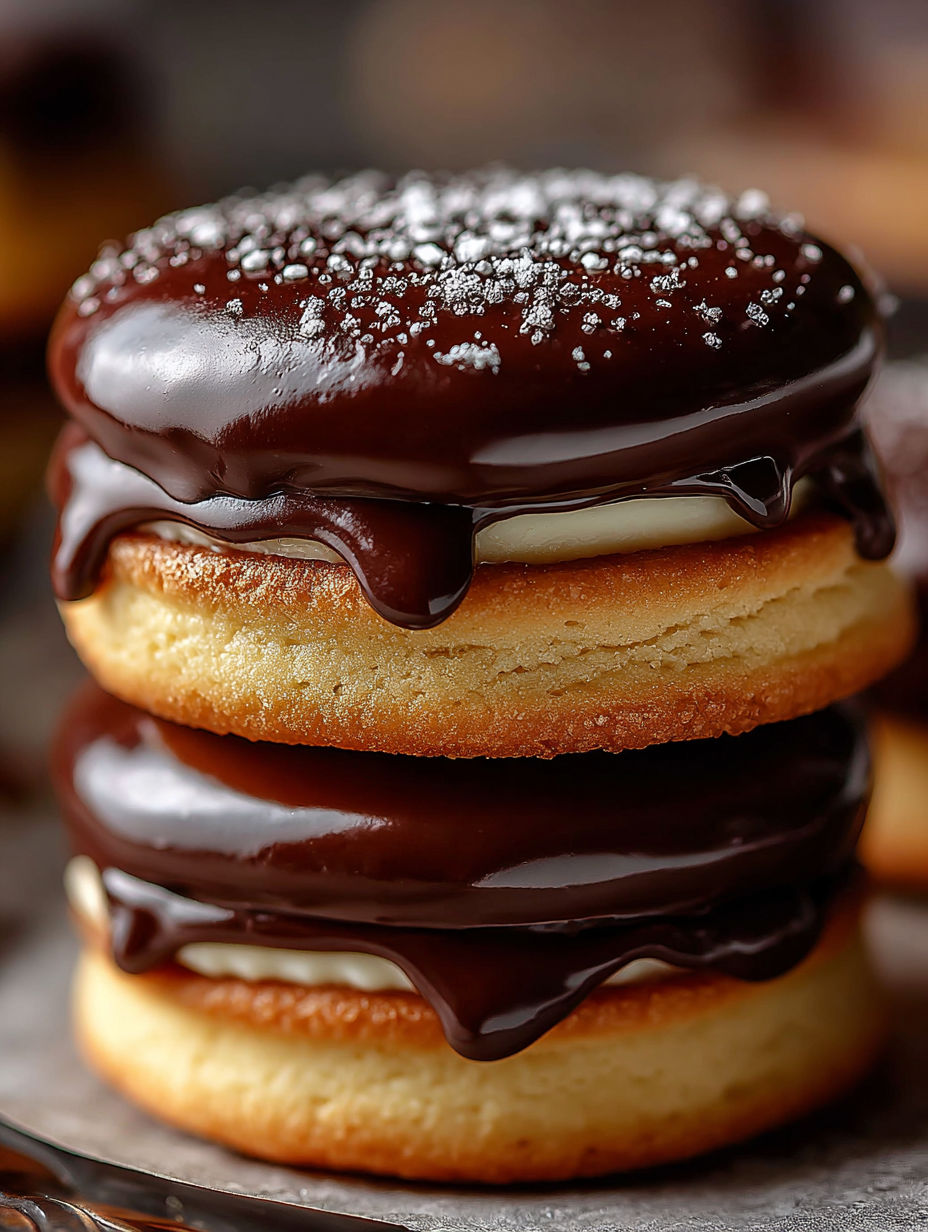
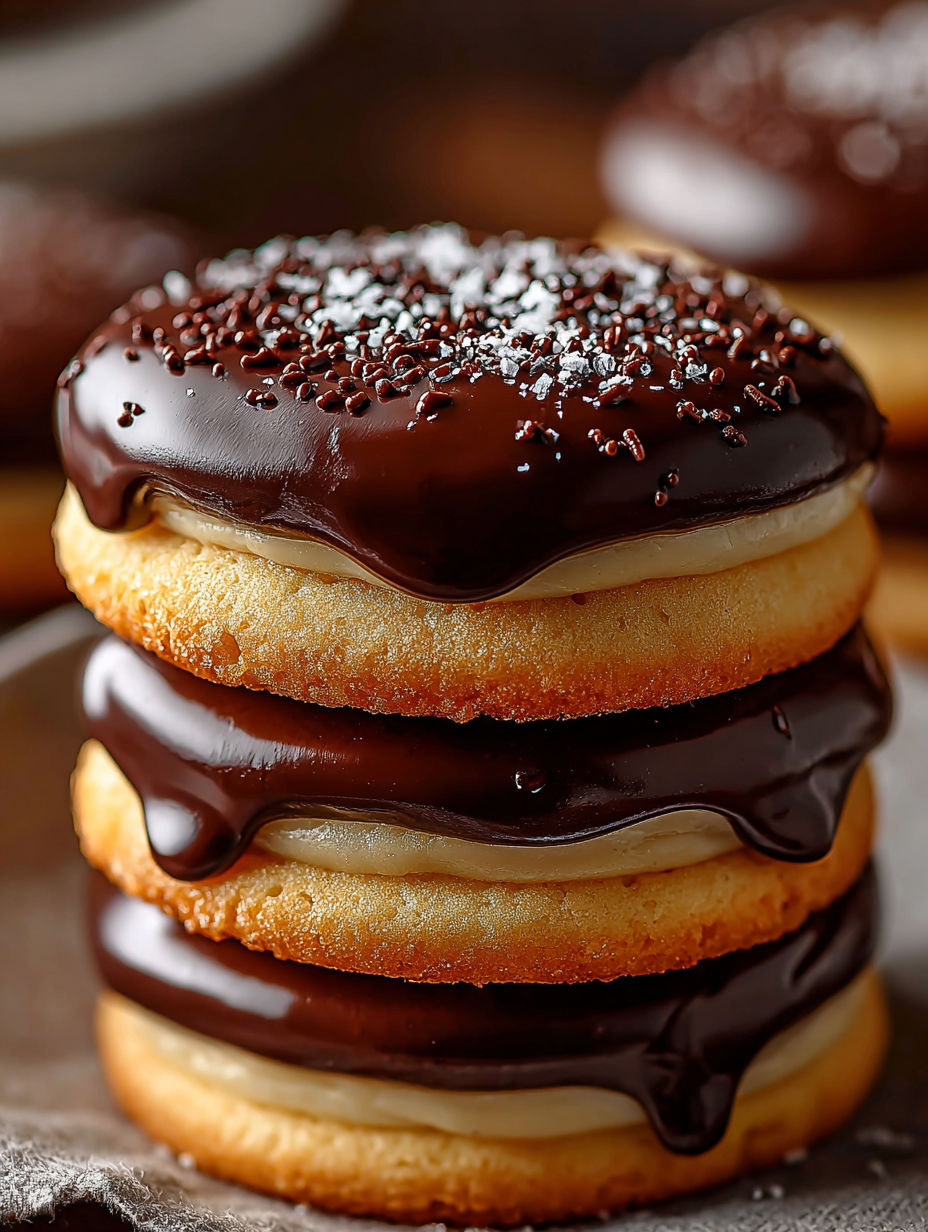
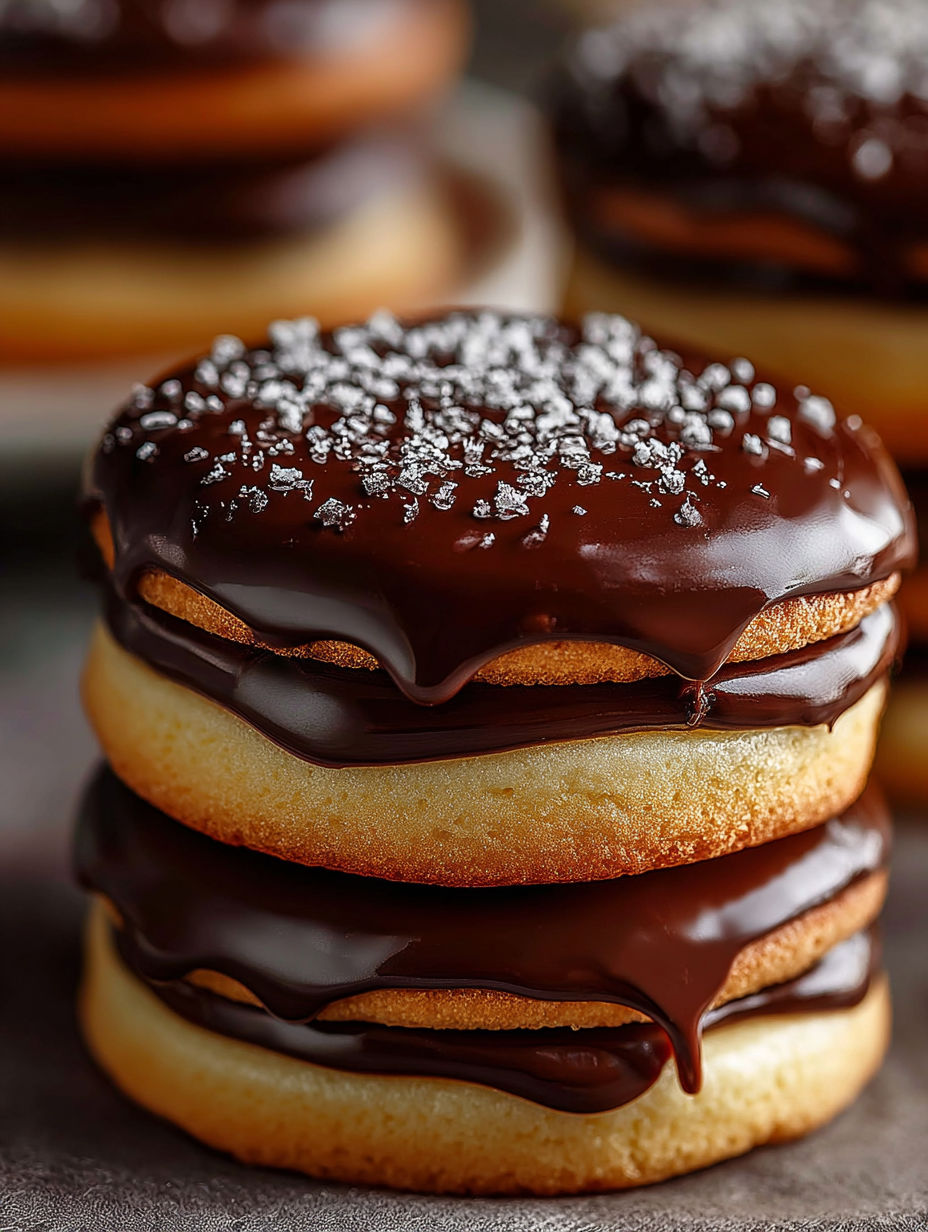
These Boston Cream Pie Cookies are a delightful twist on the classic dessert, turning the beloved combination of vanilla cream and chocolate into a fun and portable treat. Perfect for afternoon tea or a casual gathering, these cookie sandwiches bring indulgence without the fuss of traditional baking.
I first made these after craving Boston Cream Pie but wanted something easy to snack on. It quickly became my go-to for sharing at potlucks because everyone loves them.
Ingredients
- Unsalted butter: softened to room temperature gives the dough a rich base and tender crumb Choose fresh butter with a nice yellow hue
- Granulated sugar: creates sweetness and helps with cookie texture Pick fine sugar for quicker dissolving
- Large eggs: bind the dough and add moisture Always opt for high quality farm fresh if possible
- Vanilla extract: adds warmth and depth essential to both cookie and cream filling Use pure extract for best flavor
- All-purpose flour: provides structure Use fresh flour and sift if it’s been sitting a while for lighter results
- Baking powder and baking soda: work together to leaven and create a soft crumb Ensure freshness for proper rise
- Salt: balances sweetness and enhances other flavors Use fine sea salt for even distribution
- Heavy cream: whips into the fluffy filling A higher fat content yields superior texture
- Powdered sugar: sweetens the cream filling smoothly No lumps if sifted beforehand
- Semi-sweet chocolate chips: melt into a shiny glossy glaze Choose good quality chocolate chips for rich taste
- Vegetable oil: added to the chocolate keeps the glaze smooth and pourable Use a neutral oil like canola or sunflower
Instructions
- Build The Base:
- Cream softened butter and granulated sugar on medium speed with an electric mixer until light and fluffy, about 3 to 4 minutes. This step incorporates air for a tender final cookie.
- Add Eggs And Flavor:
- Add eggs one at a time mixing well after each addition so the batter emulsifies properly. Stir in vanilla extract carefully ensuring it is well combined for deep flavor.
- Combine Dry Ingredients:
- In a separate bowl whisk all-purpose flour baking powder baking soda and salt to evenly distribute leaveners and salt. Gradually add the dry mix to the wet batter on low speed to avoid overmixing that leads to toughness.
- Chill The Dough:
- Cover the dough and refrigerate for at least 30 minutes. Chilling strengthens the dough allowing it to hold shape and prevents cookies from spreading too thin in the oven.
- Prepare The Whipped Cream Filling:
- In a chilled bowl pour heavy cream add powdered sugar and vanilla extract. Whip on medium speed until stiff peaks form usually about 3 to 5 minutes. Avoid overwhipping which can turn cream into butter.
- Bake The Cookies:
- Preheat oven to 350°F and line baking sheets with parchment paper. Use a scoop or tablespoon to drop rounded balls about 2 inches apart. Bake 10 to 12 minutes until edges turn light golden but centers still look slightly soft.
- Cool Completely:
- Let cookies cool on sheets 5 minutes then transfer to wire racks. Cooling ensures they firm up enough for handling without breaking.
- Make The Chocolate Glaze:
- Combine semi-sweet chocolate chips and vegetable oil in a microwave-safe bowl. Heat in 30 second bursts stirring between each until smooth and glossy about 1 to 2 minutes total. Cool slightly but glaze while fluid.
- Assemble The Cookie Sandwiches:
- Spread a generous dollop of whipped cream filling on the flat side of one cookie. Top with another cookie flat side down gently pressing to spread filling evenly to the edges.
I adore the creamy filling it feels like eating a little cloud sandwiched between buttery cookies. I remember bringing these to family game nights and watching everyone disappear them with smiles around the table.
Storage Tips
Store cookies in an airtight container in the refrigerator to keep the whipped cream filling fresh for up to two days. Let cookies come to room temperature before serving so the chocolate glaze softens slightly for best texture.
Ingredient Swaps
You can swap heavy cream for coconut cream for a dairy-free version though the texture will be a bit different. Try dark chocolate chips for a more intense glaze flavor or even add a pinch of cinnamon to the dough for warmth.
Serving Ideas
Serve these cookies chilled for a refreshing contrast or at room temperature if you prefer the cream softer. Pair with a cup of coffee or a cold glass of milk. They also work wonderfully plated on a dessert tray alongside fresh berries.
I learned the hard way that toasting spices is not needed here but gentle mixing and proper timing really make these cookies shine.
Frequently Asked Recipe Questions
- → What makes the cookies soft yet sturdy enough for sandwiching?
Chilling the dough before baking helps control spreading, resulting in soft but firm cookies suitable for handling the cream filling.
- → How do I achieve fluffy whipped cream for the filling?
Cold heavy cream beaten with powdered sugar and vanilla until stiff peaks form provides a light, airy filling. Be careful not to overwhip, which can cause the cream to become grainy.
- → What is the best way to make a smooth chocolate glaze?
Melting semi-sweet chocolate chips with a small amount of vegetable oil in short microwave intervals and stirring frequently creates a glossy, pourable glaze.
- → Can these cookies be stored for later?
They are best enjoyed fresh but can be refrigerated in an airtight container for 2-3 days. Keep the cream filling chilled to maintain texture.
- → Why is it important not to overmix the dough?
Overmixing develops gluten, which can make the cookies tough rather than tender and soft.