
 Save Pin
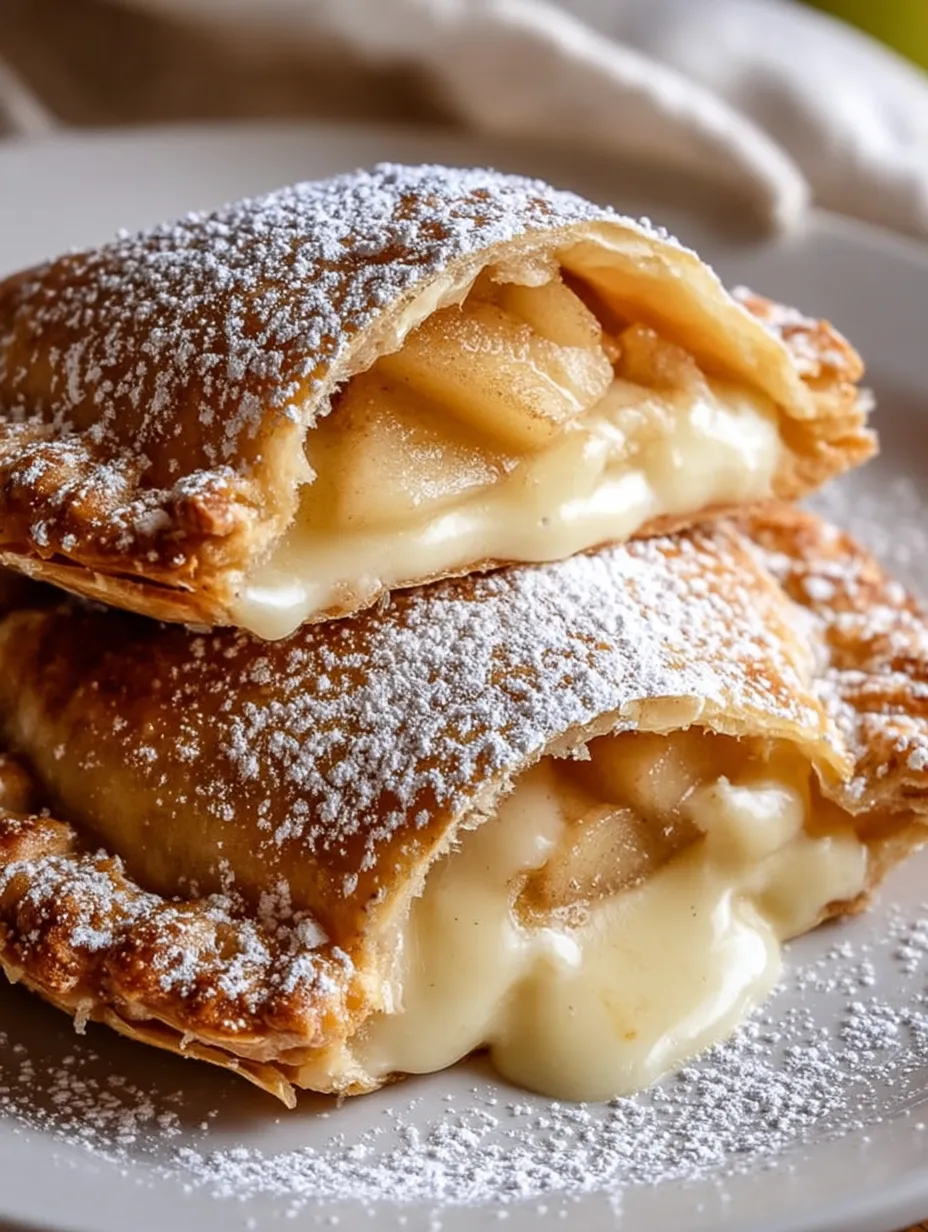
These handheld fried apple cheesecake pockets blend two classic sweets into one amazing treat. When you bite through the crunchy shell, you'll taste the perfect mix of tangy cheese and warm apple spices all in one go.
I whipped these up one rainy weekend when my family wanted something tasty but I wasn't in the mood to bake a whole cheesecake or apple pie. Now they always ask for these small hand pies, especially when fall comes around and apples are everywhere.
Ingredients
- Honeycrisp or Granny Smith apples: They give just the right tartness and don't turn mushy
- Cream cheese: Makes that smooth, rich layer everybody can't get enough of
- Refrigerated pie crusts: Help you cut down on prep time but still get that flaky bite
- Nutmeg and cinnamon: Add those warm, familiar apple pie flavors
- Brown sugar: Brings a touch of caramel-like sweetness to the apples
- Cornstarch: Keeps the filling thick so it doesn't leak out while cooking
- Vanilla extract: Adds a sweet aroma to the cheese mixture
Step-by-Step Instructions
- Cook The Apple Mix:
- Heat butter in a skillet over medium heat until it starts to bubble. Toss in the apple chunks, making sure they're cut the same size so they cook evenly. Scatter brown sugar, nutmeg, and cinnamon over the fruit and mix until everything's coated. Cook for about 5-7 minutes until the apples get soft but still hold their shape. Mix cornstarch with a bit of water, then pour this into the pan. Keep stirring for 1-2 minutes until everything gets thick and shiny. Take it off the heat and let it cool completely in a bowl.
- Mix The Cheese Filling:
- Put room temperature cream cheese in a bowl – it needs to be soft for the best results. Add sugar and vanilla, then beat everything until it's smooth and a bit fluffy without any lumps. Pop it in the fridge for about 15 minutes so it firms up a little, which makes it easier to handle when you put the pies together.
- Put The Pies Together:
- Spread out pie crust on a lightly floured counter and cut circles about 4-5 inches across. Put a spoonful of the cool cream cheese mix in the middle of each circle, then top with a spoonful of the apple mix. Don't overstuff them! Wet the edges with water or beaten egg. Fold the dough over to make a half-moon and press the edges with your fingers first, then make a pattern by pressing with fork tines.
- Fry Until Golden:
- Heat oil in a deep pan to 350°F, using a thermometer to get it right. Carefully drop the pies into the hot oil, a few at a time so they don't crowd each other. Cook for 2-3 minutes on each side, watching until they turn a nice golden brown. Lift them out with a slotted spoon and put them on paper towels to soak up extra oil.
- Add The Finishing Touch:
- While the pies are still warm but not hot enough to burn your fingers, roll them in a mix of cinnamon and sugar, turning gently to coat all over. Put them on a nice plate and if you want, add a drizzle of warm caramel sauce or a light dusting of powdered sugar just before you serve them.
 Save Pin
When these golden pockets come out of the hot oil, it's always a special moment in my kitchen. You can smell the apple, cinnamon, and vanilla all through the house, and somehow the family always shows up right on time. I really love how the smooth cream cheese creates such a nice contrast with the soft fruit pieces.
Make Ahead Options
You can easily prep these pies in advance. Just put them together, freeze them in a single layer, then move them to a freezer bag. They'll stay good frozen for up to three months. When you want to eat them, just fry them straight from the freezer, adding about a minute more per side. The filling stays nicely inside and tastes just as good as freshly made.
Perfect Substitutions
When apples aren't around, try peaches, pears, or a mix of berries instead. For the cheese part, you can use mascarpone to make them extra rich, or go with Neufchâtel for a lighter version with fewer calories. No pie crust? Don't worry - you can use puff pastry, crescent roll dough, or even spring roll wrappers in a pinch. Each will give you a different but still tasty texture.
Serving Suggestions
These pies taste great by themselves but you can dress them up too. Serve them warm with some vanilla ice cream and a bit of salted caramel for a fancy dessert. At brunch, they go well with some crispy bacon and maple whipped cream. During holiday times, arrange them on a tray with other small sweets and put out dips like chocolate sauce, cream cheese frosting, and fruit purees.
 Save Pin
Common Questions
- → Can I use canned apple filling?
Absolutely! Grabbing a can of apple pie filling works great when you're in a hurry and saves tons of prep time.
- → How can I seal the edges properly?
Press the edges down firmly with a fork. Wetting the dough edges with water or egg wash before pressing helps them stick together better.
- → What oil is best for frying?
Go for mild-tasting oils like canola, vegetable, or peanut oil when you're frying these tasty pies.
- → Can these be baked instead of fried?
You can definitely bake them! Pop them in the oven at 375°F for about 15-20 minutes until they turn golden brown. It's a bit lighter option.
- → How do I store leftovers?
Keep any extra pies in a sealed container at room temp for a couple days or in the fridge for up to 5 days. Warming them up makes them taste way better.