
 Save Pin
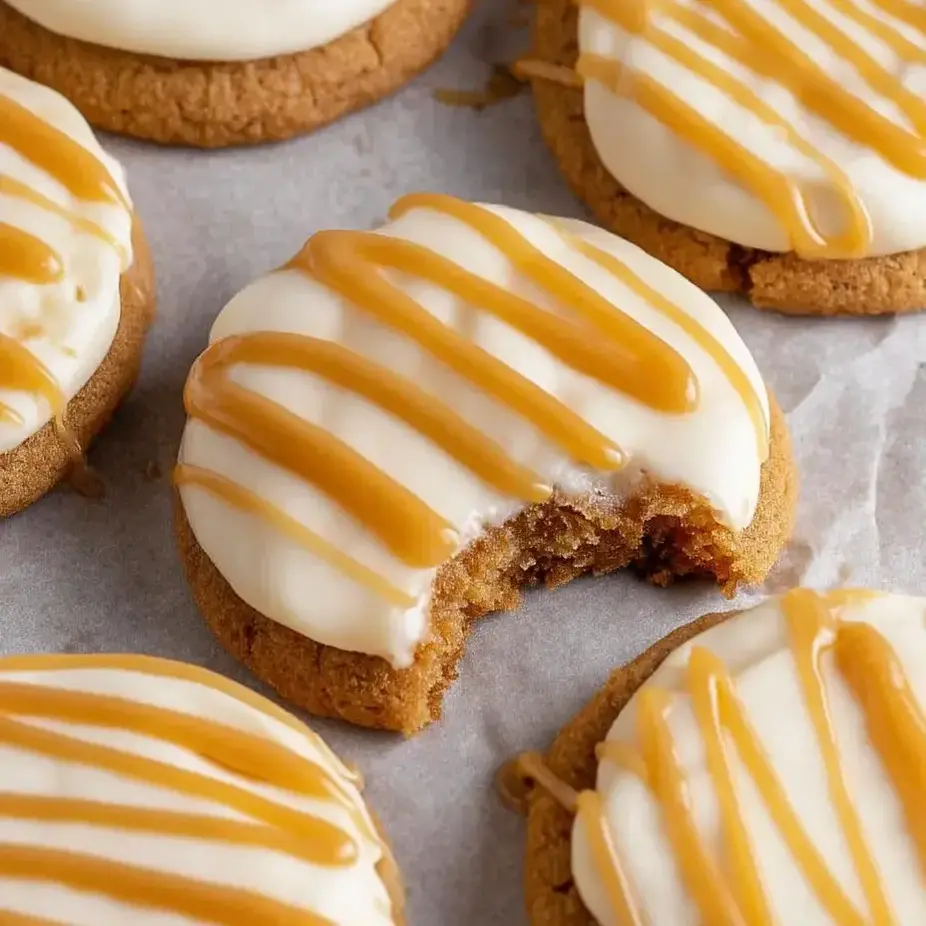
These caramel cheesecake cookies transform the classic dessert into bite-sized treats you can hold in your hand. The crumbly graham base works perfectly with the smooth cream cheese topping, while the homemade caramel adds that amazing sweet-and-salty kick that'll keep you reaching for more.
I came up with these for my kid's birthday when she wanted something besides the usual cake. Everyone was so blown away that they've now become our go-to treat for family celebrations. The mix of crunchy, creamy, and gooey textures always gets tons of compliments.
Ingredients
- Butter softened: gives these cookies their melt-in-your-mouth goodness and soft texture
- Brown sugar: brings moisture and natural caramel notes that boost the overall taste
- Graham crackers: deliver that genuine cheesecake base flavor in both the dough and outer coating
- Cream cheese: creates that tangy, signature frosting just like a real cheesecake
- Whipping cream: makes your caramel sauce velvety smooth with the perfect consistency
- Vanilla extract: enhances all three parts from the cookie base to the frosting to the caramel topping
Step-by-Step Instructions
- Prepare the Oven and Supplies:
- Get your oven hot at 350°F and put parchment on two cookie sheets. Don't skip the parchment or your graham cracker bits might burn and stick to the pan.
- Create the Cookie Base:
- Mix your soft butter with both sugars until it's fluffy and pale, about 3 minutes with your mixer. This puts air in the mix for better cookies. Drop in the vanilla and add eggs one at a time, mixing well after each.
- Form the Perfect Dough:
- Mix all your dry stuff except some graham crackers you've set aside. Stir just until combined or you'll end up with tough cookies. Gently fold in 1½ cups of graham crumbs to keep that nice texture.
- Shape and Coat:
- Grab a 2inch scoop and make even dough balls. Roll them in your leftover graham crumbs, pressing lightly so they stick. Put them on your trays and squish them down to about ¾inch thick with a flat-bottomed glass.
- Bake with Precision:
- Cook one tray at a time for 810 minutes until the edges just start turning golden. The centers should look a bit underdone as they'll finish cooking on the hot tray. This makes sure they stay soft and chewy.
- Cool Completely:
- Let the cookies sit on the hot tray for exactly 5 minutes so they can firm up without getting overdone. Move them to a cooling rack and wait until they're totally cool before adding frosting, around 45 minutes.
- Create Luxurious Frosting:
- Whip the cream cheese and butter until there's not a lump in sight. Stir in vanilla, then slowly add powdered sugar until you've got a frosting that holds its shape but stays creamy.
- Pipe the Frosting:
- Fill your piping bag with a round tip and start at the middle of each cookie. Work your way out in circles to make a smooth layer that looks like the top of a tiny cheesecake.
- Prepare Caramel Sauce:
- Throw butter, brown sugar, salt, and cream in a heavy pot over medium heat. Let it bubble while stirring non-stop for 57 minutes until it thickens up. You'll know it's ready when it coats your spoon.
- Finish with Caramel Drizzle:
- Take the pot off the heat, add vanilla, and let your caramel cool for 1520 minutes until it's thick but still flows. Grab a spoon and drizzle it over your frosted cookies in whatever pattern looks good to you.
 Save Pin
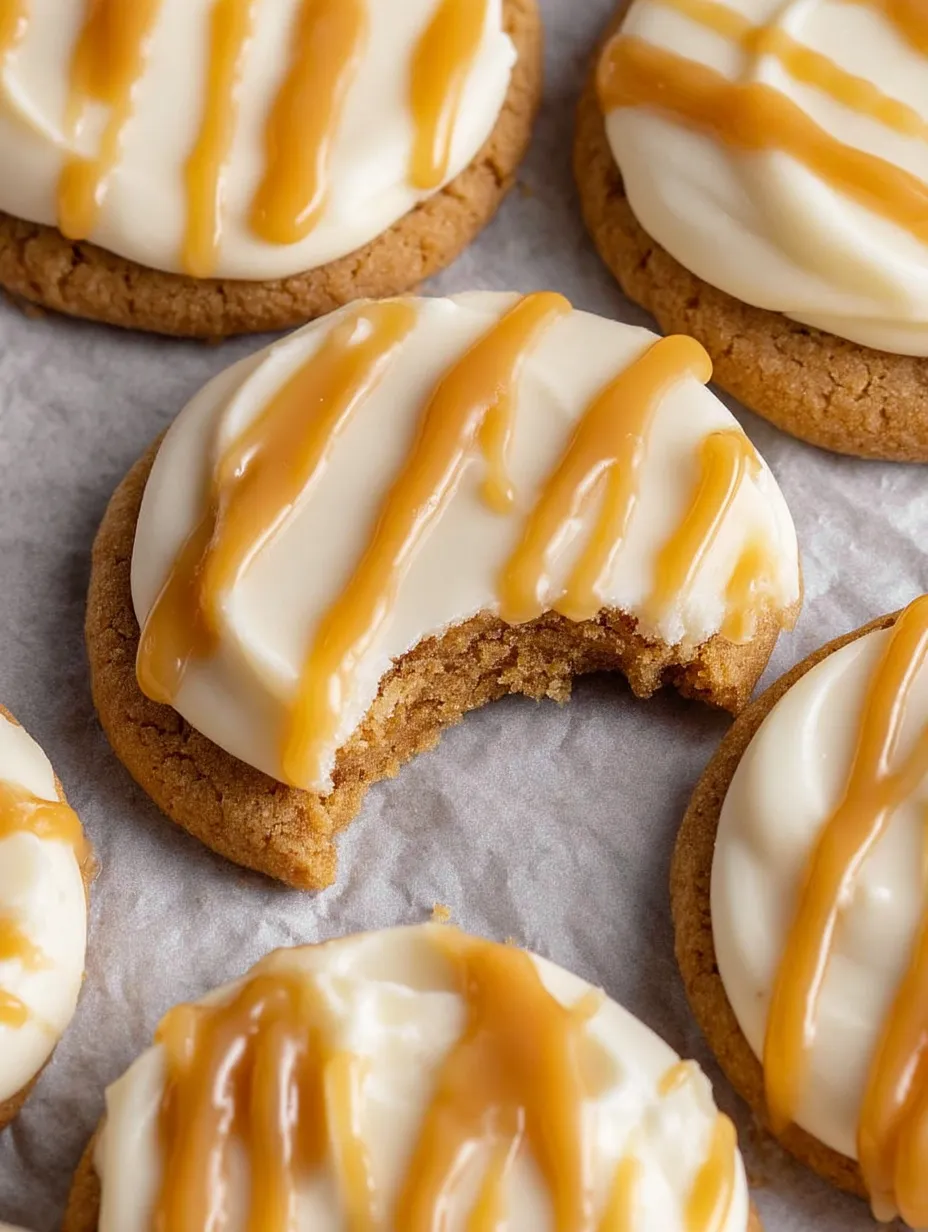
Those graham crackers really make these cookies stand out from the crowd. My grandma always used them in her cheesecake base, and putting them right into the cookie dough was my big aha moment. The first time I brought these to a family dinner, my uncle who swears he hates cheesecake ended up eating four of them!
Storing Your Cookies
These treats stay amazingly fresh when stored right. Keep them in a sealed container in your fridge and they'll taste great for up to 5 days. The cold actually makes the cheesecake flavor pop even more. If you need to stack them, just put some parchment between the layers so you don't mess up all your pretty frosting and caramel.
 Save Pin
Make Ahead Options
These cookies work great for planning ahead. You can mix up the dough and keep it in the fridge for up to 2 days before baking. The cream cheese frosting lasts 3 days in the fridge but just let it warm up a bit before you try piping it. You can even freeze the finished cookies for a whole month. Just move them to the fridge the night before you want to eat them.
Flavor Variations
The original salted caramel version is amazing, but you can switch things up too. Try adding tiny chocolate chips to your dough and drizzling some melted chocolate along with the caramel for chocolate lovers. For a fruity option, mix some lemon zest into your frosting and top with fresh berries. In the fall, try adding cinnamon and nutmeg to your cookie mix and swap in maple caramel for a cozy seasonal treat.
Serving Suggestions
These cookies look fantastic on a tiered plate with berries or little chocolates scattered between them. Want something extra fancy? Put a small scoop of vanilla ice cream between two cookies and pop them in the freezer for a few minutes before serving. They go really well with a strong cup of coffee that brings out those caramel flavors, or even a sweet dessert wine if you're hosting grown-ups.
Common Questions
- → How do I store these cookies?
Keep your cookies fresh in a sealed container at room temp for up to 3 days or pop them in the fridge for up to 5 days.
- → Can I make the caramel topping in advance?
You can totally make the caramel ahead of time. It stays good in the fridge for about 3 days in a sealed container. Just warm it up a bit before you drizzle it.
- → Can I substitute the graham crackers?
You can swap graham crackers for digestive biscuits or go with almond flour. Both will give you that nice similar taste and feel.
- → How do I pipe the cream cheese frosting?
Grab a piping bag with a round tip and go in circles. Start from the middle and work your way out to the cookie edges.
- → Can I freeze these cookies?
You bet. The baked cookies without frosting can go in the freezer for up to 2 months in a sealed container. Just thaw them out and add the frosting when you're ready to eat.