
 Save Pin
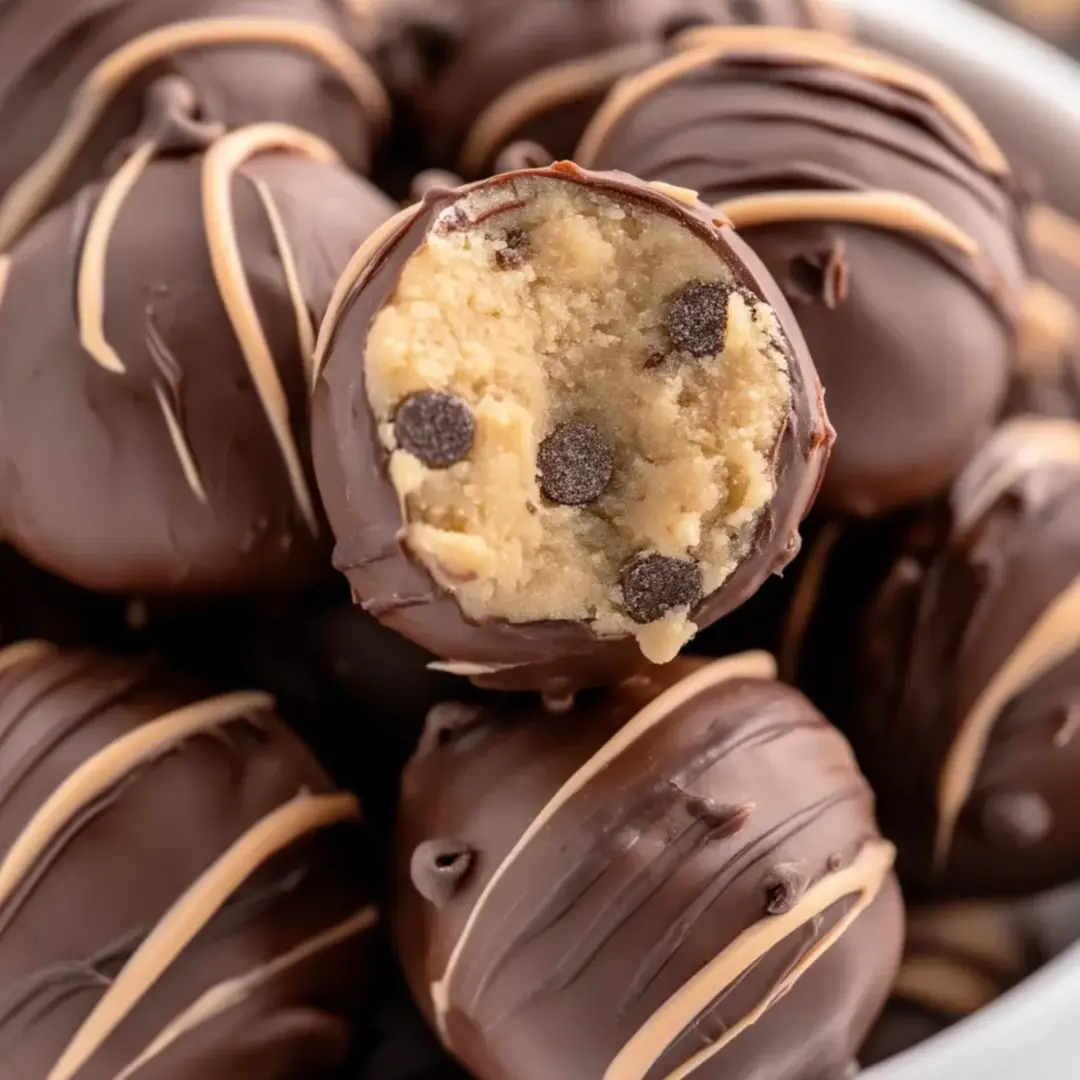
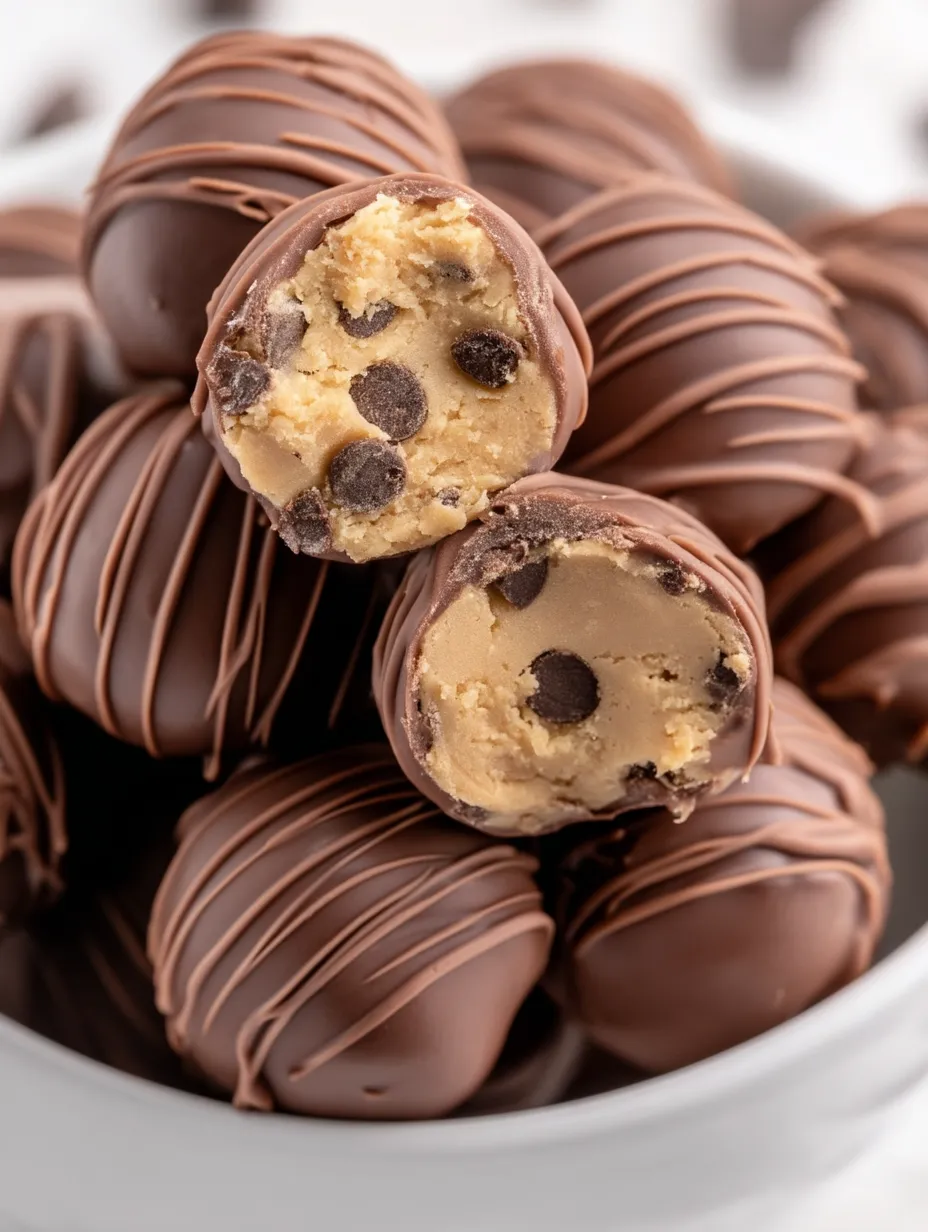
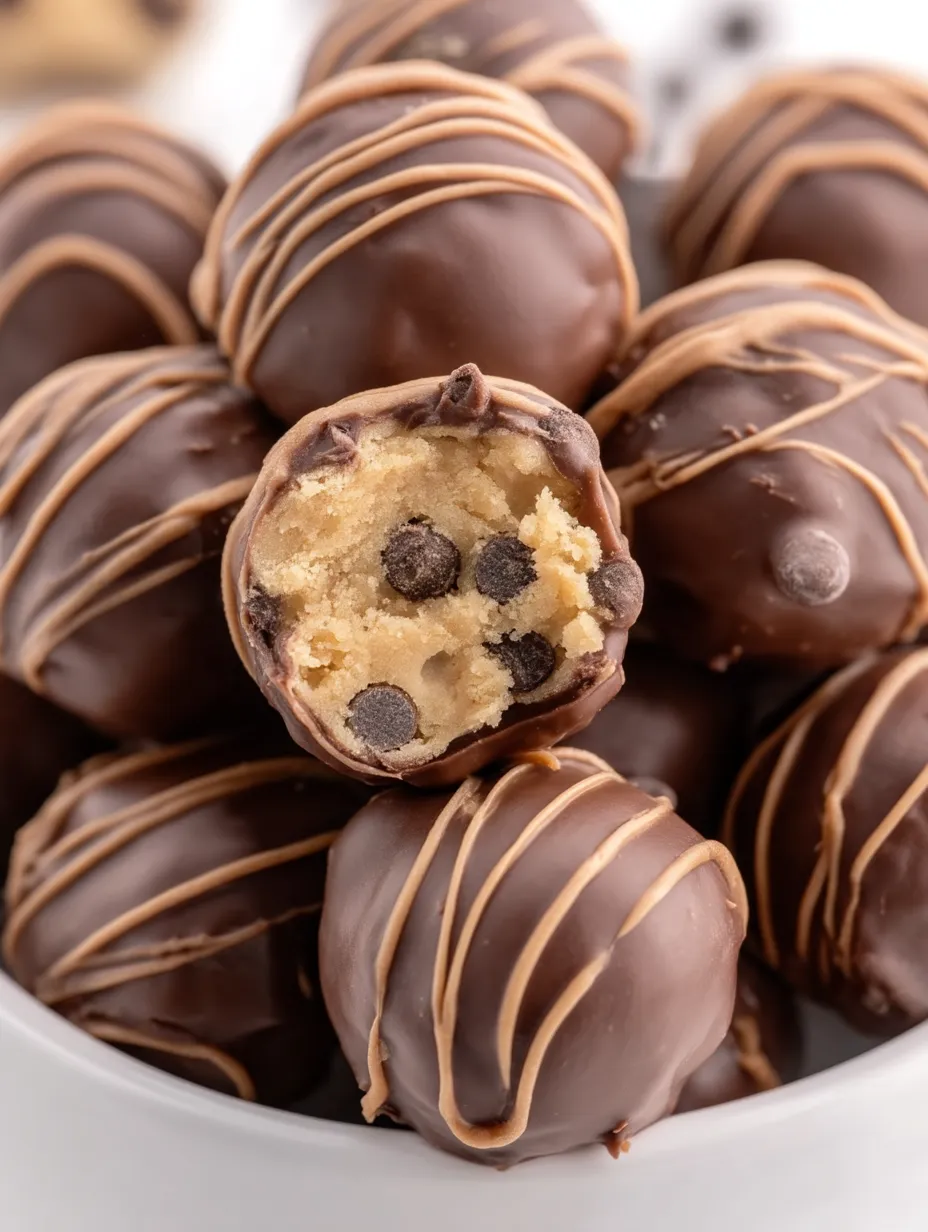
This luscious cookie dough truffle transforms everyone's favorite sneaky snack—unbaked cookie dough—into a completely safe, pop-in-your-mouth delight. The perfect mix of smooth, creamy centers wrapped in decadent chocolate makes an addictive little treat that vanishes fast whenever guests come over.
I whipped these up for my sister's birthday party after she told me about her childhood habit of sneaking raw cookie dough from the bowl. These truffles quickly turned into our go-to family treat, now showing up at every get-together we have.
Ingredients
- All-purpose flour: We'll heat it up first to kill any bacteria and make safe dough
- Unsalted butter: Let it sit out to soften for the creamiest base
- Light brown sugar: Gives that wonderful molasses hint and classic dough texture
- Granulated sugar: Works with the brown sugar for that real cookie dough flavor
- Vanilla extract: Go for the real stuff for much better taste
- Heavy cream: Makes everything smoother than regular milk would
- Salt: Brings out all the flavors and cuts the sweetness
- Mini semi-sweet chocolate chips: Smaller than regular chips so they fit better in truffles
- Dark chocolate melting wafers: Coats smoothly without any fussy tempering
- Milk chocolate melting wafers: Adds a pretty drizzle and sweeter contrast
Step-by-Step Instructions
- Treat the flour:
- Lay flour flat on a parchment-covered baking sheet and bake at 300°F for 5-7 minutes. This key step kills any harmful bacteria in raw flour. Let it cool totally before moving on so your dough doesn't get too warm.
- Make the dough base:
- Beat butter, both types of sugar, and vanilla until super light and fluffy—this takes about 3-4 minutes. This puts air in and makes the texture just right. Mix in heavy cream on low until it's all smooth.
- Mix in dry stuff:
- Slowly add the cooled treated flour and salt on low speed. Put it in bit by bit to avoid flour puffs and mix evenly. You want the dough to come together but stay soft.
- Add chocolate chips:
- Use a wooden spoon to mix mini chocolate chips into the dough. Stir until they're spread out evenly but don't mix too much or the dough will warm up. The tiny chips are key for the right truffle feel.
- Form balls and cool:
- Roll 1-tablespoon chunks into balls with your hands. Place them on parchment and chill for 10-15 minutes until firm but not totally hard. Properly cooled dough holds its shape when dipped.
- Cover with chocolate:
- Melt dark chocolate wafers in the microwave at half power, stirring often. Dunk each cold dough ball completely, lift it out with a fork, tap gently to get rid of extra chocolate, and set on parchment. Work with small batches so the dough stays cold.
- Add pretty drizzles:
- Melt milk chocolate wafers and put in a piping bag. Drizzle back and forth over the set truffles to make them look fancy and taste better. Chill briefly until chocolate hardens completely.
 Save Pin
The most fun part of making these truffles is creating fancy drizzle patterns on top. My daughter now helps me in the kitchen, and we try to outdo each other with our designs—though somehow her patterns always win when we ask family to judge.
Storage Success
Keep these truffles in the fridge in an airtight container with parchment between layers so they don't stick together. They'll stay fresh for up to 5 days this way. When you want to eat them, let them sit out for about 10 minutes first so the centers get slightly soft for the best creamy bite.
 Save Pin
Flavor Variations
This basic cookie dough truffle works great as a starting point for getting creative. Try mixing in crushed Oreos instead of chocolate chips for a cookies and cream version. If you love peanut butter, stir in 2 tablespoons of the creamy kind to your dough. During holidays, add fun sprinkles to the dough or on top of the wet chocolate drizzle to match the season.
Troubleshooting Tips
If your chocolate coating gets white streaky marks after it hardens, it's probably because of temperature changes. It's still totally fine to eat. To avoid this, make sure your truffles are very cold before dipping and don't move them between hot and cold places during storage. If your dough feels too sticky when you're rolling it, put it in the fridge longer rather than adding more flour, which can dry out your truffles.
Common Questions
- → How do you heat treat the flour?
Spread your flour on a parchment paper-covered baking sheet and bake at 300°F for about 5-7 minutes. Watch it carefully so it doesn't burn. Let it cool completely before you use it.
- → Can I use regular chocolate chips?
The tiny chips work way better because they spread out nicely in the dough. Bigger chips might make your balls lumpy and harder to shape.
- → What's the best way to melt the chocolate wafers?
Put your wafers in a microwave-safe bowl and heat at half power. Stop and stir every 30 seconds until they're completely smooth.
- → How do I prevent the dough from sticking while rolling?
Just wet your hands a tiny bit with water and the dough won't stick to them when you're making the balls.
- → How can I make these truffles gift-friendly?
You can put your finished chocolate balls in cute little boxes or wrap them up in clear cellophane with pretty ribbons when giving them as gifts.