
 Save Pin
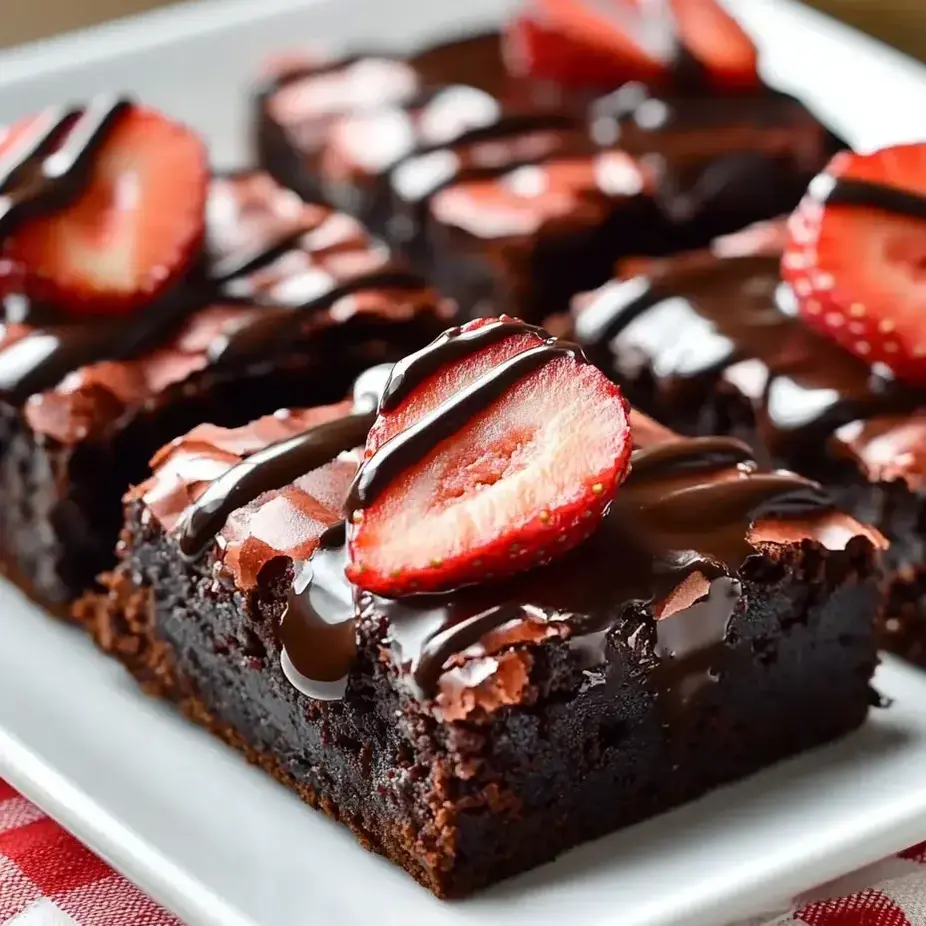
This luxurious strawberry brownie creation elevates basic brownies to a fancy treat that's equally eye-catching and mouthwatering. Mixing fudgy chocolate base with juicy strawberries and smooth chocolate coating gives you a showstopper dessert that works for special events or just when you need something extra delicious.
I whipped these up for my sister's birthday party, and they disappeared in seconds. There's something about the mix of dense, chocolatey brownie foundation with the bright, sweet strawberries that chocolate fans just can't turn down.
Ingredients
- Unsalted butter: Gives that smooth, full taste that makes these brownies so good; grab the good stuff if you can
- Granulated sugar: Makes everything sweet and helps you get that classic crispy brownie top
- Large eggs: Holds everything together while keeping things moist
- Vanilla extract: Makes the chocolate taste even better; real vanilla beats artificial any day
- All-purpose flour: Gives your brownies structure without making them too fluffy; run it through a sifter for best results
- Unsweetened cocoa powder: Packs a strong chocolate punch; Dutch processed works wonders here
- Salt: Cuts the sweetness and boosts chocolate flavor
- Baking powder: Adds a tiny bit of rise without making brownies too fluffy
- Fresh strawberries: Bring juicy freshness and look gorgeous; pick bright red, sweet-smelling ones
- Semi-sweet chocolate chips: Turn into the perfect smooth topping
- Heavy cream: Helps make that silky topping just right
Step-by-Step Instructions
- Set Up Your Kitchen:
- Turn your oven to 350°F and put parchment in your pan with extra hanging over the sides so you can lift brownies out later. This little trick makes all the difference for getting perfect squares that don't break apart.
- Mix Your Base:
- Completely melt butter in a big microwave-safe bowl, then stir in sugar until it's all mixed up. The warm butter starts dissolving the sugar, making a slightly grainy mix that'll help create that shiny top everyone loves.
- Mix In Wet Stuff:
- Stir in eggs one by one, making sure each one's fully mixed before adding another. This makes brownies extra fudgy. Add vanilla and keep stirring until everything looks a bit lighter.
- Add Dry Ingredients:
- In another bowl, mix flour, cocoa, salt, and baking powder through a sifter to break up lumps. This really matters for cocoa which gets clumpy. Slowly fold this into your wet mixture just until combined. Don't stir too much or you'll end up with cake instead of fudgy brownies.
- Bake It Right:
- Scoop the thick mix into your ready pan and spread it all the way to the edges. Bake exactly 25 minutes, then check by poking with a toothpick. You want some crumbs stuck to it but no runny batter. Let it cool completely on a rack.
- Get Strawberries Ready:
- Clean strawberries well and dry them completely with paper towels. Any water will stop the chocolate from sticking right. Cut off tops and slice in half, then place them cut-side down across the cooled brownies, pressing slightly.
- Make Your Topping:
- Put chocolate chips and cream in a bowl that's safe for microwaves. Heat 30 seconds at a time, stirring really well between each until it's all smooth. Going slow keeps the chocolate from getting lumpy or stiff. Your topping should look glossy and pour easily but not be too hot.
- Finish It Off:
- Pour warm topping evenly over the strawberry-covered brownies, using a flat knife to spread it evenly over all berries. The chocolate will cover the strawberries and fill in all the gaps between them.
 Save Pin
You Must Know
- The sweetness level hits just right, so they taste amazing without being too much
- Using parchment makes getting brownies out and cutting them super easy
- This works best when strawberries are in season and at their tastiest
- Cool in the fridge until the topping firms up, about an hour, for the best bite
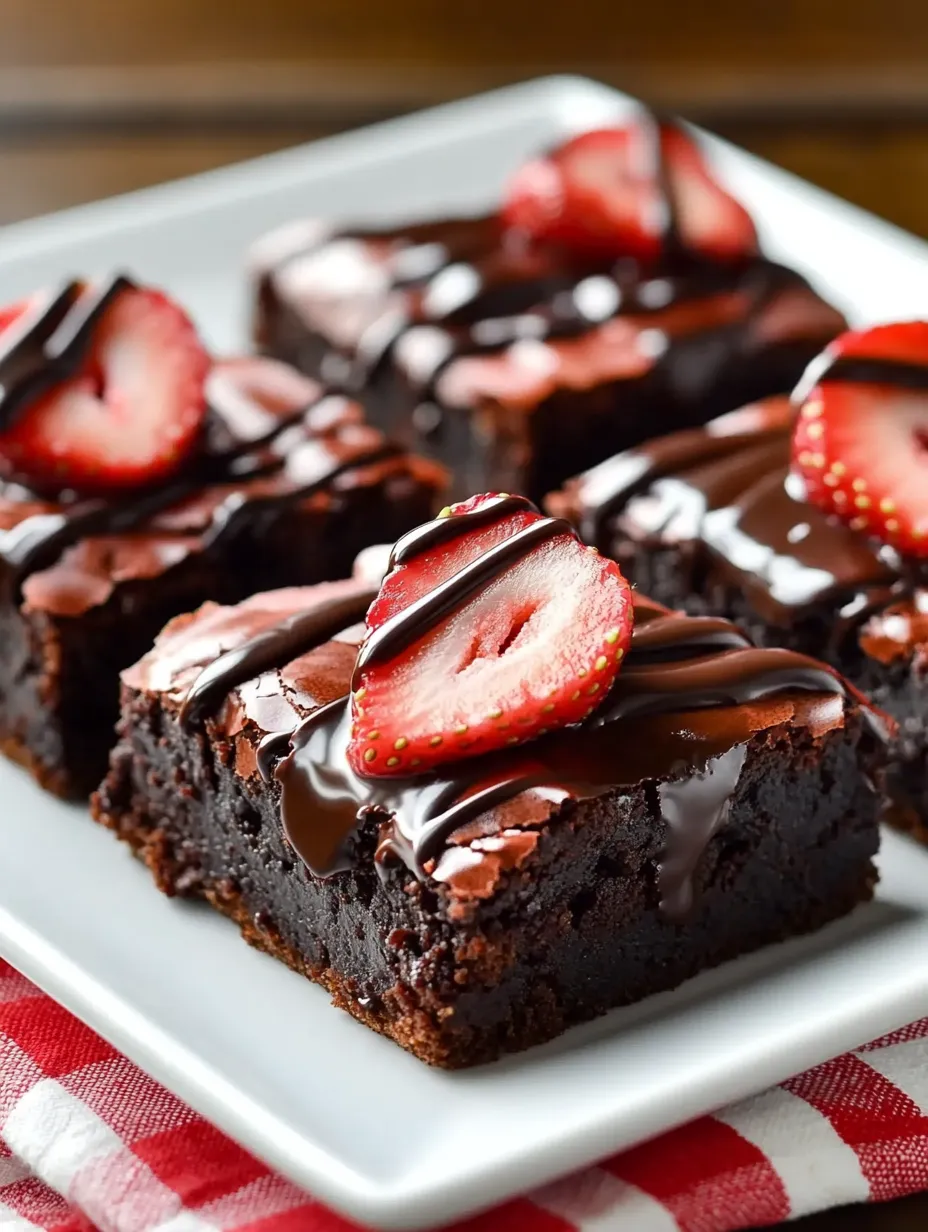
The unsweetened cocoa really makes these brownies special. I found that Dutch processed gives an even deeper chocolate taste that goes perfectly with fresh strawberries. My nephew once told me these beat anything from fancy bakeries, and now my family asks for them at every get-together.
 Save Pin
Serving Suggestions
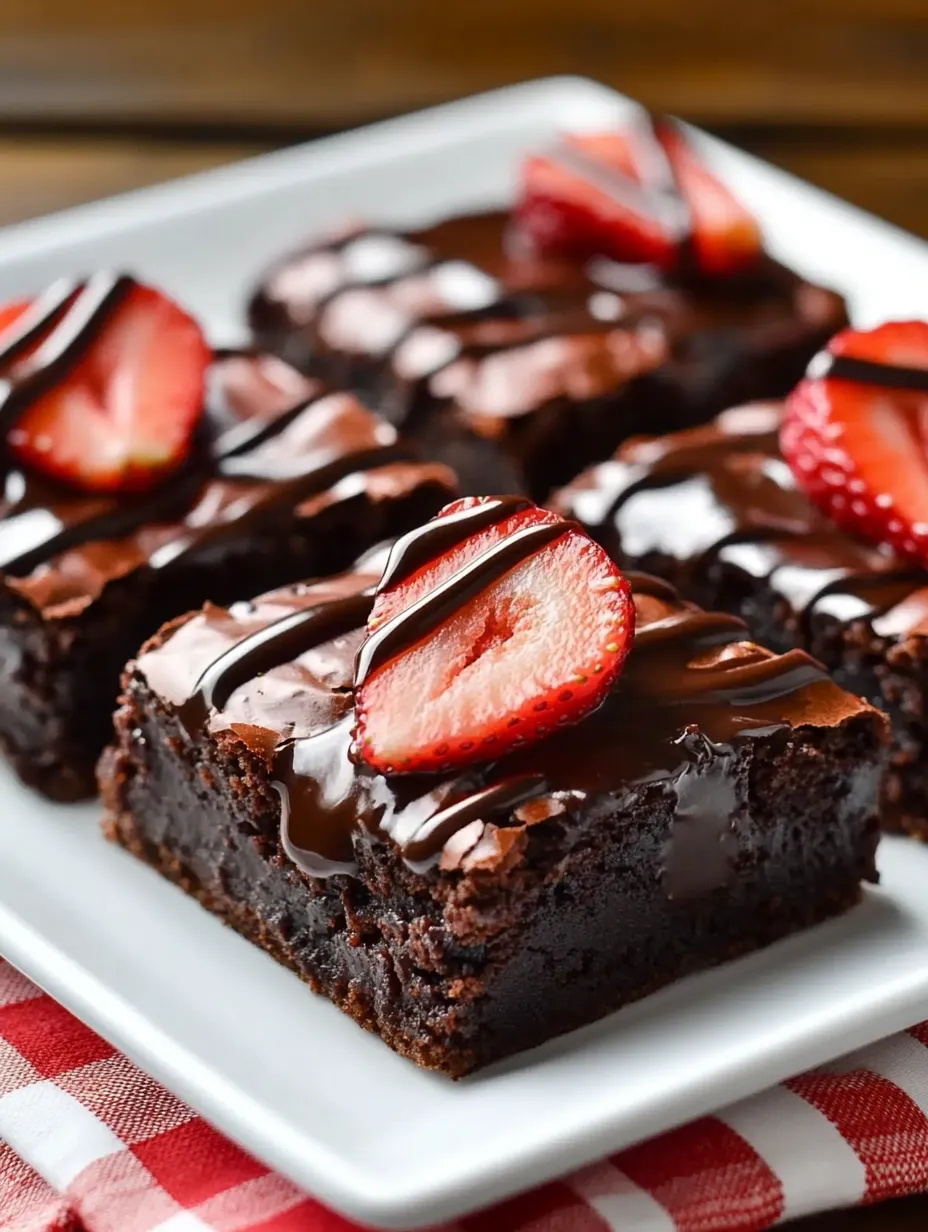
These brownies look amazing just by themselves, but try adding a spoonful of lightly sweetened whipped cream on the side. For a fancy look, sprinkle some cocoa powder on the plate and add a few tiny mint leaves around it. The mix of warm brownie, cool cream, and juicy berries makes every bite something to remember.
Storage Tips
Keep these treats in a sealed container in your fridge for up to 3 days. The strawberries taste freshest on day one, but they're still yummy after that. Take them out about 15 minutes before eating so they warm up a bit. I wouldn't freeze these since the strawberries get mushy when they thaw.
Make Ahead Options
Need to plan ahead? You can make just the brownie part up to two days early and keep it wrapped tight at room temperature. Add the strawberries and chocolate topping a few hours before serving for the best freshness. You can even make the chocolate topping ahead and warm it up slowly in the microwave at half power until it's just pourable.
Variation Ideas
The basic recipe works great as is, but you can switch things up with different fruits. In summer, try fresh raspberries or blackberries instead of strawberries. For Christmas, add some peppermint flavor to the topping and sprinkle crushed candy canes on top. You can also try putting a layer of sweetened cream cheese between the brownie and strawberries for something extra special.
Common Questions
- → Can I use frozen strawberries instead of fresh?
Fresh strawberries work best, but frozen ones can do in a pinch. Just make sure you thaw and pat them dry first so they don't make your brownies soggy.
- → Can I substitute the semi-sweet chocolate chips?
Sure thing. Try dark chocolate for less sweetness or milk chocolate for a sweeter taste. The flavor will change a bit depending on what you pick.
- → How should I store the brownies?
Pop them in the fridge in a sealed container and they'll stay good for 3-4 days. Let them warm up to room temp before eating for the best taste.
- → Can I make this dessert ahead of time?
Definitely. You can make these a day before you need them. Keep them in the fridge until it's time to serve. The extra time actually lets all the flavors mix together nicely.
- → What can I use instead of heavy cream for the ganache?
Full-fat coconut milk works great as a swap. Half-and-half is another good choice. Both will give you that creamy richness you want in your ganache.