
 Save
Save
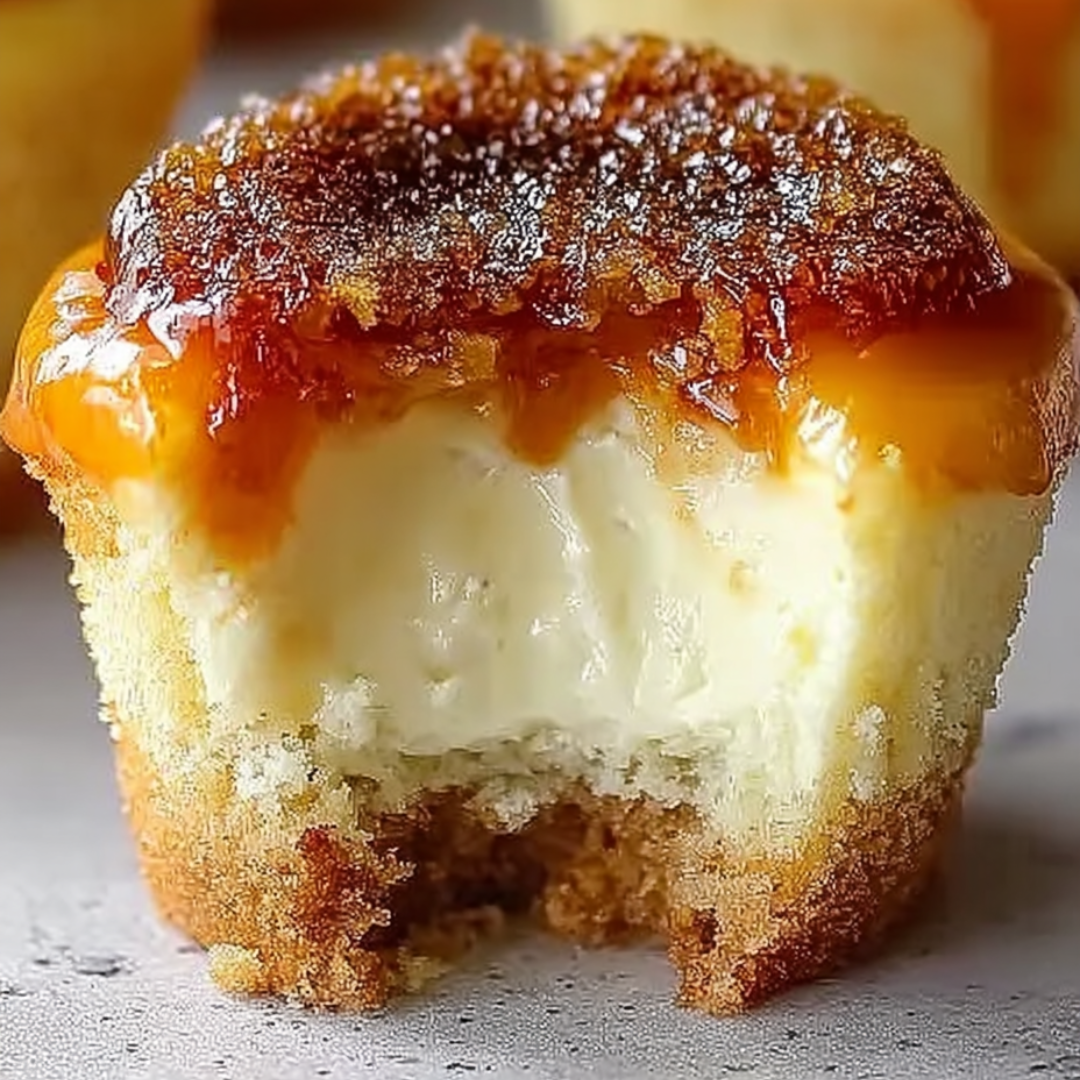
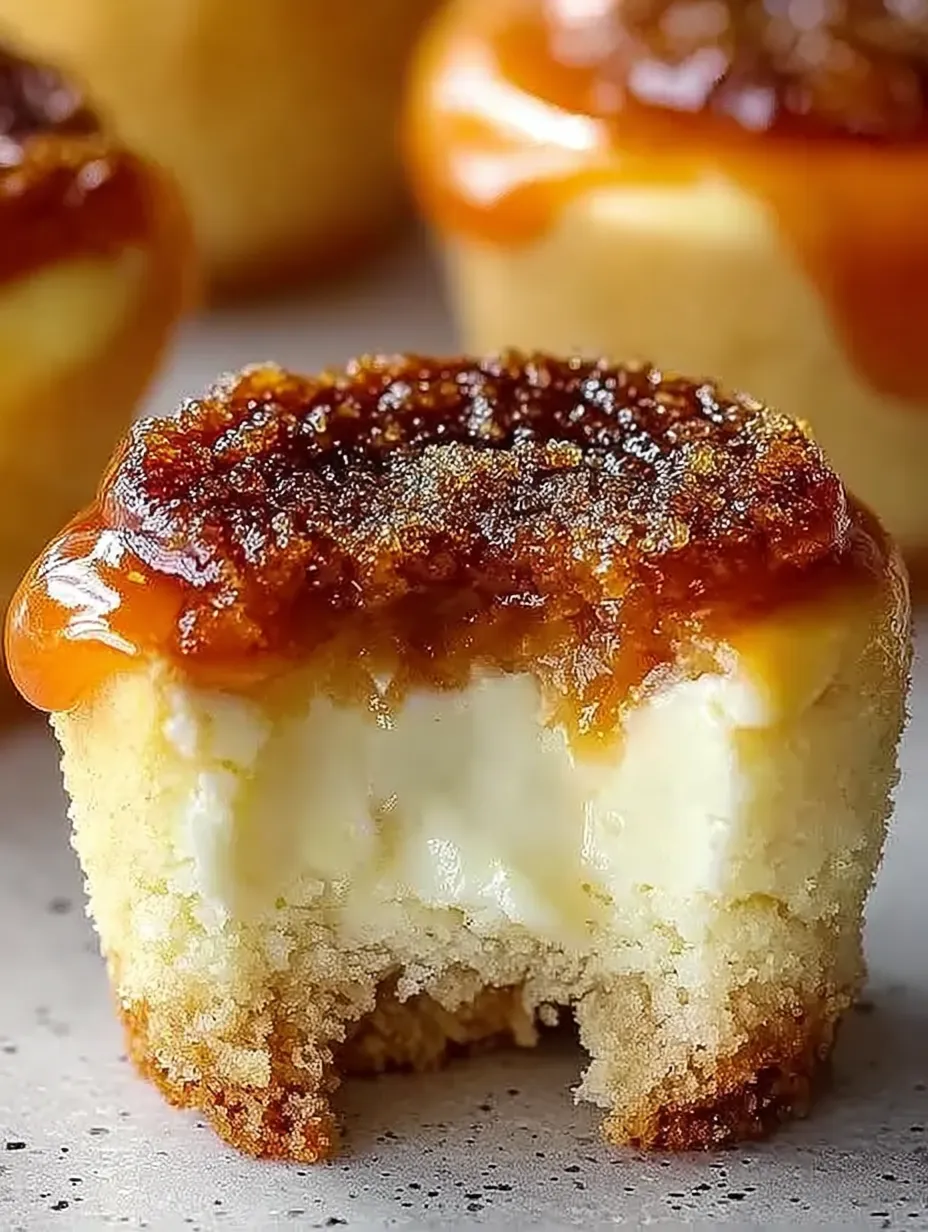
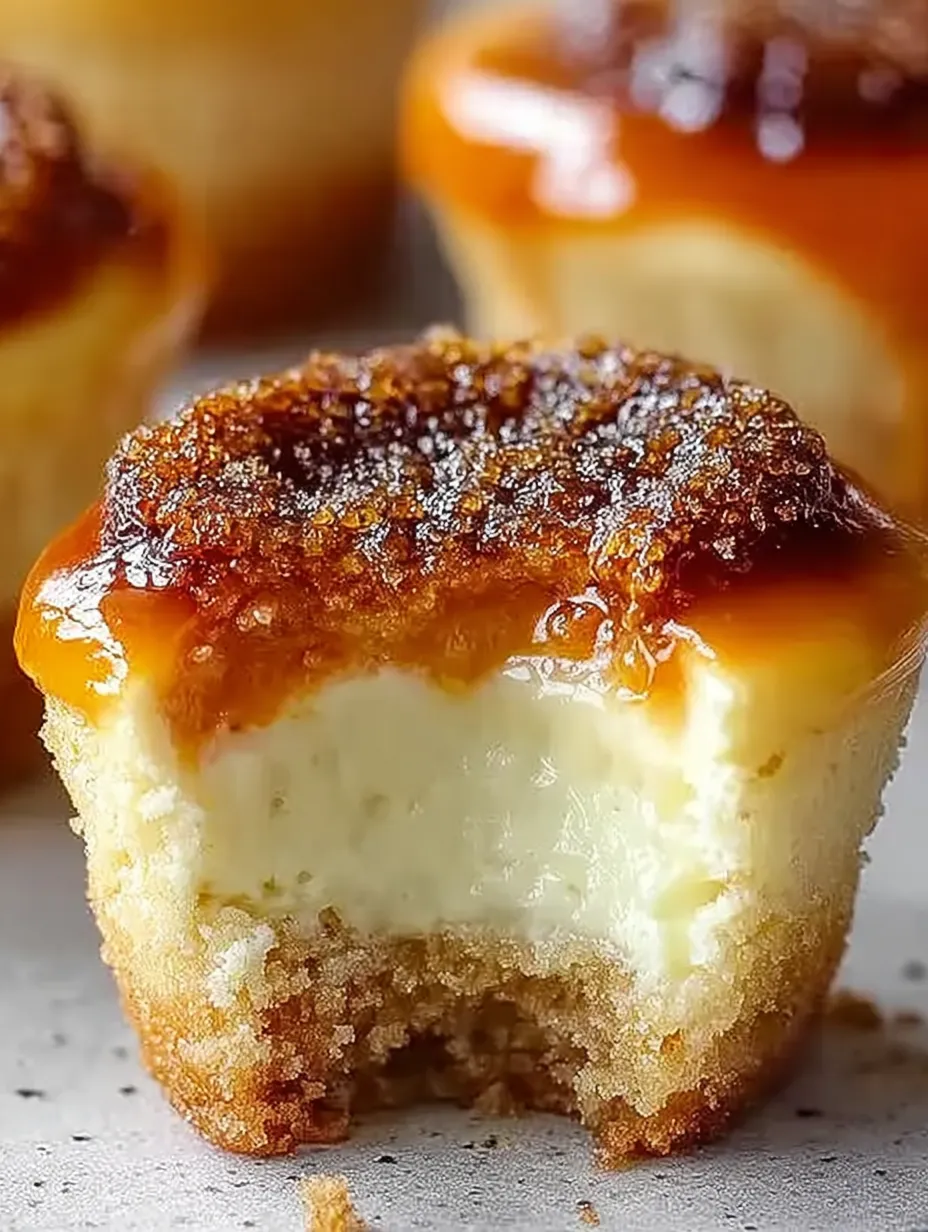
Grab these handheld treats that mash up that custardy cheesecake goodness with a crunchy caramel shell on top. They're creamy, rich, and easy to grab and go. If you're looking to wow a crowd but still want something low-key, these pack a punch of fun in every nibble.
Dreamy Ingredients
- Vanilla bean seeds: For those little black flecks and a blast of floral aroma. Just cut and scrape with a sharp knife—pick ones that look juicy and glossy.
- All-purpose flour: Helps the centers stay together when baking.
- Cream cheese: This is what gives your dessert that smooth thick bite. Leave it out to warm up so there are no annoying lumps.
- Granulated sugar: Does double duty for sweetness and getting that crackly top. Go for pure cane sugar so it melts like a dream.
- Graham cracker crumbs: Classic, crunchy, and a little bit toasty on the bottom. Sniff them first—they should smell buttery, not stale.
- Eggs: The secret for the dense creamy bite. Fresh eggs really step things up.
- Vanilla extract: Adds another layer of that vanilla oomph. Make sure you get a real one to nail the flavors.
- Extra granulated sugar: Sprinkled over the top at the end for shattering caramel crunch.
- Unsalted butter: Melts into the crumbs to hold everything together. Melt it gently so it mixes well.
- Sour cream: Brings a light tang and keeps things silky. Full fat tastes best.
Effortless Step-by-Step
- Caramelize the Sugar Lids
- After chilling, dust sugar over each cupcake. Hit them with a kitchen torch in small circles until the top bubbles and turns golden. Wait a minute for the lid to crisp up—this is the best part to crack through.
- Fill and Bake Your Cakes
- Spoon the creamy mix into your liners, almost all the way. Bake for twenty minutes or so—the centers should look barely firm but still jiggle a bit. Let cool on the counter, then chill in the fridge at least two hours till they're set and even yummier.
- Whip Up the Cheesecake Mix
- Grab a bowl and beat soft cream cheese with sugar until it's totally smooth. Scrape the sides so you don't miss any bits. Drop in sour cream, flour, and your scraped vanilla seeds. Beat again. Add eggs one at a time, being gentle so you don't get too much air. Pour in vanilla and mix just until smooth.
- Build the Crust
- Stir up graham crumbs, sugar, and melted butter. Scoop out heaping spoonfuls into each liner and press firmly to cover the bottom. Bake at 325F for five minutes. Let cool before you top with filling.
Keeping Them Fresh
Chill these cupcakes in the fridge, uncovered, until the caramel sugar crust hardens. Cover (but not too tightly) if keeping leftovers and eat up within four days. For long hauls, tuck unfrosted cupcakes in the freezer and wrap them up tight. When you're ready, let them thaw in the fridge overnight and torch the tops just before digging in.
Swap Your Ingredients
If you can't score vanilla beans, vanilla paste works fine. Gluten free? Swap out the grahams for your favorite GF cookie. You can use plant-based cream cheese and sour cream too, it'll change the vibe a little but still tastes pretty good.
Ideas for Serving
I love piling them on a big tray with heaps of fresh berries for a burst of color and bite. Some fluffy whipped cream on the side just feels right. Part of the fun is handing them out and listening to everyone crack into the caramel top at once.
Crème Brûlée Cheesecake Lowdown
Crème brûlée started centuries ago in French kitchens—cheesecake goes back all the way to ancient Greece. Mashing them makes a glam treat with a smooth, rich bite and a little drama. Having them single-serve? Means you don’t have to sweat cutting perfect slices.
Frequently Asked Recipe Questions
- → Is it okay to swap out vanilla bean for regular vanilla extract?
Yep, go ahead and swap in another teaspoon of vanilla extract if you’re out of beans. Just know the real seeds add a stronger flavor and those little vanilla spots look really nice.
- → Do I really need a torch to get the sugary crunch on top?
Using a torch gets you the best crispy sugared top. But you can pop them under the broiler for a moment instead — just keep your eye on them so the sugar doesn't turn black.
- → Why do I have to chill these cupcakes?
Cooling lets the filling get firm and creamy, so it doesn't get messy when you add the sugar topping and torch it up.
- → How are these different from just regular cheesecake?
These come in single-serve form and pack the snappy sugar shell you get from crème brûlée. That crunchy top and smooth cheesecake together is totally next level.
- → Can I prep these cupcakes early?
Absolutely! Make them and chill them a day ahead. Just save the sugar torch action until you're ready to eat so the tops stay crunchy.