
 Save
Save
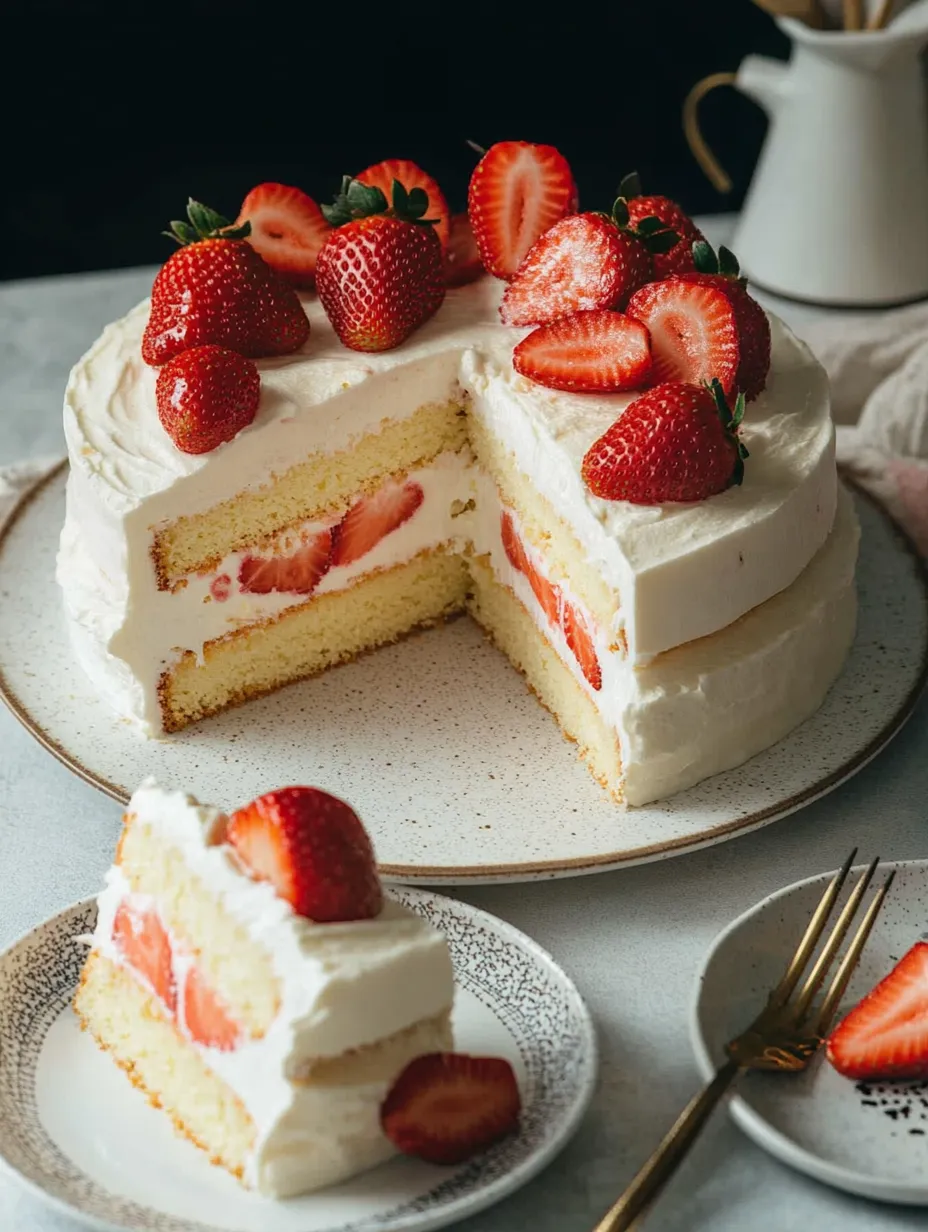
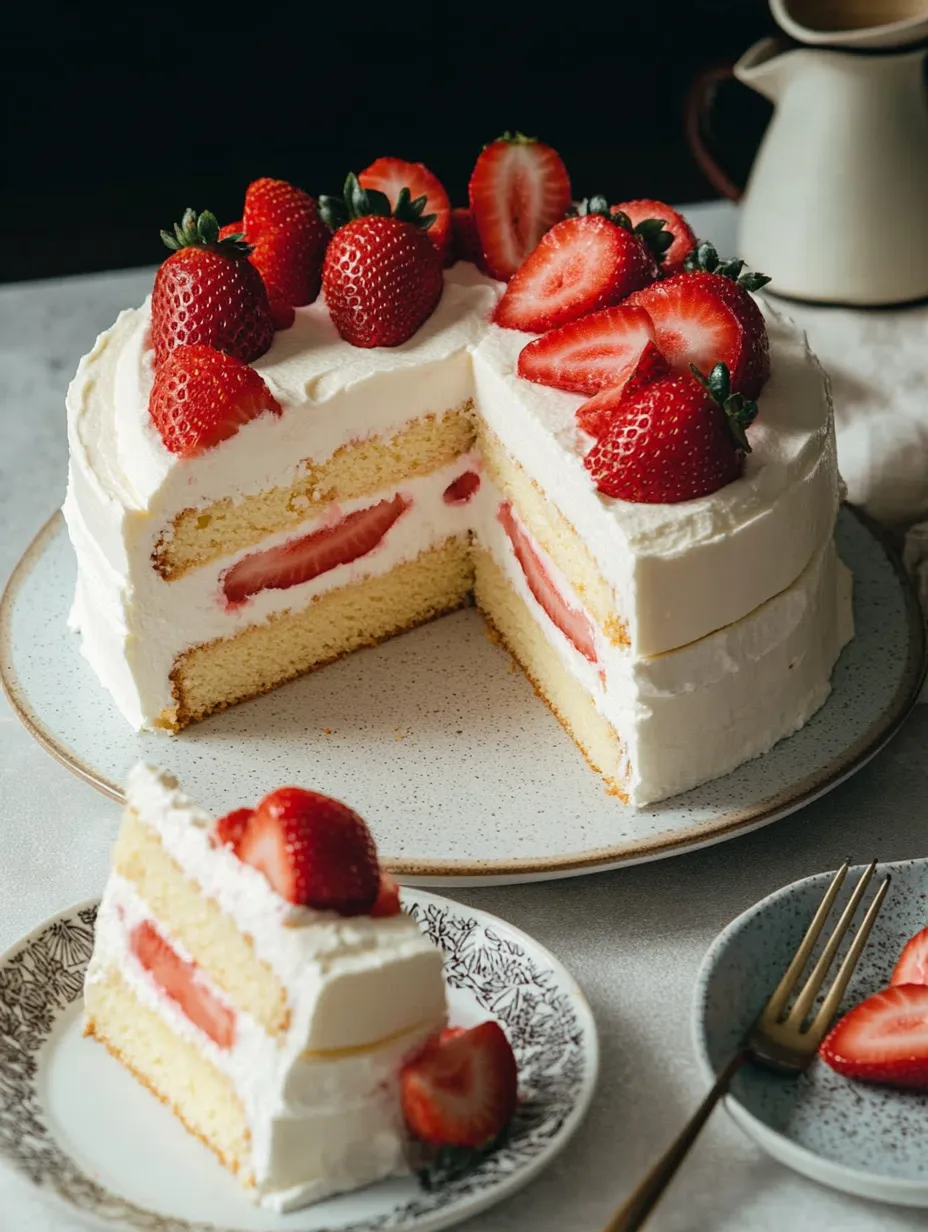
If you wanna make something special for a party, this Japanese strawberry shortcake is the way to go. The layers are fluffy soft, the whipped cream is super airy, and every bite is packed with juicy sweet berries. It’s a classic you’ll see all over bakeries in Japan, but honestly, you can totally pull it off at home too. Great for birthdays, springtime, or any day you just want a treat that looks as happy as it tastes.
The first time I made this was for my friend's birthday, and the look on everyone's face when they tried it was priceless. Since then, it's the cake I bake whenever we celebrate. People of all ages always come back for seconds.
Dreamy Ingredients
- Strawberries: The real star! Go for ripe, fragrant, sweet berries for the boldest flavor
- Heavy whipping cream: Gives you that dreamy, fluffy topping—aim for at least 36% fat so it holds up
- Sugar and hot water for soaking the cake: Make the cake extra moist and slightly sweet
- Eggs (yolks and whites): You’ll separate them; fresh, big eggs at room temp whip much better
- Cake flour: Makes the crumb especially soft—sift it for a cloud-like texture
- Whole milk: Keeps it delicate and soft, whole milk is best
- Unsalted butter: Adds richness without being too heavy, European butter is even better if you can
- Confectioners sugar: Blends smoothly into the whipped cream and keeps it steady; don’t forget to sift
- Sugar: Sweetens just right, fine sugar will dissolve easier
- Gelatin (optional): Use this if you want the whipped cream to stay firm, but you can skip for a softer frosting
- Picking top-notch stuff: Look for berries that smell amazing and have no bruises. Let your eggs warm up on the counter first. Fresh sifted flour gives you that ultra fluffy bite.
Step-by-Step Guide
- Decorate and Let It Chill:
- Smooth out a thin cream coat all over and then go back in with a thicker layer on the top and around the sides. Spoon or pipe more whipped cream if you want. Finish by piling on whatever strawberries you have left. Pop it in the fridge for half an hour if your cream has gelatin, or eat right away if you skipped it.
- Build and Fill:
- Once it’s cooled off, trim the cake and slice it crosswise. Lay the bottom on your serving plate, brush with syrup, add a thick layer of whipped cream, then scatter on some sliced berries. Add the second half, repeat with cream and strawberries on top.
- Whip the Cream:
- If using gelatin, bloom it, melt it, then stir in a spoonful of cream before combining with the rest. Whip just until it's got soft peaks. If skipping gelatin, simply whip cream with powdered sugar until soft but still holds its shape.
- Make the Cake Syrup:
- Stir hot water and sugar until melted. You can toss in leftover strawberry juice if you saved it for extra berry taste.
- Get Strawberries Ready:
- Slice berries and mix with sugar—let them sit an hour or two so they get juicy and extra sweet. Hold onto the juices for your syrup.
- Cool Down and Take Out:
- The cake should pull away from the sides when done. Loosen with a knife, then flip upside-down on a rack until it’s cool (that keeps it nice and tall!)
- Bake the Cake:
- Lower the filled pan in your hot water bath (about an inch deep), and bake for 90 minutes. Try not to peek or open the oven, or it might collapse.
- Fill the Pan:
- Pour your batter in the pan, then tap it gently on the counter twice to release any big air bubbles inside.
- Fold in The Whites:
- Toss a scoop of beaten whites into the yolk-flour mix, fold gently, then add it all back into the whites. Mix very gently—if you stir too much, it’ll lose that fluff.
- Whip The Whites:
- Start with a squeaky clean bowl. Beat whites until they’re foamy, then slowly sprinkle in sugar. Whip till medium peaks—they should stand up but still flop a bit.
- Mix in Cake Flour and Yolks:
- Sift flour in so it’s lump-free, fold till smooth. Toss in your yolks and stir till it’s even in color and texture.
- Melt Butter and Milk:
- Microwave in a bowl just long enough to melt. Stir so both are blended nice and evenly.
- Set Up Your Water Bath:
- Grab a deep pan big enough for your cake pan. Fill with boiling water about an inch up the sides. Baking in water keeps things soft and stops browning.
- Get Your Pan Ready:
- Preheat to 325 F and line your pan with parchment so nothing sticks. This makes it way easier to get the cake out later.
Nothing beats using the ripest strawberries. The kitchen always smells amazing and it reminds me of picking berries with my grandma every June. Fresh berries are really what takes this cake way above any store-bought one.
Storage Advice
Pop the finished cake in the fridge and cover loosely to keep the whipped cream tasting fresh, not like fridge smells. It’s best eaten within a day if you want it super fresh. Leftover plain cake layers can go in the freezer, just thaw before you put everything together.
Swaps and Saves
No cake flour? Use regular flour plus a tablespoon of cornstarch for each cup. Skim works instead of whole milk, but it’ll be less tender. For a dairy-free topping, coconut whipped cream does great—no need for gelatin with that one.
Serving Ideas
Bring even more strawberries and some of that delicious syrup on the side. A sprig of fresh mint looks great too. Pair it with green tea or some bubbly if you wanna go for a Japanese café vibe.
Story and Meaning
This strawberry shortcake is basically what everyone asks for on birthdays and big holidays in Japan. It takes a European sponge idea but tweaks it for Japanese tastes—less sugar, clouds of whipped cream instead of butter frosting. It’s a sweet symbol of spring and happy times.
Frequently Asked Recipe Questions
- → How does this cake get so soft and fluffy?
You gently mix whipped egg whites into the batter, which makes little air pockets and keeps it delicate. Baking with a tray of water keeps the cake moist and light.
- → Can I swap in regular whipped cream instead of the thickened kind?
Totally, regular whipped cream works great if you'll eat it soon, but if you need more time, go for stabilized cream with a little gelatin to hold everything together.
- → How can I stop my cake from sinking or getting flat?
Don’t over-mix your batter, keep the oven closed at the start, and loosen the cake edges with a knife right after you pull it out so it comes out smooth.
- → Do I have to soak the strawberries first?
Letting strawberries sit in sugar brings out the juices and amps up the sweetness, but you can leave them fresh if you want them tangier.
- → What’s the easiest way to cut this cake neatly?
Chill the whole thing before you cut and use a bread knife with teeth. That way, every slice comes out neat and the cream stays put.
- → Is it cool to make this dessert ahead of time?
Bake the cake the day before if you want, but keep the cream and berries out until you’re ready to put it all together. That way, it stays super fresh and soft.