
 Save
Save
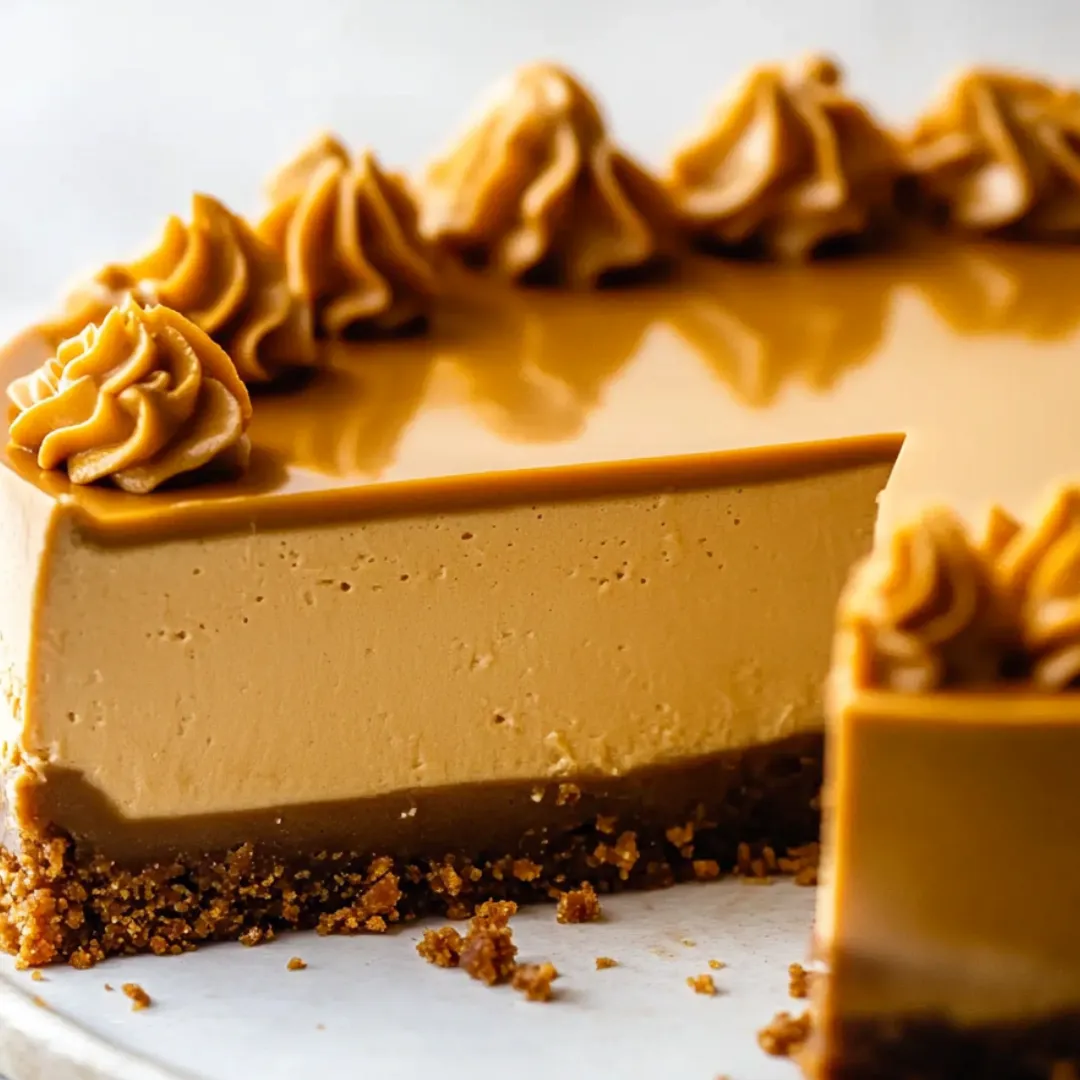
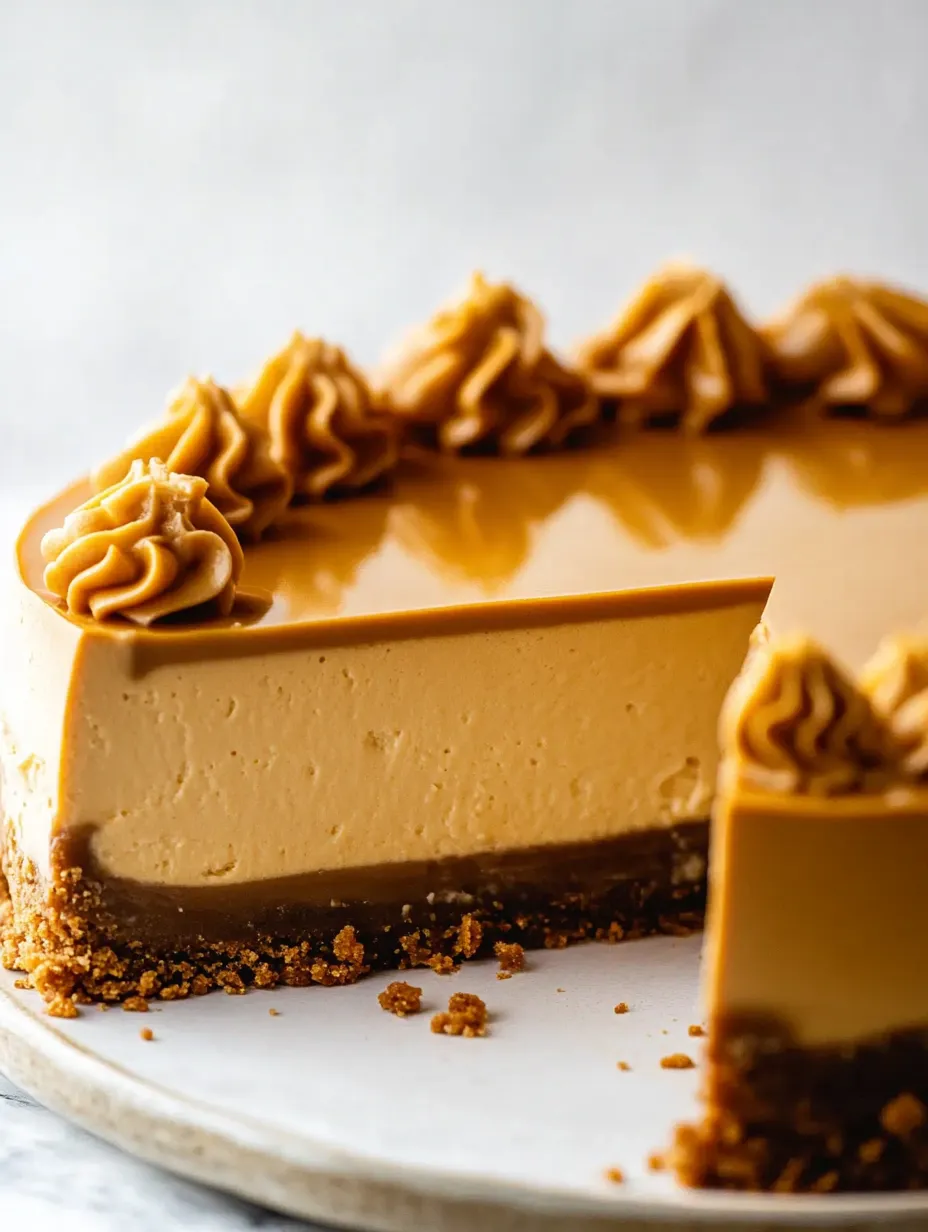
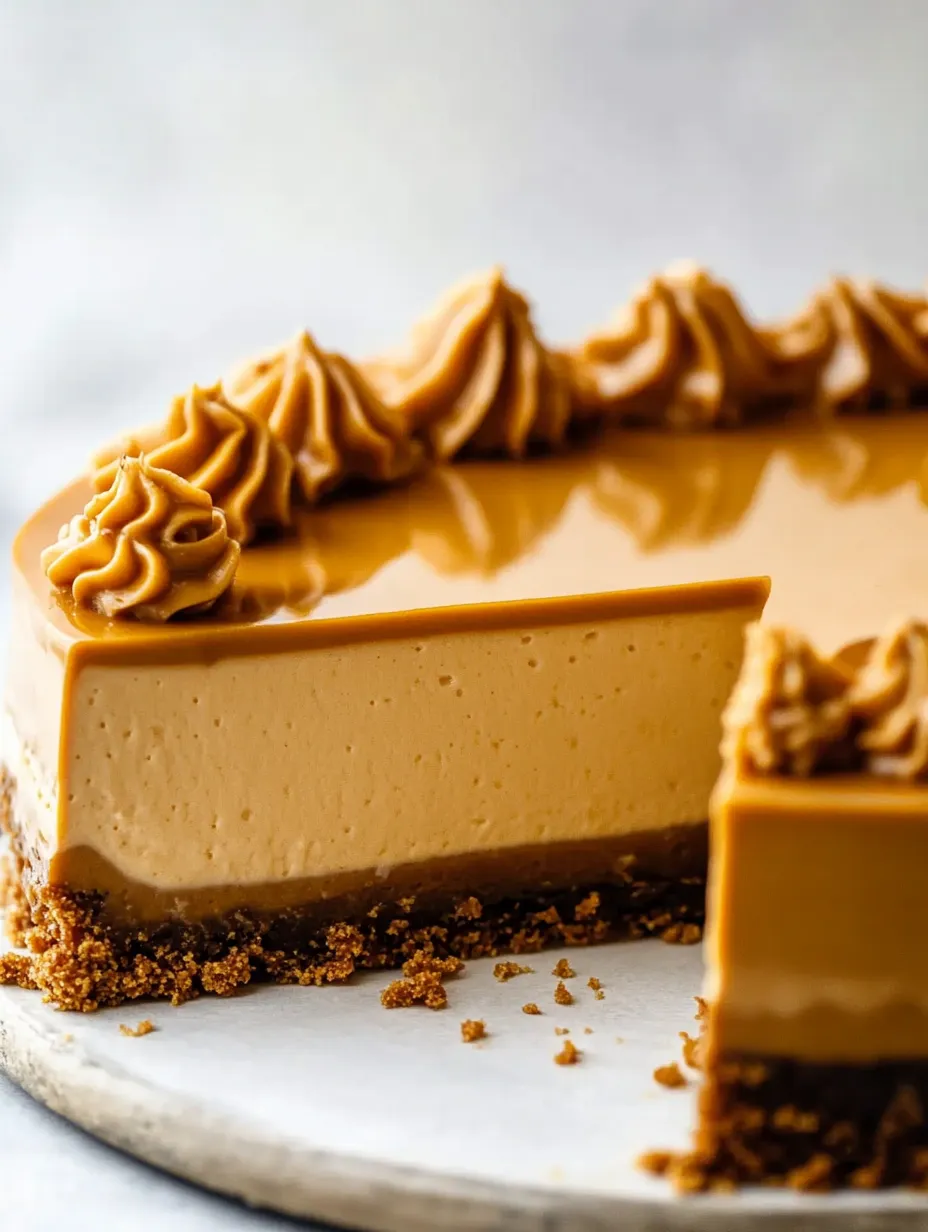
If you're into caramel, you're gonna flip for this stacked Butterscotch Cheesecake. It's loaded with all kinds of creamy layers and three different butterscotch surprises—chips, pudding, and that glossy ganache on top that'll get everyone excited. When I bring this one along to family hangouts, it’s always the first cake gone. People always want the instructions. It’s super smooth, got tons of bold taste, and hangs out in your fridge for days, so it's awesome for big gatherings or holiday spreads.
The first round I put all the butterscotch tricks together, it blew my mind. Anything homemade jumps to the next level with real butterscotch in the mix.
Dreamy Ingredients
- Extra butterscotch chips and cream for topping: swirl these together for over-the-top glossy ganache, totally bakery worthy
- Graham cracker crumbs: old-school crunchy base, or go wild with vanilla wafers for a twist
- Light brown sugar (for filling): mellows the flavor and hands you that honey-caramel vibe golden is the way to go
- Light brown sugar (for crust): gives your base a hint of caramel and helps it mix up easy choose the soft, packable kind
- Butter (unsalted): binds the crust and brings that rich taste, grab a fresh, unsalted stick
- Cream cheese: the real deal for that signature texture only block kind works, skip the whipped or tub stuff
- All-purpose flour: keeps your slice standing tall and not floppy sift it to dodge lumps
- Eggs: brings it all together and adds major creaminess let them warm up first to keep cracks away
- Vanilla extract: ties the whole flavor package together, real vanilla is tops
- Sour cream: dials back the sweetness and gives a gentle tang, use full-fat and let it lose its chill
- Heavy cream: turns the filling rich and lets your butterscotch melt more, make sure it’s icy cold
- Butterscotch chips: the main star for smooth melty vibes, pick a trusted brand
- Butterscotch pudding mix: amped up punch of flavor grab instant so it blends in instantly
Effortless Steps to Follow
- Make the Crust:
- Toss together crumbs, melted butter, plus brown sugar so it sticks together easily and doesn't fall apart when sliced
- Press Mixture Into Pan:
- Smoosh the crumb mix into your pan with your fingers or the bottom of a cup, getting it along the sides and bottom—press tight so it stays
- Bake the Crust:
- Pop it in your preheated oven until you catch that toasty smell and it firms up, then put it on a rack to cool off (prevents sogginess)
- Prepare Water Bath:
- Curtain your pan in thick foil really snug so filling doesn’t leak and your crust stays dry
- Make the Filling:
- Whip up cream cheese, flour, and brown sugar in a big bowl on low speed, scraping sides a lot—this keeps the mix lump-free and crack-proof
- Add Milk Elements:
- Add in sour cream and vanilla on a gentle speed until everything's silky and totally combined
- Melt Butterscotch:
- Zap cream and butterscotch chips in the microwave, pausing to stir so it melts smooth (no weird lumps!)
- Incorporate Butterscotch:
- Blend the melty butterscotch into filling in two rounds, scooping down the sides as you mix for max flavor all over
- Add Pudding Mix:
- Dump pudding powder in, blend low and scrape the bowl so no clumps sneak in and it’s smooth
- Add Eggs:
- Work in eggs one at a time, easy on the stirring, so it doesn’t go too runny or lose its creaminess
- Assemble and Bake:
- Pour that filling into the crust, set pan inside a bigger one, pour in hot water till it comes halfway up for even baking
- Bake Cheesecake:
- Bake until just the outside sets and the middle is still jiggling—this keeps everything moist and creamy
- Slow Cool in Oven:
- Switch off oven, let the cake relax inside; first with door closed, then crack it so the temp drops slowly and you'll miss the cracks
- Room Temperature Cool and Chill:
- Cool off on a rack, then park in the fridge till it’s set and cold—you want it solid before the next step
- Remove from Pan:
- Unlock the springform and gently slide cheesecake onto a serving plate, big spatula helps for smooth edges
- Make Topping:
- Heat the cream, then drench butterscotch chips with it; let sit, then whisk till it’s glossy let ganache cool a little before draping over your cake
- Decorate and Serve:
- Scatter on more butterscotch chips, then chill till serving time and enjoy the seriously loaded topping
The best part for me? Swirling ganache over the chilled cake. It’s super shiny and always brings out a bunch of compliments.
Keep It Fresh
Keep your cheesecake wrapped up tight in the fridge. Use a cake keeper or just wrap a few times with plastic to keep other smells out. Got spare pieces? Line ‘em up in a sealed container. If you don’t want to eat it all soon, freeze slices (minus the ganache), then just thaw in the fridge and spread that ganache on fresh right before serving.
Switch It Up
You can swap graham crumbs for vanilla wafers if you want it sweeter. To make it gluten-free, swap the flour out for half the amount of cornstarch. No butterscotch pudding handy? Use vanilla instead, but the flavor will be a little milder.
Serving Ideas
This dessert's super rich so slice small and add plain whipped cream or toss on some sea salt to mellow the sugar, if that’s your thing. It's awesome with black coffee or a cold glass of milk. If you want to go all out, splash extra caramel or butterscotch sauce over your piece.
Butterscotch Cheesecake Worldwide
Even though butterscotch mostly pops up in American sweets, epic cheesecakes like this get love everywhere. This version brings that New York style and goes wild for caramel and toffee fans.
Frequently Asked Recipe Questions
- → How do I keep my cheesecake from cracking?
Set your pan in a snug water bath, don't overmix the filling, and let it chill out slowly when it’s done—this keeps everything nice on top.
- → Can I swap out the graham cracker crust?
For sure! Use vanilla wafers or any sweet cookie you love. They all work for the base.
- → Why put butterscotch chips in the filling?
They add velvety texture and make that butterscotch flavor really sing in every bite.
- → What's the best way to store extra slices?
Keep them in a sealed container or wrap up tight in the fridge. Try to finish them up within five days for the best flavor.
- → Can I freeze it if I want to save some?
Yep, freeze whole or in single slices (hold off on the toppings till later). Thaw in the fridge when you’re ready and dig in.
- → Want it gluten free?
Just replace regular flour with cornstarch and use gluten-free cookies for your base. That’s it!