
 Save
Save
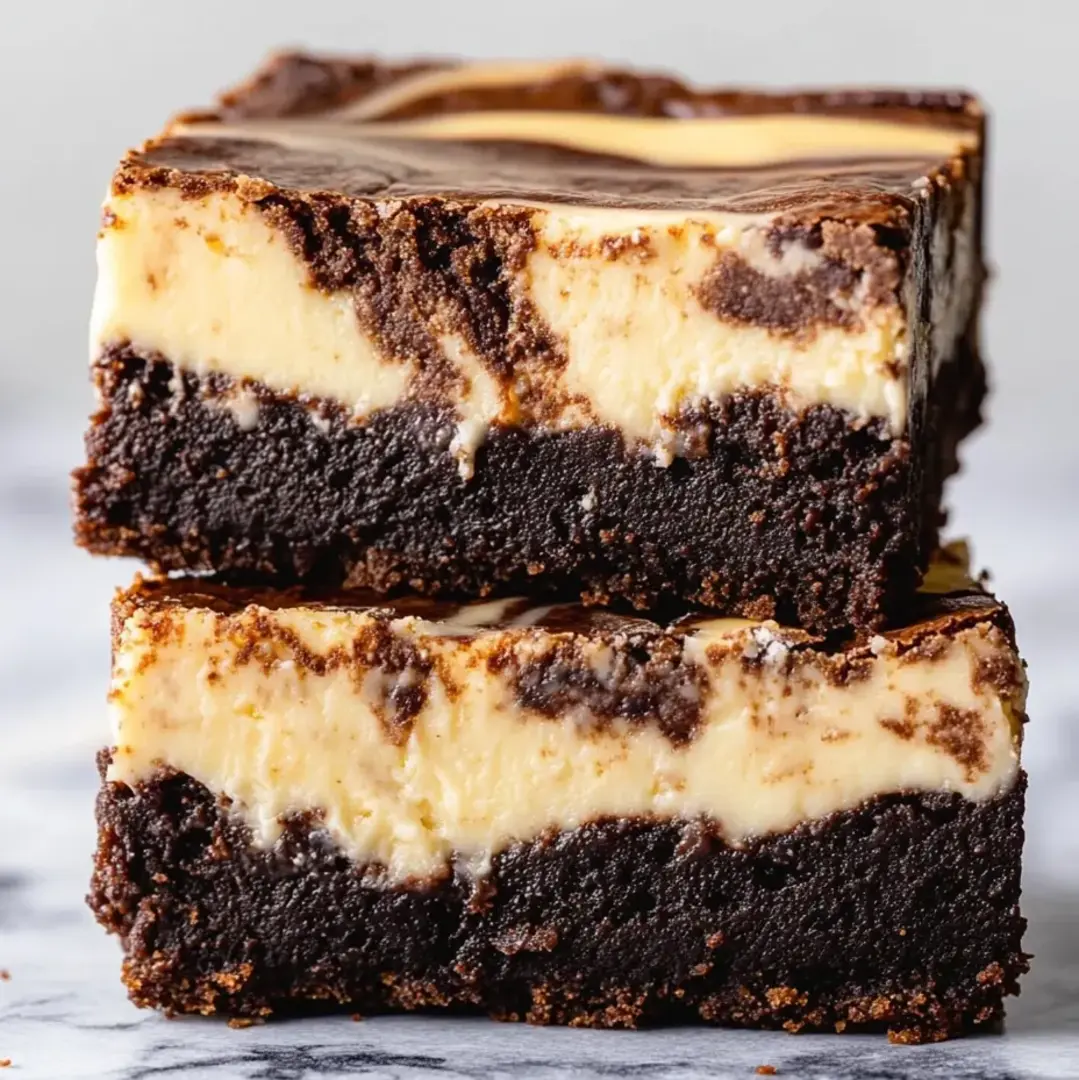
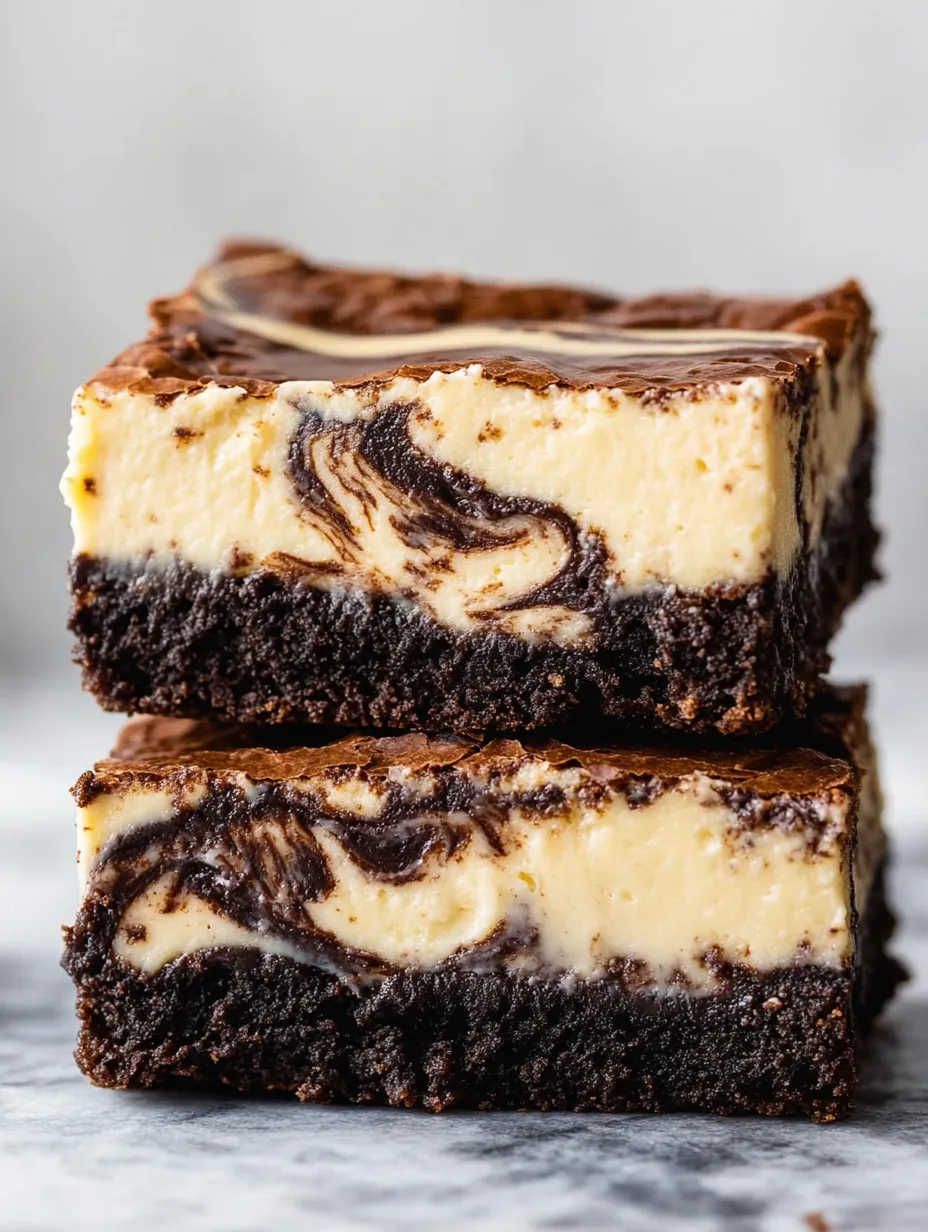
Cheesecake brownies really hit the spot thanks to a fudgy chocolate base and a creamy cheesecake swirl up top. These bars are easy to make but look like a showstopper once you cut them open. They’re super rich and every bite zings with flavor.
The first time I gave this a shot, my daughter wanted something both creamy and chocolatey. We had a blast swirling those layers together and making it look fancy. That’s now our thing—the swirl!
Dreamy Ingredients
- Cream cheese: This makes the cheesecake swirl extra rich. Buy the full-fat kind and let it warm up on the counter for easy mixing.
- Sour cream: Adds a tangy boost to the cheesecake part. Thick styles work best so it doesn’t get runny.
- All purpose flour: Keeps the batter together. Use bleached or unbleached—both work fine.
- Salt: Brings all the other flavors together. I use fine sea salt so it mixes right in.
- Vanilla extract: Levels up the sweet flavors. Skip fake vanilla if you can and get the real stuff.
- Eggs: Help the brownies and cheesecake hold their shape. Room temp is the trick for mixing them in smoothly.
- Unsweetened cocoa powder: Gives brownies big chocolate energy. Dutch process makes it taste even smoother.
- Granulated sugar: Sweetens everything and helps the texture. I find finer sugar works best because it melts right in.
- Unsalted butter: Makes everything rich and gooey. Get good butter and use it fresh.
- Unsweetened baking chocolate: Lays down serious chocolate flavor. Snag a bar that smells super chocolatey and has a nice snap.
Step-by-Step Breakdown
- Chill before serving:
- After it cools, pop the pan in the fridge for four hours or longer. Cold bars are way easier to cut nice and neat.
- Bake:
- Put the pan in a preheated oven at 350°F and bake for about fifty to fifty-five minutes. You want the top just puffed and no longer wet looking. The edges should look a little golden. Cool it down on the counter all the way.
- Layer and swirl:
- Pour the cheesecake part over the brownie base. Grab a knife and gently swirl the two together—don’t go too crazy, or it’ll just mix together!
- Mix in cheesecake add-ins:
- Toss in eggs one by one, then the sugar and vanilla. You want this super smooth with no streaks so mix well but don’t overdo it.
- Beat cheesecake layer:
- Grab a new bowl and use a hand mixer to whip up your softened cream cheese and sour cream. Beat until it’s creamy all the way through—lumps will mess up your swirl.
- Add flour:
- Gently fold in your flour to the chocolate mix until it just comes together. Stop as soon as it’s mixed so the bars stay soft. Spread it out in your lined pan.
- Mix in brownie ingredients:
- Add sugar and cocoa powder to your chocolate-butter mix, then stir it gently with a spoon or spatula. Next add the eggs and vanilla, then salt. It’ll look rough but keep going—it smooths out.
- Melt chocolate and butter:
- Chop up the chocolate and melt it with the butter in a big microwave-safe bowl. Heat in thirty second bursts, stirring in between until you have a smooth, glossy mix for the brownies.
- Prepare the pan:
- Line a nine-inch square pan with foil and spray it lightly with nonstick spray. This makes getting the bars out way simpler and also limits mess.
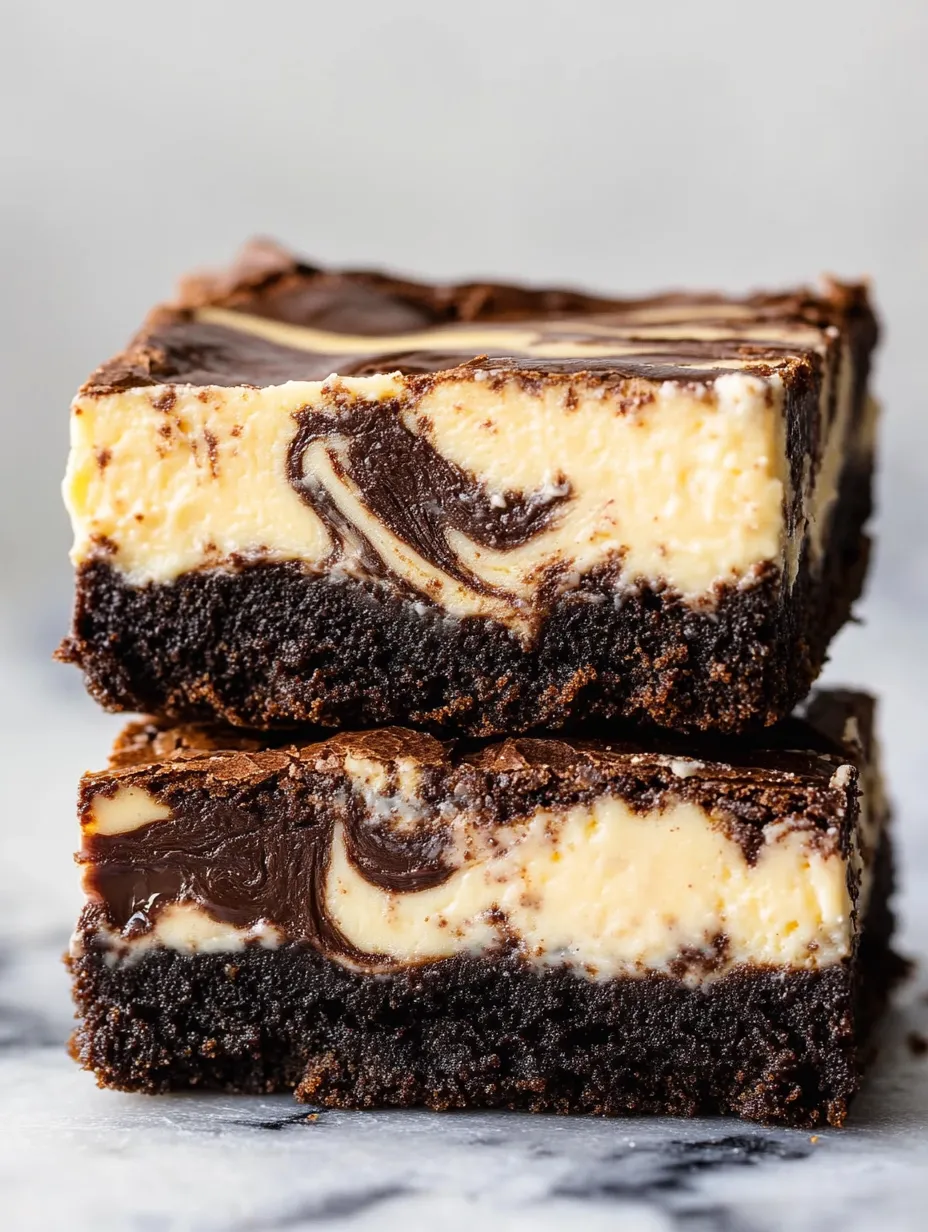
I love how fun the swirling is. It’s never the same twice—every pan’s like a new art project. Even after making tons, my kids still beg to help with the marbling bit.
Storing Made Simple
Keep your sliced bars in an airtight container in the fridge for up to three days. If you want to stack them, put some parchment in between so they don’t stick. Want to save them longer? Wrap up pieces tight and freeze. They’re awesome straight from the fridge or after sitting out for a few minutes, totally your call.
Swaps and Changes
If you’re out of sour cream, swap in thick plain Greek yogurt or mascarpone to make it even richer. Need gluten free? Trade the flour for a gluten free one-to-one mix, no worries. Skip whipped cream cheese though—it’ll change the feel of your cheesecake topping.
How to Serve
Chill these bars before serving for best flavor and clean slices. Try them with berries to brighten them up, or add a dollop of whipped cream and chocolate curls for a special touch. They’re also awesome as little gifts—wrap ’em in parchment and a ribbon and you’re set.
Food History
Cheesecake brownies popped up in American bakeries back in the late 1900s, mixing two fave treats into one. The swirly look comes from European cake styles—marbling batter is a classic move that makes every slice look different and fun.
Frequently Asked Recipe Questions
- → How do I get nice swirls in the cheesecake part?
Let your cream cheese and eggs warm up to room temp first. Pour the cheesecake part over the brownies, then swirl it in gently with a knife to make those marbled spots.
- → Can I swap in semi-sweet chocolate for unsweetened?
You sure can, but cut the sugar back a bit since semi-sweet is already sweetened.
- → Why is chilling before cutting so important?
Chilling firms up both layers, so you get great-looking slices. The chilling time also brings the flavors together.
- → What’s the best way to save these bars?
Stick them in a sealed container and refrigerate for up to 3 days. You can freeze them too, if you need them to last extra long.
- → What kind of pan should I use?
Go for a 9x9-inch square pan. It gives you bars that aren’t too thick or thin and bakes them just right top to bottom.
- → How do I melt the chocolate and butter easily?
Toss both in a bowl and microwave 30 seconds at a time, mixing each break. Stop when it’s totally smooth.